“Zero Hour” has made a triumphant return to Destiny 2 as part of the Into the Light update, reigniting the excitement for this iconic secret mission. Just like the beloved “The Whisper” mission, “Zero Hour” offers a coveted reward: the fully craftable Exotic pulse rifle, Outbreak Perfected. This Zero Hour Guide will provide you with a comprehensive walkthrough to conquer this mission and claim your prize.
Whether you’re a seasoned Guardian revisiting “Zero Hour” or a newcomer eager to experience it for the first time, this guide will equip you with the knowledge to succeed. We’ll break down each section of the mission, from navigating the remnants of the Destiny 1 Tower to overcoming challenging puzzles and defeating the formidable boss.
For those seeking to further enhance their Outbreak Perfected, engaging with the weekly “Outbreak Refined” quests in the Legend version of “Zero Hour” is crucial, unlocking new perks to customize your weapon. Additionally, exploring the vault puzzles within the mission will reward you with an exclusive Exotic Ship and the means to upgrade the Intrinsic perk of Outbreak Perfected, adding layers of depth to your pursuit of mastery.
Starting the “Zero Hour” Mission in Destiny 2
Image: Ada-1 offers the Asset Protection quest to initiate Zero Hour in Destiny 2.
Initiating “Zero Hour” is now simpler than ever. Your first step is to visit Ada-1 in the Tower Annex.
Navigate to the Tower Annex landing zone, located near the Drifter, and proceed to Ada-1. This vendor, typically associated with transmogrification, now holds the key to “Zero Hour.” Interact with Ada-1, and she will bestow upon you the “Asset Protection” quest. Once you have acquired the quest, access the “Into the Light” submenu within the Director and select “Zero Hour” to launch the mission.
Successfully completing the “Zero Hour” Exotic mission and finalizing the “Asset Protection” quest with Ada-1 will grant you the pattern for the highly sought-after Outbreak Perfected pulse rifle.
“Zero Hour” Mission Walkthrough in Destiny 2
You’ll have a 40-minute timer to complete “Zero Hour” on Normal difficulty. Efficient navigation and combat are crucial.
Navigating the Destiny 1 Tower in “Zero Hour”
“Zero Hour” commences with intense combat within the nostalgic ruins of the Destiny 1 Tower. Expect to face formidable Fallen enemies. Equipping your best gear and weapons specialized for clearing groups of enemies is highly recommended. For encounters with dense Fallen ranks, the Riskrunner Exotic submachine gun proves exceptionally effective.
Image: Exploring the Bazaar area in the Destiny 1 Tower during the Zero Hour mission.
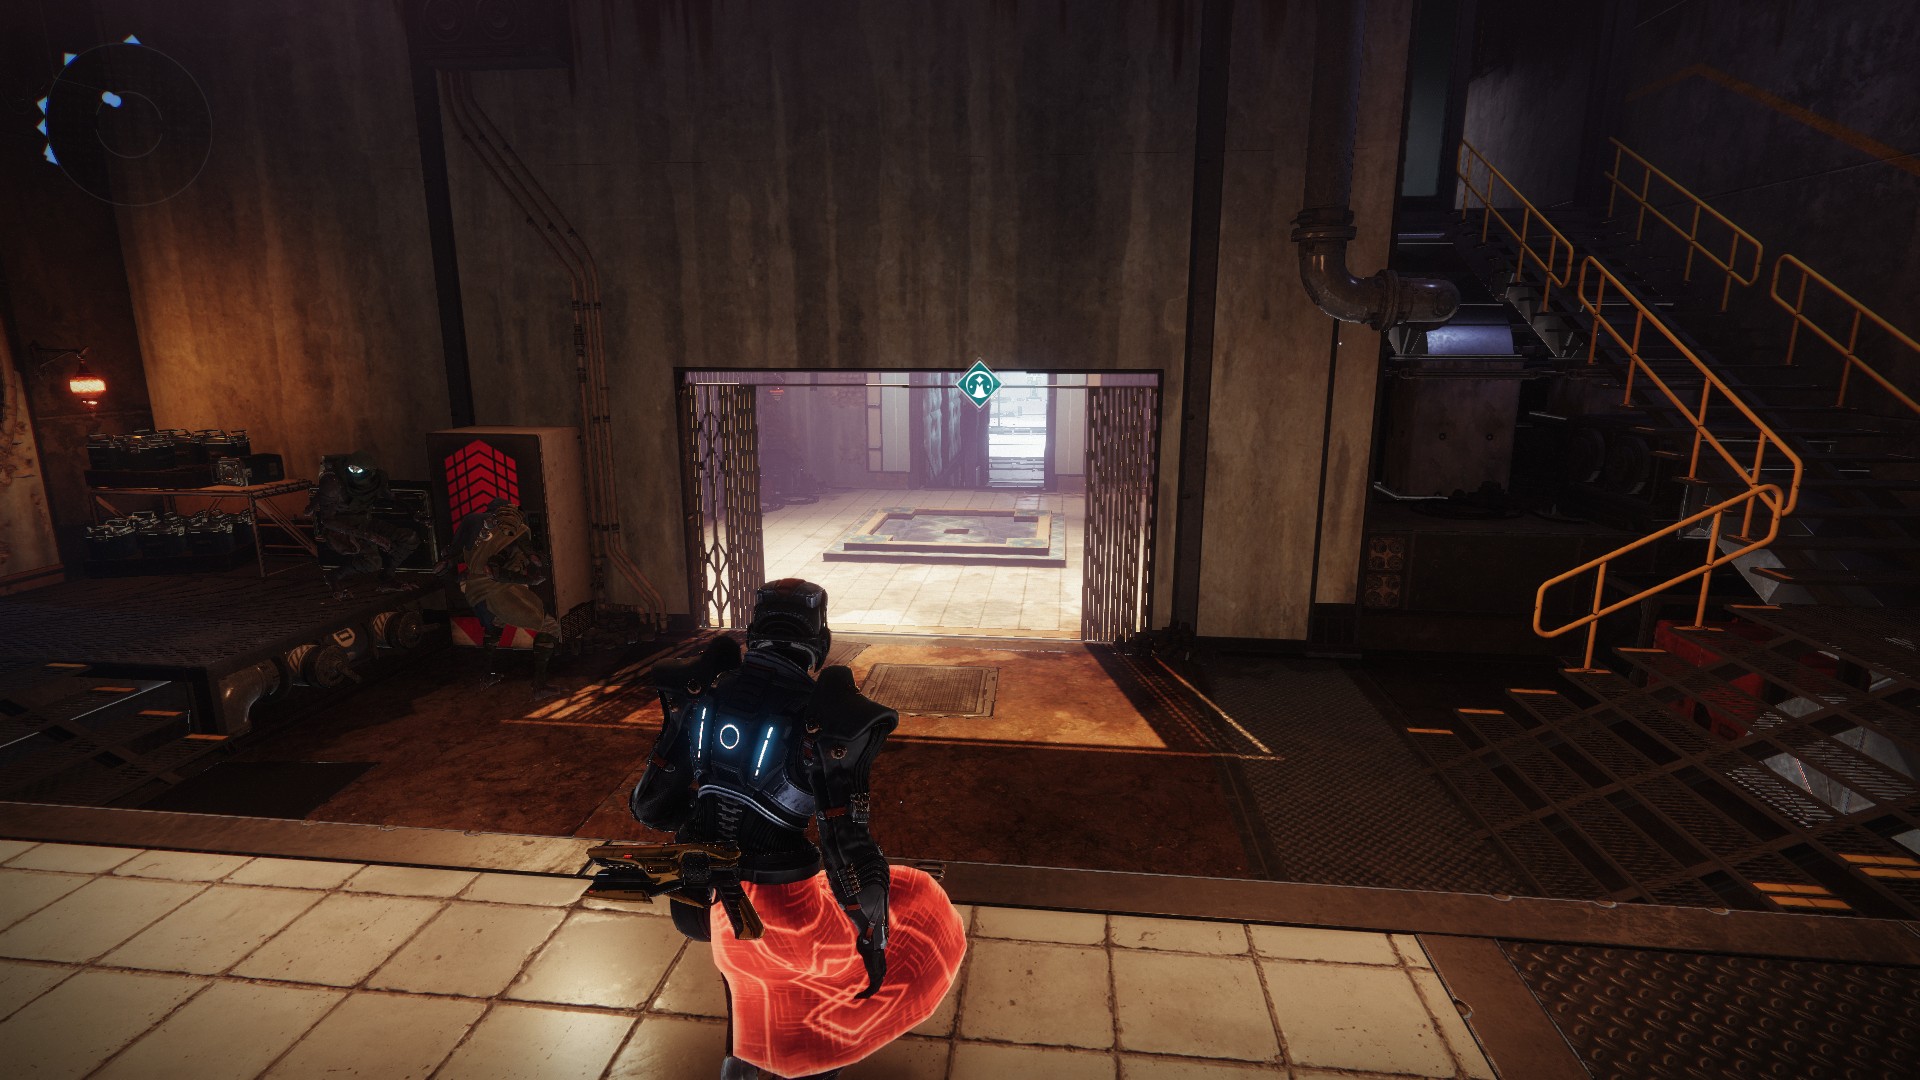
Proceed through the bazaar area and enter the small vent. Emerging on the other side, you’ll find yourself in what was once the Speaker’s chambers. Eliminate the Fallen enemies in this area and continue through the hallway filled with sweeper bots.
You will then enter the courtyard, now swarming with diverse and powerful Fallen enemies. Notably, a Brig, an enemy type introduced after the original mission, now patrols this area. Defeat all enemies in the courtyard to unlock the path forward.
Image: Combat encounter in the Courtyard of the Destiny 1 Tower within Zero Hour.
Continue your journey through the remnants of the old Tower until you reach the flaming scaffolding, a familiar location from the opening mission of Destiny 2. Slide under the large door marked with “M” and descend the elevator shaft. Locate and enter the vent, and follow its path.
Image: Navigating through the flaming scaffolding area of the Destiny 1 Tower in Zero Hour.
You’ll emerge in a vast shipyard area. Immediately turn left, and you’ll spot a ship below your current position. Approach the ship and crouch underneath its front. Follow the path and turn right into the vent. Proceed through the hallway you drop into and locate another vent above you. Take a left and enter another vent located behind a toolbox.
Image: Entering a vent in the Shipyard section of the Destiny 1 Tower during Zero Hour.
Traverse the vent and take your first right turn. You’ll notice several doorways below, but you need to take the one directly beneath you. If you are the first player to arrive, a metal lip will be available to stand on. If you are following teammates, it might have already broken off. Step off the ledge, turn around, and move forward against the wall as you descend. Climb onto the ledge and follow the vent.
Image: Utilizing a broken ledge for vent access in the Shipyard area within Zero Hour.
Jump onto the first section of yellow scaffolding and then to the next. Look towards the Tower. You will see two drain openings and a platform to your left. Depending on your Guardian class and jump abilities, you can either jump directly to the landing or utilize the drain openings to reach it.
Image: Platforming section involving scaffolding and drain openings in Zero Hour.
Upon reaching the landing, look down and towards the Tower. You’ll spot a small protrusion. This is your next target. Jump off the landing and move towards the wall, landing on the antenna.
Image: Precision jump to an antenna on the Destiny 1 Tower during Zero Hour.
Look outwards towards the city and turn left. Jump onto the pipes and continue until you reach the next landing. Here, you can activate a switch to assist teammates who might be behind.
Image: Switch activation point to aid teammates in Zero Hour mission progression.
Jump onto the scaffolding above you and proceed to the open vent. Enter the vent and follow its path. You will find yourself in a large elevator shaft. Ascend a few levels until you are two levels from the top. Shoot open the vent on the right side and climb through.
Image: Vent access point within the elevator shaft section of Zero Hour.
You will now be surrounded by spinning fans, each with an Explosive Shank at its center. Identify the red lights and jump into them. Holding against the wall can help you avoid the fans. Upon landing, exercise caution to avoid sliding into another fan. Repeat this process, carefully eliminating or maneuvering around the Shanks, until you reach the bottom of the shaft. Climb into another vent.
Image: Hazardous spinning fan obstacle course in the Zero Hour mission.
You will now be in a seemingly empty long hallway. Jump off the ledge and land on the silver vents hanging from the wall. These vents are narrow and can be precarious to stand on, so minimize movement. Jump to the next vent and finally into the open doorway on the far side. Another switch awaits here to assist lagging teammates.
Navigating the “Zero Hour” Maze
Image: Maze map displayed in the Ventilation room of the Zero Hour mission.
Follow the vents until you reach the Ventilation area. Proceed forward and examine the map displayed on the wall, as shown in the image above.
This is the maze section of “Zero Hour,” which may appear daunting but is manageable with a strategy. The white lines represent traversable hallways, and the red arrows indicate switches that need to be activated. You begin at the center of the bottom-most rectangle’s southern white line on the map. After studying the map, turn around and descend two levels of vents.
You are now inside the maze. It’s advisable to split your fireteam, with one player going right and another left to expedite the process. The following instructions are for the right-side player; left-side players should mirror these directions.
Image: Maze entrance point within the Zero Hour mission.
- Proceed forward and take a left turn. Continue until you reach a split in the hallway.
- Turn right and enter another rectangular section.
- Follow the path and activate the first switch.
- Continue running until you rejoin the original hallway.
Image: Electrical wall obstacle in the maze section of Zero Hour.
Here, you will likely encounter a moving wall of electricity. If the electricity is just beginning to arc, you can proceed through. Otherwise, you’ll need to wait for it to pass.
Image: Hiding from the electrical wall in a maze alcove during Zero Hour.
Once the electricity subsides, take a right turn. You should now hear a distinct, unsettling sound. This indicates the presence of TR3-VR, an electric shredder patrolling the maze. Alcoves are available for hiding, but to your left, you should see a large cavern containing pipes.
Jump onto the pipes and wait for TR3-VR to pass. You can identify its approach by its sound or the large red light it emits.
Image: Utilizing pipes to evade TR3-VR in the Zero Hour maze.
After TR3-VR has passed, return to your hallway and take a left. Follow the path until a hallway opens on the right. Proceed to activate the switch as before and return to your main hallway.
Image: Switch activation within the maze section of Zero Hour.
Take a right turn and follow the path until you can take another right. This is the exit of the maze. If you have activated all four switches correctly, the doors will be open.
Enter the new room and hop onto one of the elevators on your right or left. Activate the button and wait for them to ascend slowly into the rafters.
Image: Elevator ride to the rafters after completing the maze in Zero Hour.
Jump onto the platform and shoot out the vent. Descend the chute, staying in the center of the slide. Jump to control your momentum and avoid crashing into a wall. Upon exiting the chute, turn left and then immediately right. Crawl through the vent on the floor.
Navigating the Vault Maze in “Zero Hour”
Image: Approaching the Cryptarch Vault entrance in the Zero Hour mission.
You will now find yourself in the old Cryptarch Vault. The mission is nearing its final stages.
On the opposite side of the Vault’s door, you’ll see pipes on the wall. Next to the pipes, locate the Cryptarch symbol. Stand near it, and a secret door will open. Proceed forward until you reach the section with white floor panels. You must step on these panels in the correct sequence to avoid incineration.
The correct path through these panels changes daily, determined by the damage burn modifier for the mission (Arc, Solar, or Void). You can check the burn type when launching “Zero Hour” or within the mission by opening your Ghost and inspecting the activity modifiers. Note that the path also differs based on your chosen difficulty level. The images below, courtesy of the Destiny 2 Lost Sectors X account and the Midnight Coup clan, illustrate the paths for both Normal and Legend difficulties.
Arc Path
Image: Arc burn path for the Vault puzzle in Zero Hour on Normal and Legend difficulty. Source: D2LostSector on X, via Midnight Coup clan.
When the burn is Arc, and you are playing on Normal difficulty, start on the second tile from the right in the first row. On Legend difficulty, begin on the tile farthest to the left.
Void Path
Image: Void burn path for the Vault puzzle in Zero Hour on Normal and Legend difficulty. Source: D2LostSector on X, via Midnight Coup clan.
When the burn is Void, and you are playing on Normal difficulty, start on the tile farthest to the left. On Legend difficulty, also begin on the tile farthest to the left.
Solar Path
Image: Solar burn path for the Vault puzzle in Zero Hour on Normal and Legend difficulty. Source: D2LostSector on X, via Midnight Coup clan.
When the burn is Solar, and you are playing on Normal difficulty, start on the middle tile. On Legend difficulty, begin on the tile farthest to the left.
After successfully navigating the panels, proceed to the end of the vault.
Image: Reaching the broken case in the Cryptarch Vault within Zero Hour.
At the broken case, turn right, and you’ll see a burned hole in the ground. Drop through it. Continue forward and jump into another vent. Prepare for the final encounter.
How to Defeat Siriks in “Zero Hour”
Image: Entering the final boss arena to face Siriks in Zero Hour.
Upon dropping down, you will face Siriks, a Fallen Captain wielding a Scorch Cannon, accompanied by a legion of Fallen enemies.
Prioritize eliminating Siriks’ Fallen allies first. They will deploy turrets, summon large Servitors that grant immunity shields (prioritize these Servitors), and deploy numerous Shanks. Continue defeating all enemies until Siriks’ health is reduced to approximately one-third. A message, “Siriks retreats… for now,” will appear, and the boss will temporarily vanish.
Two Fallen Walker tanks will then appear on the elevated platforms to your left and right, along with additional Fallen reinforcements. Eliminate all of them. Another message will appear: “Siriks returns… heavily armed.”
Siriks will then reappear in the arena, piloting a massive Brig mech. This heavily armored form possesses full health and will require sustained effort to defeat. Once you break the Brig’s shield, Siriks will unleash powerful tank rounds and continuous airstrikes. Maintain constant movement to evade these attacks and continue your assault until the Brig is destroyed.
With Siriks defeated, approach the chest that spawns, greet Mithrax, and claim the Outbreak Perfected schematic. Return to the Tower and speak with Ada-1. She will reward you with the Outbreak Perfected pulse rifle, along with its crafting pattern. Ada-1 will also offer the “Outbreak Refined 1” quest, which unlocks additional crafted perk options for your new Outbreak Perfected.
If you already possess the Catalyst for Outbreak Perfected from the original “Zero Hour,” it will be immediately applicable to your newly crafted weapon. However, if this is your first time completing the mission, you will need to return on Heroic mode to acquire the Catalyst and further enhance your Outbreak Perfected.
This zero hour guide has equipped you with the knowledge to conquer this challenging and rewarding mission. Go forth, Guardian, and claim your Outbreak Perfected!