Riot Games’ Swarm mode has rapidly become a player favorite, reminiscent of beloved past game modes but significantly enhanced. This Player vs Environment (PvE) experience allows you to team up with friends or brave the challenges solo, choosing from nine diverse champions to face hordes of enemies across four distinct maps, each culminating in a unique boss battle. Encounters with familiar League champions like Aatrox and Yuumi add to the thrill.
This guide dives deep into each Swarm map, providing strategic insights to maximize your success. While champion choice and playstyle influence tactics, these general strategies will equip you for any map and difficulty level. For those new to Swarm, we recommend checking out our Beginner’s Guide to Swarm and in-depth Swarm breakdown for a broader understanding before focusing on map-specific strategies. Explore the Mobalytics Blog for more League of Legends content.
General Swarm Gameplay: Foundational Tactics
Before we dissect each map, it’s crucial to understand fundamental Swarm gameplay. While personal playstyles vary, these tactics have proven effective for unlocking champions and maximizing stats. Consider this a flexible framework adaptable to your chosen champion and preferences.
The initial minutes across all maps share a common thread: prioritize experience acquisition by eliminating waves of enemies. Reaching level 3 unlocks your E ability, followed by your Ultimate at level 6. Consistent map rotation, particularly around the map’s edges, is key for discovering loot boxes.
Loot boxes are invaluable, dispensing gold, experience, and health. Continuous roaming and looting are essential. Engage with Yuumi’s missions as they appear for beneficial in-game bonuses. Swiftly eliminate mini-bosses to collect cards, holding onto them until you’ve acquired a weapon ready for evolution. Don’t neglect Bel’Veth missions when they become available.
Navigating the Swarm Maps: Strategic Breakdowns
With core gameplay covered, let’s explore each of the four Swarm maps, assuming a solid start based on the strategies discussed.
Warehouse District: Map 1 – Rek’Sai’s Lair
Warehouse District serves as the introductory map. Your objective is to survive for 15 minutes and defeat the boss, Rek’Sai.
Warehouse District Overview
The map’s centerpiece is a central fountain that provides healing upon zone capture. While tempting, activating it early is less efficient due to its cooldown. Reserve it for later stages when health becomes critical, especially if health drops are scarce. The fountain area becomes strategically important in the late game as a safe haven.
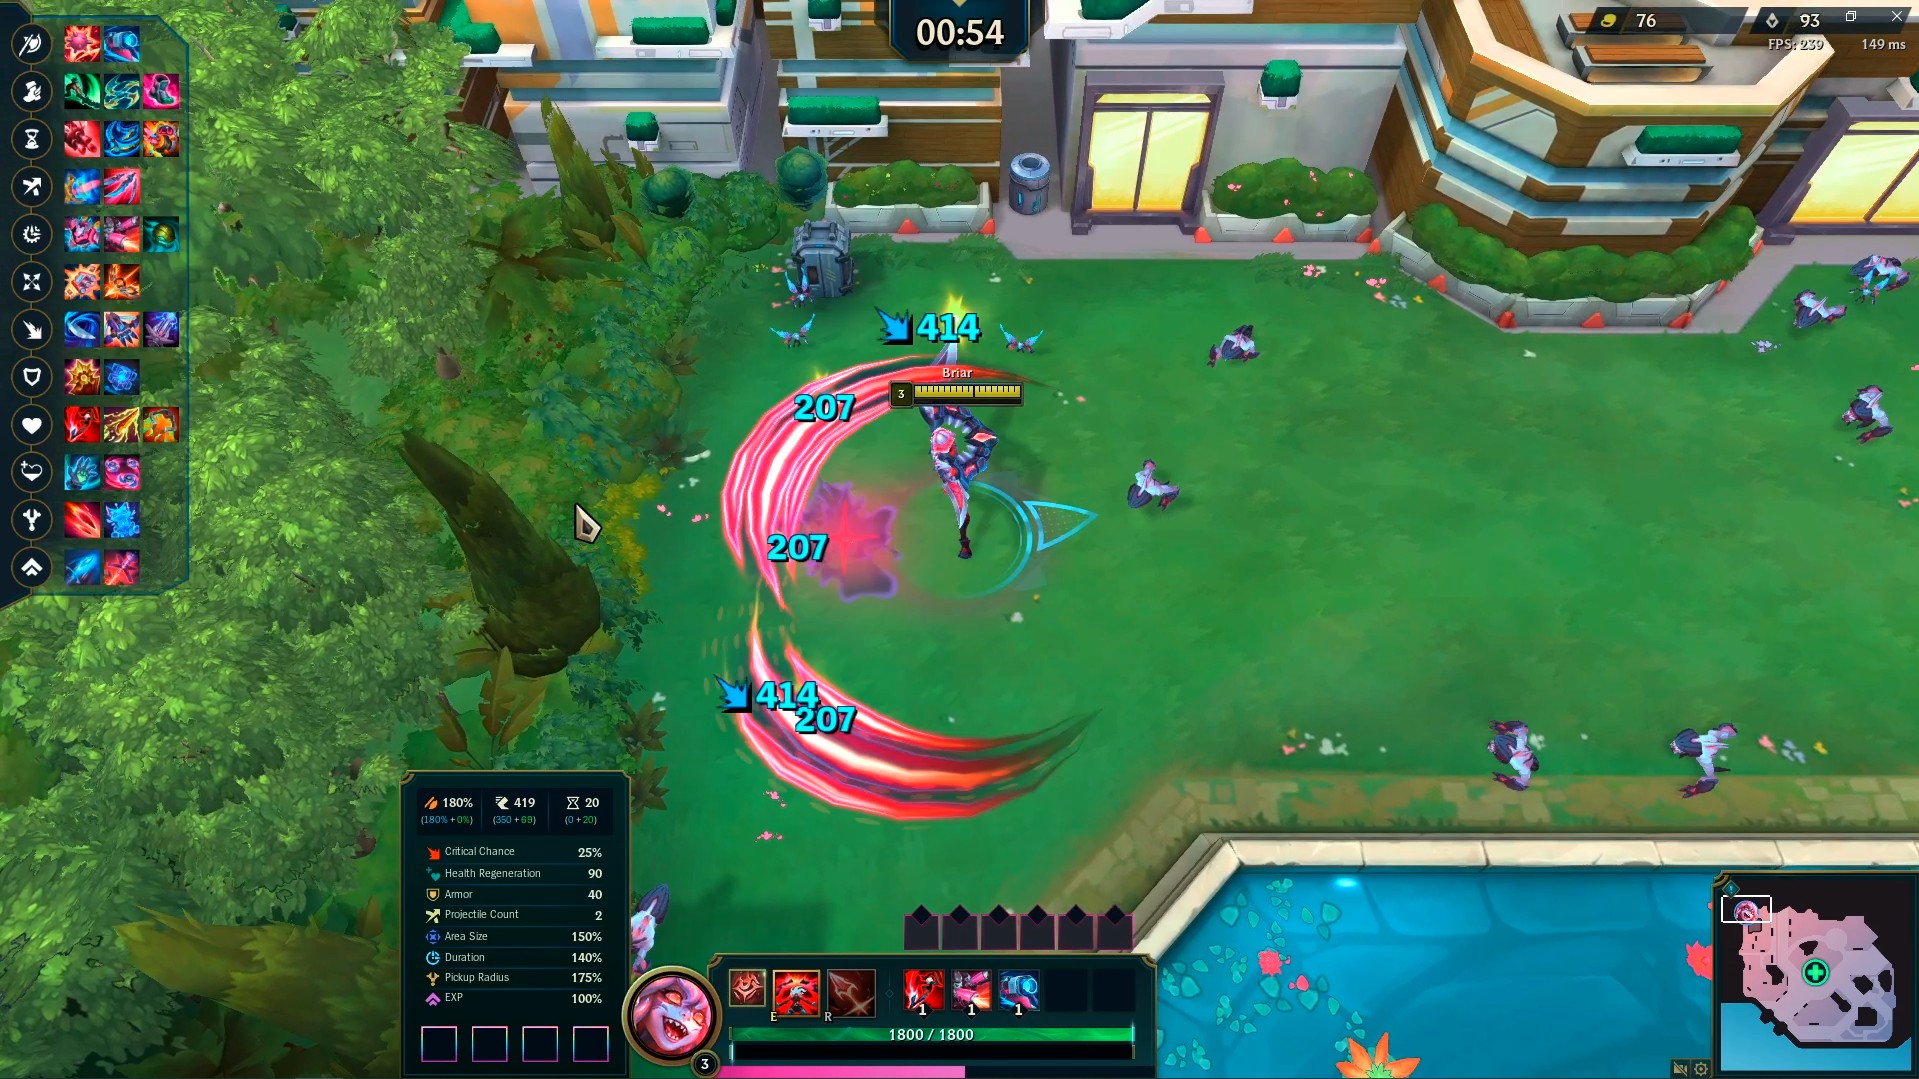
Alt text: Briar champion gameplay on the top side of the Warehouse District map, League of Legends Swarm mode.
Areas to Avoid
In Warehouse District, steer clear of confined spaces, particularly the bottom right section. Maneuvering becomes challenging there, making it difficult to evade damage unless equipped with potent Area of Effect (AOE) weaponry.
Instead, prioritize open areas around the fountain for greater mobility and access to healing. The central map area facilitates rotations. Alternatively, the top left offers early-game spawn-trapping opportunities for rapid XP and loot acquisition.
Alt text: Top-down view of the Warehouse District map layout, League of Legends Swarm game mode guide.
The Outskirts: Map 2 – Briar’s Hunting Grounds
The Outskirts, the second map, culminates in a battle against Briar. She emerges after 15 minutes and is known for her significant damage output.
The Outskirts Overview
This map’s defining feature is a powerful cannon located at the top. Activating it requires batteries scattered near the cannon. Once placed, the cannon unleashes devastating shots. Similar to the fountain, its cooldown suggests strategic, rather than early-game, use. Collect a battery and hold onto it, deploying the cannon when overwhelmed by enemies. Positioning near the cannon becomes advantageous.
Alt text: Riven champion navigating the Outskirts map in League of Legends Swarm, focusing on map strategy.
Areas to Avoid
Beyond the bottom right corner (a recurring theme in Swarm maps), The Outskirts offers greater navigational freedom. The enclosed dome in the bottom right is, predictably, a death trap.
The map’s central area is generally safest, offering ample space to kite enemies and easy access to battery spawns around the cannon and walls.
Alt text: Outskirts map overview with strategic points highlighted, League of Legends Swarm map guide.
Subterranean Lab: Map 3 – Bel’Veth’s Domain
Subterranean Lab, the third map, challenges you to survive 15 minutes, withstand waves of mobs, and defeat Bel’Veth.
Subterranean Lab Overview
This map features two freeze zones that temporarily immobilize enemies when activated by standing within them. While not essential early on, these zones become critical in later, more intense rounds. Don’t hesitate to utilize them to manage enemy density.
Alt text: Yasuo champion strategically using a freeze zone in Subterranean Lab map, League of Legends Swarm.
Areas to Avoid
The top right corner of Subterranean Lab is best avoided due to limited maneuverability. While AOE builds might find it initially lucrative for XP, it becomes increasingly dangerous in later stages due to enemy swarms.
Open areas, strategically positioned to access freeze zones, are optimal. Rotational play is crucial; after utilizing one freeze zone (e.g., the bottom one), reposition to the opposite side of the map while it recharges.
Alt text: Strategic map of Subterranean Lab showing freeze zone locations, League of Legends Swarm guide.
The Beachhead: Map 4 – Aatrox’s Final Stand
The Beachhead, the fourth and final map, often presents the greatest challenge. Conquering it unlocks the matchmaking game mode, requiring 15 minutes of survival and defeating Aatrox multiple times. This is your Swarm 4th Map Guide focus.
The Beachhead Overview
Beachhead’s defining elements are Miss Fortune and cannons. Miss Fortune, positioned above the city on the left, eliminates enemies, granting you experience. Cannons on the beach and near Miss Fortune provide consistent fire support. Your positioning choice – near Miss Fortune or on the beach cannons – depends on your champion and playstyle.
Alt text: Illaoi champion defending the Beachhead in League of Legends Swarm, utilizing beach cannons.
Areas to Avoid
Avoid the narrow paths leading to the beach, especially in later waves, as they become chokepoints for enemy swarms. Similarly, awkward pathways on the left side near the city can lead to being quickly surrounded. Open areas offer superior escape routes.
Two primary strategies emerge: beach or city. Beach positioning, leveraging cannon fire, is often favored. City play utilizes Miss Fortune’s support. Melee champions often thrive on the beach, while ranged champions may prefer the city, though adaptability is key.
Alt text: Beachhead map layout highlighting strategic positions near cannons and Miss Fortune, Swarm 4th map guide.
Conclusion: Adapt and Conquer the Swarm
These map strategies provide a solid foundation, but personal experimentation is crucial. Adapt and refine tactics to suit your champion and playstyle. Remember, solo and co-op play demand different approaches.
Champion choice significantly impacts gameplay. Utilize these core strategies as a starting point and tailor them to your specific circumstances to efficiently overcome bosses. Your upgrade level and weapon evolution also heavily influence success.
We trust this guide has been insightful, especially for newcomers to vampire survivor-style games. Maximize your time in Swarm, as this exhilarating game mode is a limited-time offering.
For further Swarm and League of Legends guides, visit the Mobalytics Blog.
Beginners Champions LoL Swarm