Quick Links:
- Zero Hour Mission Walkthrough
- Vault Floor Puzzle Solutions (Legend)
- Outbreak Refined Quest Guide
- Cryptarch’s Vault Puzzle Guide
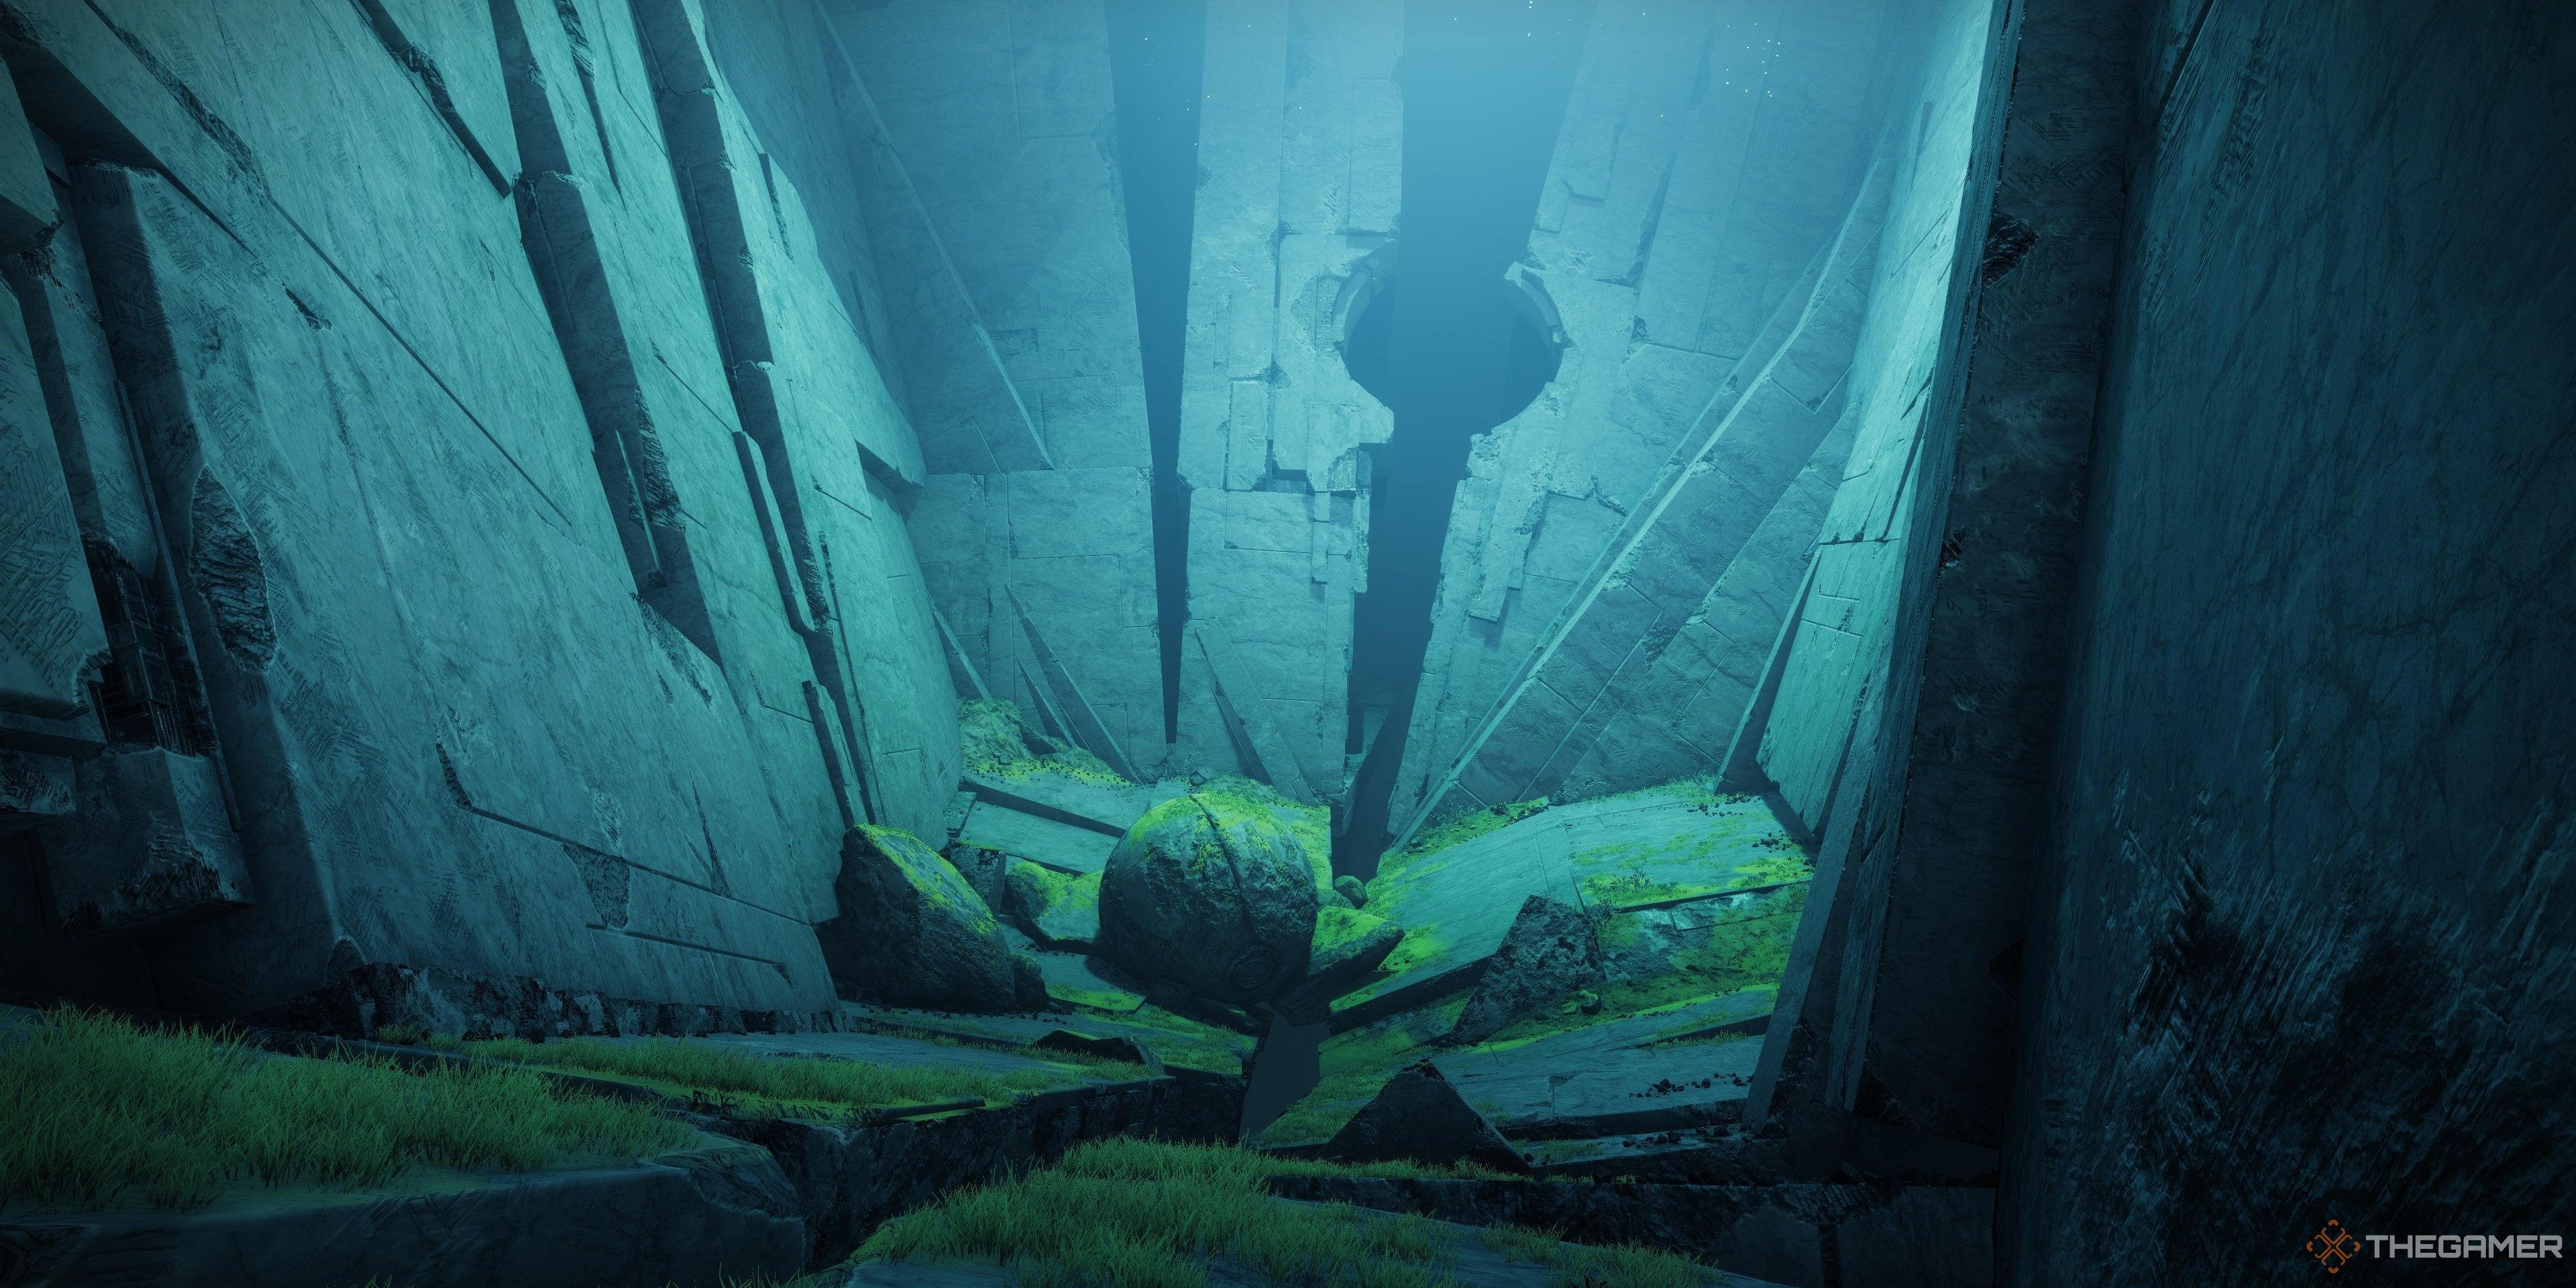
Zero Hour has returned to Destiny 2 as part of the Into the Light update, bringing back one of the most challenging and rewarding Exotic missions in the game. Set within the ruins of the original Destiny Tower, now infiltrated by House Salvation, Guardians must venture into the depths to reclaim stolen SIVA technology. This intense mission is renowned for its intricate jumping puzzles, demanding combat encounters, and the coveted reward: the craftable Outbreak Perfected Pulse Rifle.
Related: Destiny 2: A Complete Guide To The Whisper Exotic Mission
Learn how to conquer The Whisper mission and find all Oracle locations with our comprehensive guide.
Successfully completing Zero Hour, especially on Legend difficulty, rewards you with the craftable version of Outbreak Perfected, a top-tier Pulse Rifle in Destiny 2’s arsenal. This guide provides a complete walkthrough of the Zero Hour mission on both Normal and Legend difficulties, details the Outbreak Perfected perk quests, and offers solutions to every vault puzzle.
Updated May 28, 2024, by Charles Burgar: We’ve updated this guide to include the final Outbreak Refined quest and the solution to the Cryptarch’s Vault final puzzle, allowing you to obtain Outbreak Perfected’s third intrinsic upgrade and the Vimana Junker Exotic ship.
How To Start The Zero Hour Mission
To begin Zero Hour, speak to Ada-1 in the Tower. She will grant you the “Asset Protection” quest, tasking you with completing the Zero Hour mission on any difficulty. The mission is accessible via the “Into the Light” node on the Director map. Zero Hour does not impose locked loadouts or extreme modifiers, allowing you to bring your preferred gear.
While Zero Hour remains largely unchanged in this reprisal, it now reflects Destiny 2’s current Power scaling and features adjusted time limits for Normal and Legend difficulties. Notably, Normal and Legend difficulties utilize distinct parkour sections, with the Normal path being slightly longer. If you find yourself lost on a Legend run, remember the layouts are intentionally different. After completing the mission, return to Ada-1 to extract the crafting pattern for Outbreak Perfected from the weapon she provides.
[ ](Destiny 2 Zero Hour Legend Mission Modifiers)
Zero Hour mission modifiers are detailed below.
| Zero Hour Modifiers |
|---|
| Power Level |
| Threat |
| Time Limit |
| Legend Difficulty Modifiers |
| Power Limit |
| Threat |
| Time Limit |
| Overcharge |
| Arach-NO! |

Zero Hour Changes
Similar to The Whisper mission, the core mechanics of Zero Hour remain largely the same. A second boss phase has been added, enhancing the final encounter, but otherwise, the mission structure is consistent with its original iteration. Expect challenging combat, increased enemy density, and the familiar jumping puzzles. Remember that Normal and Legend difficulties still feature different parkour paths.
Key changes include:
- Final Boss Second Phase: The final boss now retreats and summons two Fallen Walkers before returning as a Brig for the final stand.
- Brig in Tower Plaza: A Brig now patrols the Tower Plaza encounter at the mission’s start.
- Increased Combat Difficulty: Power Level restrictions increase the overall difficulty of combat encounters.
- Normal Timer Adjustment: The Normal mission timer has been extended to 45 minutes from 20. The parkour section remains the same and differs from Legend.
- Legend Timer Adjustment: Legend difficulty now has a timer of 20 minutes and 40 seconds, slightly increased from the original 20 minutes. The parkour section is consistent with the original Legend path and differs from Normal.
Zero Hour Mission Walkthrough
Zero Hour begins in the ruins of the Old Tower, the iconic social space from the original Destiny and the starting point of the Red War campaign in Destiny 2. You have 45 minutes on Normal (20 minutes and 40 seconds on Legend) to navigate through the Tower’s depths and defeat a two-phase boss.
Start by heading to the end of the bazaar area and locate an open air duct. These ducts are scattered throughout the mission and serve as your pathways. On the other side, you’ll encounter Fallen enemies guarding the path to the Tower Plaza. Engage and eliminate them swiftly, charging your Super if possible.
In the Tower Plaza, you will face a mix of Shanks, Vandals, and a Brig miniboss. These enemies, lacking readily apparent weak points, are effectively dealt with using explosive weapons like Wave-Frame Grenade Launchers. Conserve your Super for tougher encounters ahead and utilize Heavy ammo here instead. Take cover near the plaza stairs, prioritizing sniper Vandals first. Once clear, proceed to the opposite end of the plaza and navigate through the debris to reach the hangar.
[ ](Destiny 2 Zero Hour Tower Hangar Entrance)
[ ](Guardian fighting Fallen Walker in Destiny 2 Zero Hour Tower Hangar)
[ ](Destiny 2 Zero Hour Tower Hangar Exit Path)
The Tower Hangar is a challenging combat arena with minimal cover. If you have your Super ready, deploy it now. Prioritize clearing the Servitors and Shanks on the upper floor, followed by the Vandals across the hangar. After thinning the enemy ranks, drop down to confront the Fallen Walker blocking the exit. All enemies must be eliminated to proceed, so don’t hesitate to use Heavy ammo and abilities.
Defeating the Walker and its reinforcements opens the path forward. Ascend the stairs behind the Fallen Walker to enter the Tower interior. The path is linear, guarded by scattered Fallen. Use this respite to replenish ammo and Super energy. Continue until you reach a destroyed room leading to an elevator shaft, marked with an “M” icon on the wall. Jump down the shaft to reach the landing pad, marking the start of the parkour section.
From this point, the mission diverges based on your chosen difficulty. The parkour sections are completely different between Normal and Legend. Refer to the section below corresponding to your selected difficulty.
Covert Passage (Normal)
Upon reaching the landing pad, proceed to the docked ship on the lower level. Locate a grate near the ship’s nose, which serves as the entrance to the air ducts. Slide through the opening and follow the duct into a storage room with two exits. Take the air duct on your left.
[ ](Entering air duct in Destiny 2 Zero Hour Normal Covert Passage)
[ ](First collapsing platform jump in Destiny 2 Zero Hour Normal Covert Passage)
Crawl through the duct until it branches. Take the first exit. You’ll encounter a chasm with six grates. Land on the grate directly below you and immediately move forward; these platforms are temporary and will break upon contact. If you landed correctly, a nearby grate in the air duct should be visible. Drop to this grate and proceed.
You’ll now find yourself on the Tower’s exterior. Jump onto the yellow platforms and look down towards the Tower structure. You should see a series of small platforms protruding from the side. Descend to these platforms below, immediately running inside each one. Like before, these platforms are temporary. Navigate to the large, stable platform at the end of this sequence.
[ ](Stable platform in Destiny 2 Zero Hour Normal Covert Passage)
[ ](Jumping to wall support in Destiny 2 Zero Hour Normal Covert Passage)
[ ](Wall support jumping puzzle in Destiny 2 Zero Hour Normal Covert Passage)
[ ](Entering large air duct in Destiny 2 Zero Hour Normal Covert Passage)
Once on solid ground, look over the edge towards the Tower again. You should spot a small platform extending from the wall. Jump down to this support beam. This leads to another short jumping puzzle. Complete it, then climb up the large air duct after dealing with any Vandals.
You’re nearing the end of this section. The next part involves climbing yellow platforms and finding the correct air duct to exit. Facing the middle platform in the room, climb two floors to your right. Refer to the image gallery above for the precise direction. Break the grill, enter the air duct, and proceed towards the exit. If you’ve chosen the correct path, you’ll drop into a shaft filled with spinning fans.
Read more about the Spinning Fans section below
Covert Passage (Legend)
Legend difficulty alters the entrance to the air ducts, located on the right side of the landing pad. Head to the furthest air duct on the right and slide inside. This will lead you to a storage room with another air duct grill. Break it and turn left inside the air duct. Drop down into the silo onto the catwalks below and eliminate the two Fallen Captains guarding the area.
You’ll notice switches along the silo walls. Look towards the corners of the room for red pipes leading to new areas. You should focus on the wall without number decals and jump to the right. You’ll reach a dead end with a switch. Activate it, then jump diagonally across the silo. Activate this switch and proceed towards the waterfall.
[ ](Silo switch in Destiny 2 Zero Hour Legend Covert Passage)
[ ](Jumping across silo in Destiny 2 Zero Hour Legend Covert Passage)
[ ](Waterfall hatch entrance in Destiny 2 Zero Hour Legend Covert Passage)
[ ](Waterfall shaft climb in Destiny 2 Zero Hour Legend Covert Passage)
[ ](Air duct after waterfall climb in Destiny 2 Zero Hour Legend Covert Passage)
[ ](Narrow chasm entrance in Destiny 2 Zero Hour Legend Covert Passage)
If done correctly, Silo #03’s hatch will open. Climb the waterfall and onto the hatch, then ascend the shaft until you find another air duct. Enter the room, jump into the air duct on the opposite side, which leads to a narrow chasm.
[ ](Narrow chasm combat in Destiny 2 Zero Hour Legend Covert Passage)
[ ](Narrow platforms in Destiny 2 Zero Hour Legend Covert Passage)
[ ](Sewer grate exit in Destiny 2 Zero Hour Legend Covert Passage)
The chasm is guarded by Fallen Vandals. Jump onto the narrow platforms, eliminating the Vandals one by one. The exit is at the far end to your left. Slide through the air duct and follow the red pipes. In the next room, exit through the sewer hole on your left.
You’ll emerge on the Tower’s exterior again, lined with sewer grates. Jump towards these sewer holes until you reach a dead end. Look up to see narrow pipes you can jump onto. Then, jump to the red pipe near the Tower’s corner. Use the nearby platform for support, but be cautious as it collapses quickly.
Navigate around the corner to find more platforms. This section features rotating metallic platforms that shift positions every few seconds. Wait for a platform to extend outwards, then jump towards it. Time your jumps carefully or utilize abilities like Strand or an Eager Edge Sword for easier traversal. Past the platforms, jump up the metal supports and enter the gap in the wall, being wary of Explosive Shanks.
You’re almost through this challenging section. Enter the chute on your right, hugging the left wall initially. Two blockades will attempt to crush you, one on the right, then one on the left. After passing the right blockade, immediately move to the right. This maneuver should narrowly avoid the second trap before the chute launches you into a new room. Use your jump to cushion your fall.
In this new room, facing the locked door, turn to the right corner to find another air duct. Break the grill and enter. You’ll find yourself in the puzzle room filled with spinning fans.
Read more about the Spinning Fans section below
Spinning Fans
This vertical shaft is manageable if approached cautiously. Land on the center of each fan, then jump into the red pillar of light at the shaft’s edge. Repeat this process, descending fan by fan. Be mindful of Explosive Shanks as you descend.
[ ](Spinning fans puzzle in Destiny 2 Zero Hour)
[ ](Chasm platform exit in Destiny 2 Zero Hour)
[ ](Switch at the end of chasm puzzle in Destiny 2 Zero Hour)
The final part of this section requires crossing a large chasm inside the Tower. Jump to the dimly lit platforms along the chasm’s edge. Slide down the ramp at the end and activate the switch on the wall to create a bridge for your fireteam. Enter another air duct to reach the infamous TR3-VR maze.
TR3-VR’s Maze
[ ](Layout of TR3-VR Maze in Destiny 2 Zero Hour)
Before reaching the Cryptarch’s Vault, you must navigate the Arc Subsystem and evade TR3-VR. This relentless cleaning bot patrols the subsystem’s corridors. Note the monitor by the overlook. Your objective is to activate four switches located around the subsystem’s perimeter. Drop down the nearby air duct to begin.
Track TR3-VR’s location by its bright red light and distinct mechanical sounds.
The Arc Subsystem is a tight labyrinth with limited maneuverability. The exit is directly opposite your starting point, but you must activate the switches first. If playing in a fireteam, split up. Assign players to different sides of the maze to expedite the process. Stick to the outer walls until you find openings, then follow the paths to each switch. Repeat this four times.
TR3-VR is the primary threat in this maze. It will attempt to eliminate you by ramming into your Guardian. Seek refuge in the square gaps in the walls. TR3-VR cannot reach you in these alcoves, but it will patrol the maze repeatedly, so move immediately after it passes. Activate all four switches, navigate to the subsystem’s exit, and avoid TR3-VR at all costs.
Reaching The Cryptarch’s Vault
Having cleared the maze, it’s time to reach the Cryptarch’s Vault, where Outbreak Prime was once held. Look for metal supports along the wall and climb them. The elevators are non-functional. Continue climbing until you see a narrow catwalk near the top. Ascend to the catwalk, then enter the air duct to slide down a long ramp. Stay in the middle while sliding. Veering to the sides will result in death.
[ ](Path to Cryptarch’s Vault in Destiny 2 Zero Hour)
[ ](Vault entrance path in Destiny 2 Zero Hour)
[ ](Hidden vault entrance in Destiny 2 Zero Hour)
After being launched into a new room, turn around and enter the doorway on your right. Instead of descending the stairs, slide through the open air duct. This will drop you into a vault filled with gold. Facing the massive vault door, turn around to see a series of L-shaped pipes with a diamond symbol. Interact with the wall to reveal the hidden path to the Cryptarch’s Vault.
[ ](Trap floor puzzle in Cryptarch’s Vault in Destiny 2 Zero Hour)
You’ve reached the final puzzle: a 6×5 grid floor rigged with incinerators. You must follow the correct path to cross safely. Any deviation will result in instant incineration. Like the parkour, the solution differs based on difficulty. Beyond this lies an optional vault puzzle and the final boss encounter.
The floor pattern changes daily, corresponding to Zero Hour’s active elemental surge. Paths are listed according to surge type.
Fighting The Boss
A Rally Banner can be deployed in the shallow water before entering the final air duct. Ensure you’re stocked on ammo before proceeding.
Outside the Cryptarch’s Vault awaits Siriks, of House Salvation. This large Fallen Vandal is the mission’s final boss. Siriks will teleport frequently around the hangar bay during the fight. Prioritize eliminating adds before focusing on Siriks, as they persist throughout both boss phases.
The first phase begins with waves of Fallen Dregs, Vandals, and two Turrets positioned on elevated platforms on Siriks’ side. Destroy the turrets immediately. These emplacements can quickly eliminate Guardians, even in Super states. Grenade Launchers and Rocket Launchers are effective here.
Each time you deplete a portion of Siriks’ health, he will teleport counter-clockwise. This also triggers new waves of adds.
- Initial spawn: No teleport. Spawns a Fallen Servitor and multiple Shanks.
- Teleports to the left stairs. Spawns Shanks.
- Teleports inside the hangar bay. Spawns a Fallen Servitor and Shanks.
- Teleports to the right stairs. Spawns Shanks.
- Teleports to the hangar bay exterior. Siriks remains here until reaching 20% health.
[ ](Final boss Seriks returns as a Brig in Destiny 2 Zero Hour)
Upon reaching 20% health, Siriks retreats and summons two Fallen Walkers on elevated platforms. If the turrets are still active, eliminate them now. Destroy the Fallen Walker legs to expose their cores, then destroy the cores. Repeat until all adds are defeated.
The second phase begins with Siriks returning in a Brig, accompanied by numerous adds. This phase can become chaotic quickly. Deploy your Super if available to clear adds and control the area. Utilize cover on the hangar’s lower floor when possible. Brigs are immune to precision hits, so focus on abilities and explosive weapons like Grenade Launchers and Rocket Launchers to inflict damage.
Around 30% health, the Brig’s headcase will break, revealing a weak point. Switch to precision weapons like Sniper Rifles to finish off the boss. The mission timer stops upon Siriks’ defeat. Open the chest left by Mithrax to claim your rewards. If this is your first Zero Hour completion, speak to Ada-1 to receive your Outbreak Perfected crafting pattern.
Vault Floor Puzzle Solutions (Normal)
| ARC SINGE |
|---|
| Image of Arc Singe Icon |
| End Point |
|---|
| ↑ |
| → |
| ↑ |
| ↑ |
| ↑ |
| ↑ |
| Start Point |
| VOID SINGE |
|---|
| [ ](Destiny 2 Void Titan Icon) |
| End Point |
|---|
| ↑ |
| ↑ |
| ↑ |
| → |
| ↑ |
| ↑ |
| Start Point |
| SOLAR SINGE |
|---|
| Image of Solar Singe Icon |
| End Point |
|---|
| ↑ |
| → |
| ↑ |
| ↑ |
| ↑ |
| ↑ |
| Start Point |
Read more about Vault Puzzle Solutions (Legend) below
Vault Floor Puzzle Solutions (Legend)
| ARC SINGE |
|---|
| [ ](Destiny 2 Arc Hunter Icon) |
| End Point |
|---|
| ↑ |
| ↑ |
| ↑ |
| ↑ |
| ↑ |
| ↑ |
| Start Point |
| VOID SINGE |
|---|
| Image of Void Singe Icon |
| End Point |
|---|
| ↑ |
| → |
| ↑ |
| ↑ |
| ↑ |
| ↑ |
| Start Point |
| SOLAR SINGE |
|---|
| [ ](Destiny 2 Solar Warlock Icon) |
| End Point |
|---|
| ↑ |
| ↑ |
| ↑ |
| → |
| → |
| ↑ |
| Start Point |
Read more about Outbreak Refined Quest Guide below
[ ](Guardians fighting Fallen and Tormentor in Destiny 2 Onslaught)
Related: Destiny 2: The Best Rolls For The New Into The Light Weapons
Discover the best perk combinations for Destiny 2: Into the Light’s Brave weapons.
Outbreak Refined Quest Guide
Outbreak Perfected features three intrinsic upgrades unlocked through the “Outbreak Refined” questline, obtained from Ada-1 after completing “Asset Protection.”
Outbreak Refined I
The first quest step requires collecting SIVA Clusters from Fallen enemies in the Cosmodrome. Defeat Fallen anywhere in the Cosmodrome to gather SIVA Clusters. You don’t need to use Outbreak Perfected for cluster generation; any weapon will work.
Next, you must activate switches in Legend Zero Hour. These switches are located immediately after entering the Covert Passage. Upon entering the air duct in the storage room, head left towards the catwalks. After eliminating the Fallen Captains, activate the following switches:
- The switch in the room’s corner, which opens Silo Hatch #4.
- The switch on the wall adjacent to switch #1, granting the “Catalyst Switch Primed” debuff.
- The switch in the air duct above Silo Hatch #4, as you would normally access on a Legend run. When you slide through the duct into a storage room, find a switch to your left.
- Backtrack to switch #2. Drop down the hatch, jump across the chasm to the faint waterfall, proceed through the red pipes, and jump across the silo to reach it again.
Completing these steps finishes this quest stage. Complete Zero Hour on Legend difficulty and return to Ada-1 to unlock Rapid Hit as a crafting option for Outbreak Perfected.
[ ](Rainbow Road Pyramid in Destiny 2 Prophecy Dungeon)
Related: Destiny 2: How To Get Through The Prophecy Dungeon And Defeat Its Bosses
Conquer the Nine’s challenges in the Prophecy Dungeon for reissued Trials of the Nine weapons.
Outbreak Refined II
Speak to Ada-1 after acquiring Outbreak Perfected to start this quest. She tasks you with eliminating Fallen in the Exodus Garden 2A Lost Sector in the Cosmodrome, located south of The Steppes spawn point. Enter Dock 13 into The Divide, then access the ruined building in the southeast corner.
After defeating enough enemies, you’ll need to activate another pair of switches in Legend Zero Hour (Normal difficulty does not count). Complete the mission until you reach the narrow chasm after climbing the opened hatch. Once you’ve cleared the Vandals on the platforms, activate the switch near the chasm’s entrance, opposite the air duct. This grants the “Catalyst Switch Primed” buff.
From there, exit the chasm via the air duct. You’ll enter a tight space with red pipes. Navigate around the red pipes to find the second switch. Completing this in time advances the quest. Finish a Legend Zero Hour run and return to Ada-1 to unlock Rewind Rounds Retrofit for Outbreak Perfected.
Outbreak Refined III
The final Outbreak intrinsic quest continues the pattern. Speak to Ada-1, then eliminate enemies in The Devils’ Lair strike in the Cosmodrome. Launch the strike from the Cosmodrome map and farm kills until the objective is complete. Again, Outbreak Perfected is not required for progress.
With SIVA Nanites collected, find the final switches in Legend Zero Hour. Play the mission until you reach the Tower wall parkour section, where you exit a sewer tunnel to traverse the outer wall. Before exiting outside, take the right tunnel exit, not the left. Follow the path to your right to find a switch above a narrow platform.
Activate this switch, then navigate to the opposite end of the wall. Traverse the sewer pipes as usual until you can no longer proceed, then jump up the two metal pipes above. At the top, turn left to see the final switch. Jump across and activate it.
With the final switch activated, complete a Legend Zero Hour run and speak to Ada-1 to claim Outbreak Perfected’s final trait: Headseeker.
Cryptarch’s Vault Puzzle Guide
[ ](SIVA Hologram in Tower Plaza for Cryptarch’s Vault Puzzle in Destiny 2 Zero Hour)
The Cryptarch’s Vault contains a hidden puzzle to unlock components of the Vimana Junker Exotic ship, a variant of the original Zero Hour ship. You must solve three vault puzzles, one per week, to earn the ship. Puzzles rotate weekly, requiring at least three weeks to acquire the ship.
Before starting each vault puzzle, you must shoot three SIVA Holograms scattered throughout the Zero Hour mission with Outbreak Perfected. Locations for each puzzle’s holograms are detailed below; they change weekly. After destroying all three Holograms, you’ll see “Sequence Accepted.” Continue the mission until you reach the vault to solve the puzzle.
How To Solve Each Puzzle
[ ](Cryptarch’s Vault puzzle interface in Destiny 2 Zero Hour)
Each puzzle follows the same process. In the southwest corner of the vault room, a monitor displays:
- Three symbols in the top-right corner.
- Colored arrows below each symbol.
The symbol represents a specific room layout. The vault layout on the right of the screen shows gray boxes within each room. Connecting the corners of these boxes forms the shape indicated by the symbol. For example, the bottom-left room has four boxes in a square, corresponding to the square symbol.
Once you identify the room for each symbol, you can solve the puzzle. Enter the correct room and input the codes indicated by the arrows under the corresponding symbol. For the first column of symbols under the square symbol, enter the square room in the vault’s bottom-left corner. Follow the arrows on your map, top to bottom, to input the correct code.
Arrows are color-coded to indicate panel locations. Gray arrows denote panels inside the shape room, while red arrows indicate panels outside the room.
Input the correct code for each room to complete the weekly puzzle. The mission timer continues during the puzzle, so be quick. Normal difficulty is recommended for more time. Puzzles can be attempted on both Normal and Legend.
Vault Puzzle #1
[ ](Solution for the Square Room Vault Puzzle in Destiny 2 Zero Hour)
| Hologram Location | Tower Plaza |
|---|---|
| Vault Room | Square |
| Rewards | Intrinsic II Upgrade, Vimana Junker Schematic |
Start Zero Hour and proceed to the Tower Plaza, the combat encounter with the Brig. Clear the area and equip Outbreak Perfected. Go up the ramp you entered from and interact with the terminal on the wall. This spawns three SIVA holograms that must be destroyed with Outbreak Perfected.
The hologram order is randomized weekly. Determine the correct order by observing the terminal interface. A nearby hologram (in this case, next to the hangar entrance) indicates the next hologram to shoot. For the example mission:
[ ](Starting terminal for SIVA Hologram puzzle in Tower Plaza in Destiny 2 Zero Hour)
[ ](Path to first SIVA Hologram in Tower Plaza in Destiny 2 Zero Hour)
[ ](Location of first SIVA Hologram in Tower Plaza in Destiny 2 Zero Hour)
[ ](First SIVA Hologram in Tower Plaza in Destiny 2 Zero Hour)
[ ](Path to second SIVA Hologram in Tower Plaza in Destiny 2 Zero Hour)
[ ](Ramp leading to second SIVA Hologram in Tower Plaza in Destiny 2 Zero Hour)
[ ](Second SIVA Hologram in Tower Plaza in Destiny 2 Zero Hour)
[ ](Path to third SIVA Hologram in Tower Plaza in Destiny 2 Zero Hour)
[ ](Third SIVA Hologram in Tower Plaza in Destiny 2 Zero Hour)
- Near the Tower Plaza exit, turn around. The hologram is on the wall.
- Return to the ramp and turn around. It’s on a pillar to your left.
- Drop down and proceed towards the Postmaster building. Pass it, turn around, and find the hologram on the building’s wall.
Randomized Order:
[ ](SIVA Hologram order indicator in Tower Plaza in Destiny 2 Zero Hour)
Your order might differ. Use the hologram near the hangar entrance as a reference to identify the required symbol to shoot.
Correctly destroying the holograms will display “Sequence Completed.” You can now unlock the Square room in the Cryptarch’s Vault. The image above shows the solution. Input the code to receive the first intrinsic upgrade for Outbreak Perfected.
Vault Puzzle #2
[ ](Solution for the Diamond Room Vault Puzzle in Destiny 2 Zero Hour)
| Hologram Location | Covert Passage |
|---|---|
| Vault Room | Diamond |
| Rewards | Intrinsic III Upgrade, Vimana Junker Schematic |
The second vault puzzle requires destroying three holograms in the Covert Passage, the landing pad before the Normal/Legend path split. Equip Outbreak Perfected and proceed to this area. Slide into the air duct behind the docked ship to start the challenge.
Destroy the three holograms. The order is randomized weekly. For the example run, the order was:
- Immediately left upon exiting the air duct, beside a staircase.
- Go to the top of the landing pad with the air ducts. The hologram is in a corner of the perimeter wall.
- Descend one set of stairs and turn around. Shoot the hologram on the wall.
If done correctly, “Sequence Completed” appears. Reach the Cryptarch’s Vault and input the diamond room code from the image above. This unlocks Intrinsic III for Outbreak Perfected and progresses towards the Vimana Junker ship.
Vault Puzzle #3
[ ](Solution for the Trapezoid Room Vault Puzzle in Destiny 2 Zero Hour)
| Hologram Location | TR3-VR Maze |
|---|---|
| Vault Room | Trapezoid |
| Rewards | Intrinsic III Upgrade, Vimana Junker Schematic |
The final vault puzzle requires shooting three holograms in the TR3-VR Maze near the mission’s end. This can be done on Normal or Legend; Normal is recommended for more time.
Upon entering the maze, enter the cubby on your left. Interact with the terminal inside to spawn the holograms. Use the hologram near the bottom-left switch as a reference. The order is random. In the example run, the order was:
- In the central chasm of the maze, on the left side.
- In the bottom-left corner of the maze, by the cubby where you started the puzzle.
- In the left hallway directly after hologram #2 (in the U-shaped tunnel at the bottom-left of the maze).
After destroying all three holograms, solve the third vault puzzle. Reach the Cryptarch’s Vault and input the trapezoid room code from the image above. Success unlocks the final intrinsic upgrade for Outbreak Perfected and the Vimana Junker ship.
[ ](Destiny 2 Pantheon Raid Activity Icon)
Next: Destiny 2: A Complete Guide To Pantheon
Explore Destiny 2’s Pantheon raid boss gauntlet for Exotic raid weapons and adept gear.