Embarking on your Dwarf Fortress adventure can feel like diving headfirst into a chasm of complexity. This simulation game is renowned for its depth, detail, and, let’s be honest, its initial learning curve. But fear not, aspiring Overseer! This beginner guide will provide a clear flow to get your fortress up and running, focusing on those crucial first steps to ensure your dwarves not only survive but thrive. Let’s break down the essential actions to take right from the start and pave your way to legendary fortress status.
Embark and Initial Setup: The First Unpause
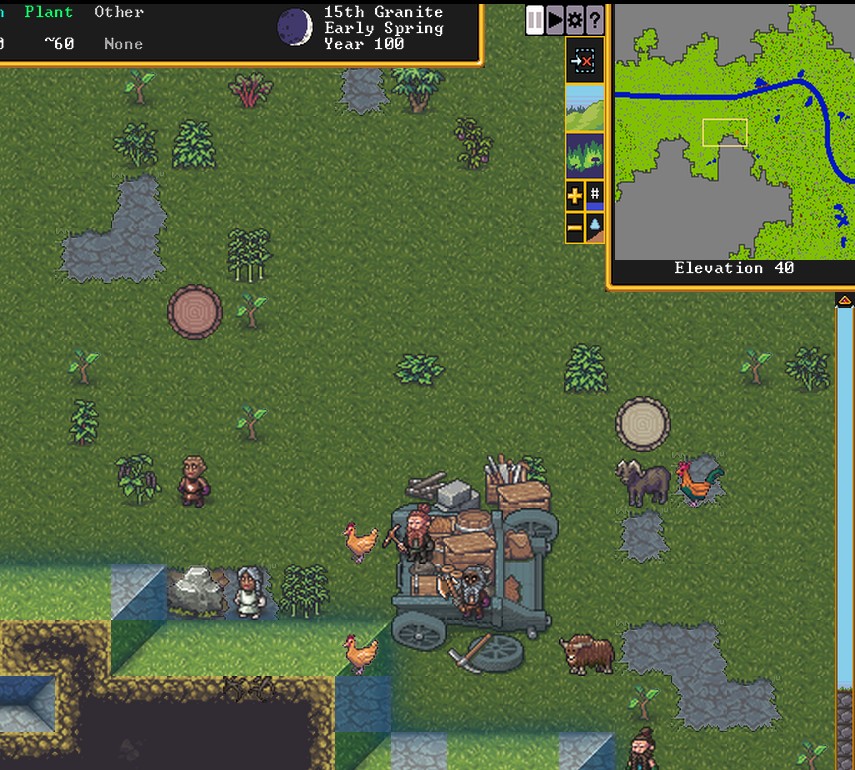
As your wagon creaks to a halt, you’ll be greeted with an Embark message. This message is more than flavor text; it’s your mission briefing, highlighting the local wildlife and potential threats. Pay attention to the mention of animal predators – survival is the name of the game in Dwarf Fortress. Hit ‘ok’ to dismiss the message, but keep its wisdom in mind.
The very first thing you need to do is pause the game. Look at the top right corner of your screen, near the map. If you see ” > ” or “II”, the game is running. Press the Spacebar to pause (it should show “II”). Pausing gives you precious time to plan and issue orders before chaos (or hungry creatures) ensues.
Your initial winter goals are clear: establish basic defenses, set up kitchens to feed your dwarves, create beds for rest, and build a Trade Depot for future commerce. But how do you translate these goals into action?
Understanding Dwarf Labors: Delegating Tasks
In Dwarf Fortress, you don’t directly control individual dwarves like in other strategy games. Instead, you assign tasks, and dwarves with the appropriate “Labor” skill will perform them. The good news for beginners is that in this version, dwarves are initially generalized. This means they can perform a wide range of tasks until you specialize them. The dwarf best suited for a job will generally take it on, gaining skill and efficiency over time.
To optimize workflow, you can fine-tune labor assignments. For specialized roles or to ensure your best dwarves handle critical tasks, delve into the Labor menu’s “Work Details” and adjust individual dwarf labor preferences.
Getting Things Done: Your Action Flow
Dwarf Fortress offers several ways to get your fortress operational:
- Zones: These are designated areas where tasks are performed automatically if the necessary resources and dwarves with the correct labors are available. Think of zones for fishing, animal training, or collecting resources.
- Designations: These are orders for specific actions like mining out areas, cutting down trees, or dumping unwanted items.
- Orders (Workshops & Manager): Workshops allow you to create specific items or set up repeating work orders managed by your Manager noble.
- Stockpiles: Designated areas for storing goods. Hauling labors ensure items are moved to the correct stockpiles.
- Buildings: Constructing essential buildings like beds, tables, chairs, and a well is crucial for basic comfort and functionality. Traps are also placed as buildings.
- Nobles: Assigning dwarves to Noble positions is necessary for certain functions and, well, managing nobles is a key part of Dwarf Fortress “fun.”
- Militia Commander: Appointing a Militia Commander (through Nobles menu) unlocks the ability to create military squads for defense.
Familiarizing Yourself with the UI: Your Command Center
The User Interface (UI) in Dwarf Fortress is your control panel. It might seem overwhelming at first, but it’s the key to managing your fortress effectively. The advice for new players is often: “Click through every tab and window before unpausing.” This is genuinely good advice. Take this paused moment to explore the menus, understand the different options, and get a feel for how you’ll interact with the game.
Most of your initial setup can be done while paused. You might hold off on assigning certain noble positions like Sheriff until your first migrant wave arrives and you have more dwarves to choose from.
Essential Early Game Workshops and Stockpiles
With the basics understood, let’s focus on the first buildings you need to prioritize. Workshops are where your dwarves craft items and process resources.
Workshop Priorities: The Foundation of Your Fortress
“Masons” and “Carpenters” workshops are paramount in the early game. Masons create stone blocks from mined stone, essential for building walls, floors, and furniture. Carpenters work with wood to produce beds, barrels, doors, and other wooden structures.
“Crafter’s” workshops are versatile and crucial for creating items like buckets, which are needed for wells and managing liquids. “Mechanic’s” workshops allow you to build mechanisms, which are vital for drawbridges – your first line of defense.
Above all, construct a “Kitchen” and a “Still” immediately. These are the lifeblood of your fortress, providing food and drink for your dwarves.
Each workshop can perform one-off tasks or be set up with automated Work Orders. Work Orders allow you to automate production, ensuring a constant supply of essential items. For example, in the Kitchen, you can create a Work Order to “Cook Easy Meal” and set conditions so it only runs when ingredients are available. The work order screen provides helpful suggested parameters to guide you.
Kitchen Setup: Food and Drink Flow
Navigate to the Labor menu (press ‘y’) and find the Kitchen controls tab. Here are some key kitchen management tips:
- Seed Management: Seeds are sometimes produced during processing or brewing. To prevent dwarves from cooking valuable seeds, forbid the cooking of anything that can be brewed!
- Fat and Tallow: Consider forbidding the cooking of some fat/tallow. These can be reserved for soap making later on.
- Never Cook Seeds or Drinks! Dwarves need drinks for mood and happiness. Cooking drinks is a big no-no.
Stockpile Management: Organizing Your Resources
Create a “Seeds” stockpile and crucially, disallow barrels in it. This forces barrels to be used for drinks in other stockpiles and prevents your planters from hauling heavy barrels of seeds around. Efficient stockpile management is key to a smooth-running fortress.
Military and Defense Basics: Protecting Your Fortress
Defense is paramount in Dwarf Fortress. You’ll need to establish a military to protect against threats.
Militia Squads: Your First Line of Defense
First, assign a Militia Commander noble. You’ll likely start with a single squad led by this commander.
Important Labor Caveats for Military Dwarves: Avoid assigning dwarves with the following labors to military squads: Fishing, Hunting, Wood Cutting, Mining, and Hammerer (due to potential loyalty cascade issues). These labors can interfere with military AI logic.
Squad Equipment and Scheduling
Once a dwarf is equipped with a crossbow, quivers and bolts will automatically be added to their uniform.
Squad schedules are highly customizable. You can assign different orders to squads in different months. For example, you could have “2 dwarves from Squad A train, 2 patrol, and 4 guard a specific location in X month.”
Tip: Rotate your squads! Dwarves perform better with downtime. Aim for 2-3 months of duty followed by 2-3 months off. You can create multiple schedules to ensure continuous military coverage with rotating squads.
Training and Uniforms
Military training requires a designated “Barracks” zone assigned to the squad. Barracks should contain furniture like cabinets and ideally, Archery Targets for ranged training. (For archer barracks, consider a full set of 10 archery targets. Remember to set the facing direction of archery targets after placement.)
Dwarf armor is layered, covering each body part with soft and hard layers. You can specify materials for each layer, including metal for hard layers. In the early game, until you have full armor sets, it’s recommended to set uniforms to be worn “OVER clothing.”
A basic militia armor set example:
- Hood with metal Helm
- Cloak with metal chain shirt and metal breastplate (or cloak and leather chest armor)
- Trousers with Greaves
- Gloves with metal Gauntlets
- Socks with High Boots
- Shield
- Weapon of choice
Basic Defenses: Walls and Drawbridges
For early defense, a smooth outer wall combined with a drawbridge is a standard and effective starting point. Explore the build menu for traps and consult the Dwarf Fortress Wiki for more elaborate defense strategies as you progress.
Conclusion: Strike the Earth!
Your initial focus should be on brewing everything at the Still, getting your farms planted, and building that Trade Depot before Autumn arrives. This flow chart, from embark to basic defenses and production, sets you on the path to establishing a thriving (and hopefully disaster-resistant) Dwarf Fortress.
For deeper knowledge and advanced techniques, the Dwarf Fortress Wiki and content creators like Kruggsmash on YouTube are invaluable resources. Now, unpause, embrace the chaos, and strike the earth! Good luck, Overseer!

