Swarm mode in League of Legends has quickly become a fan favorite, offering a thrilling Player vs Environment (PvE) experience that tests your survival skills. If you’re familiar with Riot’s past game modes, Swarm takes the best elements and elevates them to a whole new level. Whether you prefer to fight solo or team up with friends, Swarm provides endless replayability.
In this action-packed mode, you choose from nine diverse champions – Jinx, Seraphine, Aurora, Illaoi, Leona, Xayah, Yasuo, Riven, and Briar – each with unique abilities to combat the relentless waves of enemies. Across four distinct maps, you’ll face challenging bosses and iconic League of Legends characters like Aatrox, Yuumi, and Rek’Sai, among others.
This guide dives deep into each map, equipping you with essential strategies to succeed in every game. While champion choice and personal playstyle will influence your approach, these fundamental tactics will give you a significant edge, whether you’re playing alone or with a squad, and regardless of the difficulty level.
Before we delve into map-specific strategies, be sure to check out our comprehensive Beginner’s Guide to Swarm and our detailed Swarm Mode Breakdown for a broader understanding of the game mode. For more in-depth League of Legends content and guides, visit the Mobalytics Blog.
Mastering Swarm Gameplay: Core Strategies
Let’s establish some crucial gameplay principles that will serve you well across all Swarm maps. Remember, there’s no single “right” way to play, and experimentation is key to finding what suits you best. This guide offers a foundation based on successful strategies for unlocking champions and maximizing stats. Adjust these tips to your chosen champion and playstyle for optimal results.
A consistent early-game approach is vital for success in Swarm. Focus on maximizing XP gain by eliminating as many enemies as possible in the initial minutes. Reaching level 3 unlocks your E ability, and level 6 grants access to your Ultimate, significantly boosting your combat effectiveness.
Exploration and map awareness are paramount. Continuously rotate around the map, particularly focusing on the outer edges, to discover valuable loot boxes.
Loot boxes are your lifeline in Swarm, providing essential resources like gold, experience points, and health replenishment. Maintain a dynamic movement pattern, circling the map while collecting these crucial boxes.
Engage with Yuumi’s missions as they appear to secure beneficial in-game bonuses. When mini-bosses spawn, prioritize eliminating them swiftly to acquire cards. These cards can be used immediately or saved to empower your weapons later. Similarly, complete Bel’Veth missions to gain further advantages.
Map-by-Map Domination: Strategy Guides
With a solid grasp of core gameplay, let’s explore each map and its unique challenges. Assuming you implement the basic strategies discussed, you’ll be well-prepared to tackle any map in Swarm.
Warehouse District: Rek’Sai’s Lair
The Warehouse District is the initial map in Swarm. Your objective here is to survive for 15 minutes and defeat the boss, Rek’Sai.
Warehouse District Tactics
This map features a central fountain that, once captured, provides healing. While tempting, avoid relying on it too heavily early on due to its cooldown. Reserve the fountain for later stages when health becomes more critical. Positioning near the fountain in the late game is advantageous for quick heals, especially if health drops are scarce.
Areas to Navigate Carefully
In the Warehouse District, tightly confined areas can hinder your movement and make you vulnerable. The bottom right section of the map is particularly challenging due to its narrow pathways. Unless you wield weapons with significant Area of Effect (AOE) damage, navigating this area can lead to taking unnecessary damage.
Instead, prioritize open areas, especially around the central fountain, for greater maneuverability. The mid-map area allows for easy rotation and access to the fountain’s healing. Alternatively, the top left side of the map offers opportunities for spawn-trapping enemies, maximizing XP and loot box acquisition early in the game.
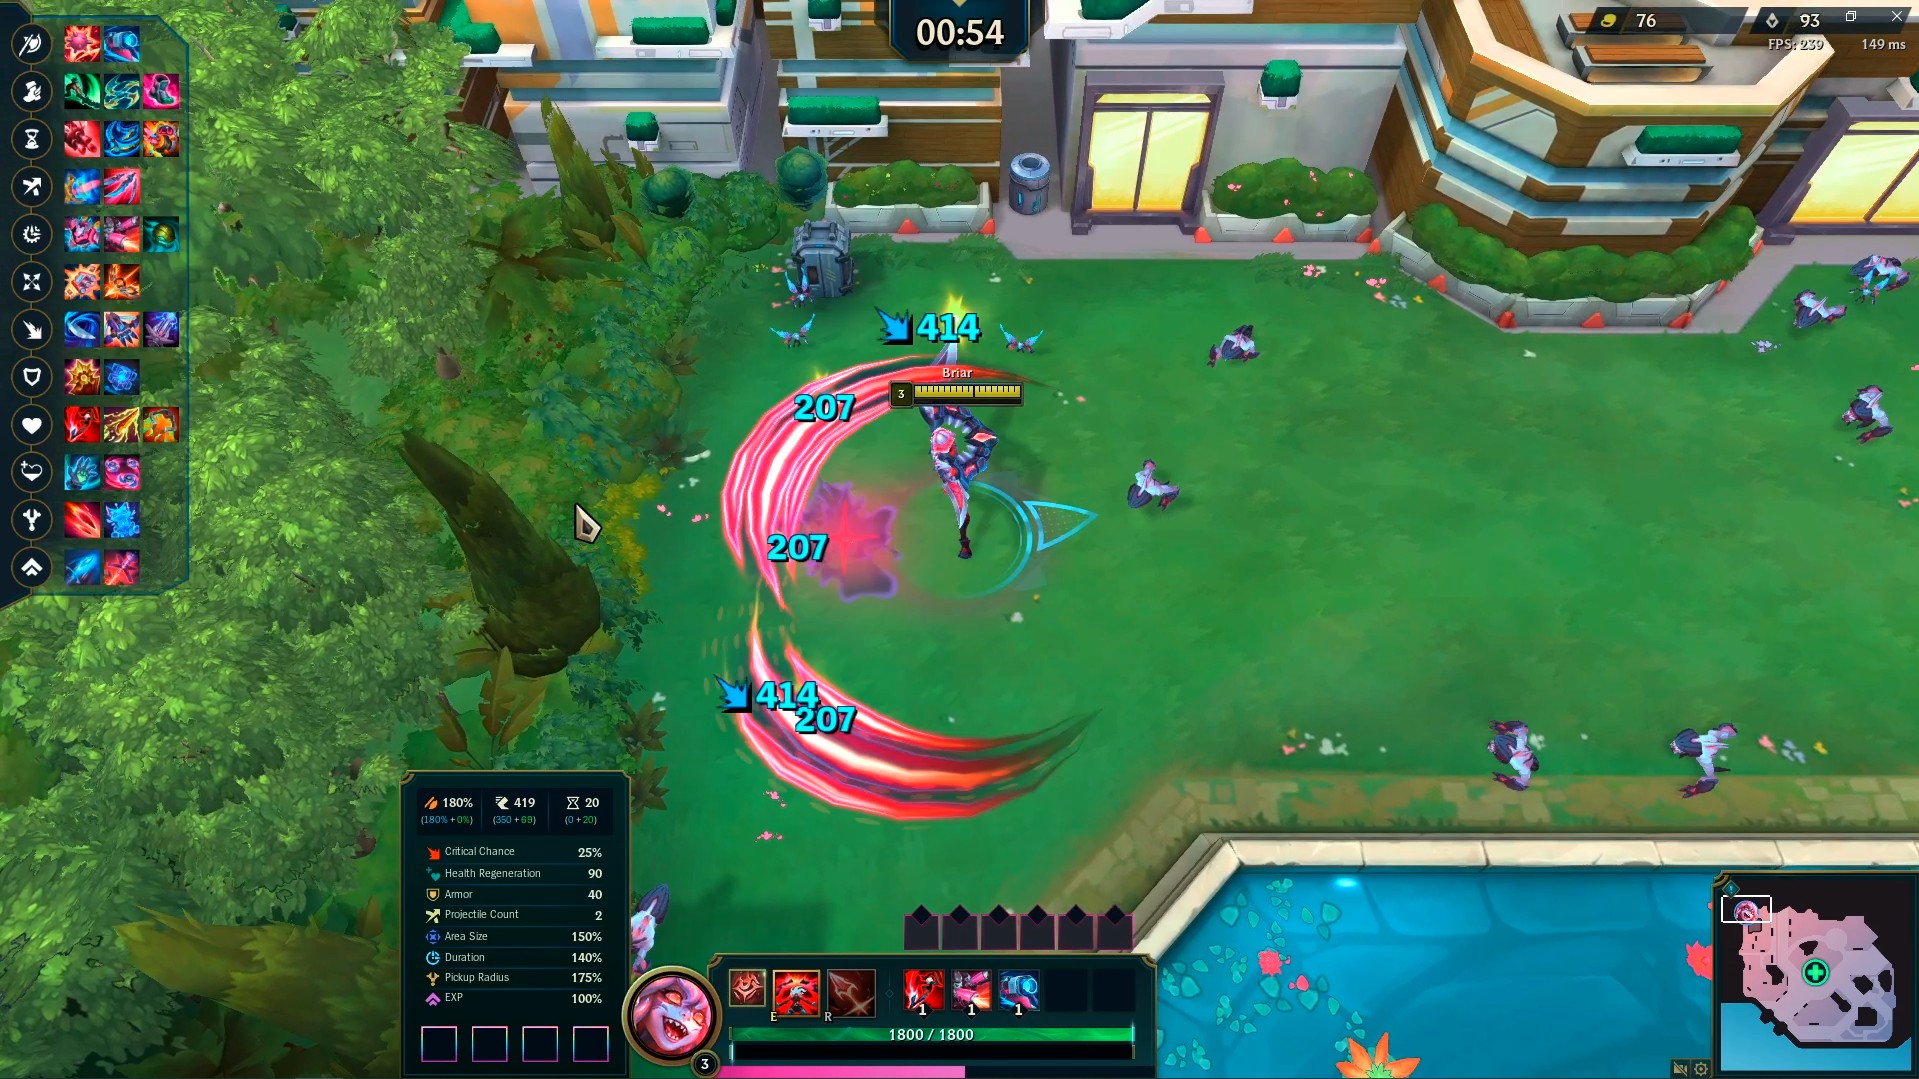
The Outskirts: Confronting Briar
The second map, The Outskirts, culminates in a battle against Briar, the formidable final boss who appears after the 15-minute mark and deals substantial damage.
The Outskirts Unique Feature: The Cannon
The Outskirts map introduces a unique element: a powerful cannon located at the top of the map. Activating this cannon requires batteries, which spawn around its base. Once a battery is placed, the cannon unleashes devastating shots at enemies. Similar to the fountain, the cannon has a cooldown, so strategic deployment is crucial. Collect batteries early and hold onto them, deploying the cannon when enemy waves become overwhelming. Playing near the cannon allows for quick battery access and strategic cannon activation.
Navigating The Outskirts Effectively
Besides the bottom right corner’s enclosed dome, The Outskirts offers relatively open terrain. The bottom right dome area is clearly an area to avoid due to its lack of space and guaranteed death.
Focus on the central map area for ample maneuvering room and reduced risk of being surrounded. Battery spawns are concentrated in the middle, near walls, and around the cannon, making the center a strategic hub for both survival and cannon utilization.
Subterranean Lab: Bel’Veth’s Domain
The Subterranean Lab, the third map, demands survival for 15 minutes, enduring intense mob waves, and ultimately defeating the boss, Bel’Veth.
Subterranean Lab Environmental Control: Freeze Zones
This map features two strategically placed freeze zones. Activating these zones requires briefly staying within their area, causing them to freeze enemies. While not essential in the early game, these zones become invaluable in later rounds as enemy density increases. Don’t hesitate to utilize these zones to control enemy swarms, especially during challenging waves.
Maneuvering in the Lab
The top right corner of the Subterranean Lab presents limited space and should be approached cautiously. While AOE weapons can make it viable for early XP farming, avoid this area in later stages to prevent being overwhelmed.
Prioritize open areas while maintaining proximity to the freeze zones. Effective rotations are key on this map. After utilizing one freeze zone (e.g., the bottom zone), reposition to the opposite side of the map (top side) while the zone recharges, maximizing zone uptime and enemy control.
The Beachhead: Aatrox’s Final Stand
The Beachhead is the final and potentially most challenging map in Swarm. To conquer it and unlock matchmaking, you must survive for 15 minutes and defeat Aatrox… multiple times.
Beachhead Map Features: Miss Fortune and Cannons
The Beachhead map boasts two primary features. Miss Fortune, positioned above the city on the left, provides aerial support, eliminating enemies and granting you XP for her kills. Cannons are deployed on the right side, along the beach and near Miss Fortune, offering consistent fire support against enemy waves. Your positioning strategy should revolve around utilizing either Miss Fortune’s city support or the beach cannons, depending on your champion and preferred playstyle.
Strategic Positioning on the Beachhead
Avoid the pathways leading directly to the beach, as these become chokepoints in later waves, leading to enemy swarms. Similarly, the left side city pathways can become restrictive and dangerous. Open areas are paramount for survival, allowing for greater kiting and escape routes.
Two main positioning strategies emerge for The Beachhead. Playing on the beach leverages the cannon support, while playing within the city utilizes Miss Fortune’s aid. Personal preference, champion selection, and team composition should guide your choice. Melee champions often thrive on the beach, benefiting from cannon fire, while ranged champions may prefer the city, utilizing Miss Fortune’s area damage.
Conclusion: Adapt and Conquer Swarm
While these map strategies provide a strong foundation, remember that adaptability is key to mastering Swarm. Experiment with different approaches and refine your tactics based on your experiences. Solo play strategies may need adjustments when playing with others, and champion choice significantly impacts optimal gameplay.
By integrating these fundamental map strategies and adapting them to your specific circumstances, you’ll be well-equipped to overcome the challenges of Swarm mode and defeat all the bosses efficiently. Remember that upgrades and weapon evolutions also play a crucial role in your overall success.
We hope this guide has been informative and helpful, especially for players new to vampire survivor-style games. Don’t miss out on the excitement of Swarm – this limited-time game mode offers a unique and engaging League of Legends experience.
Explore more guides and content on the Mobalytics Blog to further enhance your League of Legends journey.
Beginners Champions LoL Swarm