Venturing into the eastern reaches of the Shadow Realm in Elden Ring’s Shadow of the Erdtree DLC, players will encounter the Abyssal Woods, a truly harrowing location. This area presents a unique challenge for even the most seasoned Tarnished, demanding a shift in tactics from brute force to cunning and stealth. Cloaked in oppressive darkness and plagued by madness, the Abyssal Woods introduces a novel gameplay element: pure stealth sections where direct combat is not a viable option.
For players accustomed to overcoming every obstacle with skill and determination in Elden Ring, the Abyssal Woods represents a significant departure. Here, survival hinges not only on combat prowess but also on strategic thinking and careful movement. Navigating this treacherous region requires a blend of patience, observation, and a willingness to embrace a more cautious approach. While daunting, the Abyssal Woods holds substantial rewards for those brave enough to delve into its depths, including access to some of the most compelling sub-areas within the entirety of Elden Ring.
This guide will provide a comprehensive walkthrough of the Abyssal Woods, equipping you with the knowledge and strategies necessary to overcome its challenges and reap its hidden treasures.
Abyssal Woods Walkthrough
To reach the Abyssal Woods, your journey begins in the Main Plaza of the Black Keep. After resolving the consequences of the Great Rune breaking and defeating the boss guarding the main gate, continue deeper into the castle.
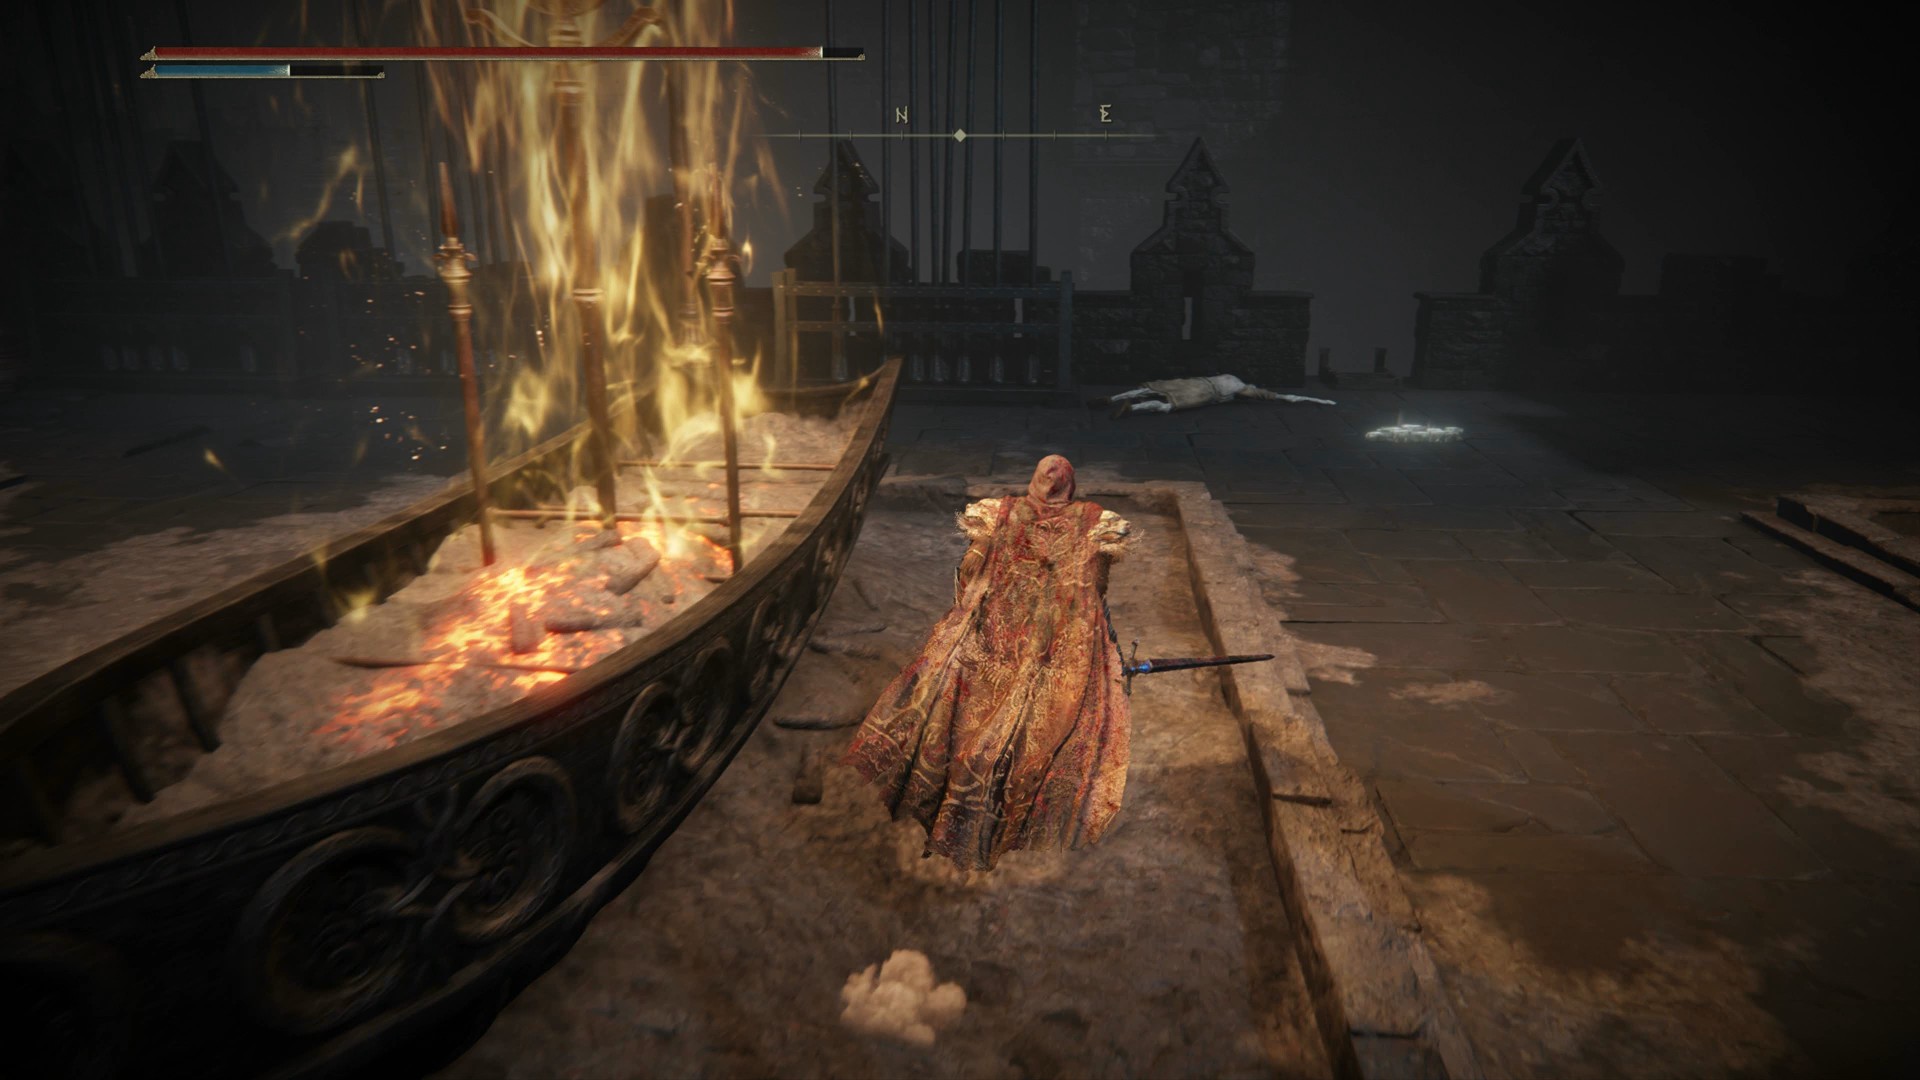
Progress through the ranks of Messmer Knights and Black Knights until you arrive at the battlements, characterized by distinctive glowing boats. Instead of turning left into the castle interior at this point, proceed straight ahead towards the end of the rampart.
To your left, you’ll find a ladder leading down to a basement area. Descend the ladder to discover a stone coffin, which serves as a transport to a new location: the Castle Watering Hole.
Once in the Castle Watering Hole, ride through the Ruins of Unte and head south, following the course of the Recluses’ River.
At the river’s end, drop down to the lower level and continue south, utilizing the prominent, giant headstones embedded in the cliff wall to descend further. Continue your southward trajectory, passing the Village of Flies. The path will eventually turn eastward, leading you to the entrance of the Darklight Catacombs.
Navigate through the multi-tiered Darklight Catacombs, culminating in a boss encounter with Jori, Elder Inquisitor, behind a fog gate. Defeating Jori will clear the path to the Abyssal Woods, allowing you to finally enter this foreboding area.
Forsaken Graveyard Site of Grace
As you step into the dimly lit Abyssal Woods, take a moment to read the ominous messages left on the ground, hinting at the dangers ahead. It’s advisable to proceed through the Abyssal Woods in a linear fashion to avoid becoming disoriented in its shadowy depths. Be warned, this area is heavily afflicted by Madness, a status effect many players consider among the most frustrating in Elden Ring, rivaling even Scarlet Rot in its disruptive nature.
Madness in Elden Ring is unique in its psychological impact, mirroring the character’s affliction with a sense of real-world unease. The rapid build-up of Madness can quickly deplete your health and leave your character vulnerable. However, a cautious, stealth-oriented approach can significantly mitigate this threat. By crouch-walking, you can bypass many enemies and reduce the rate of Madness accumulation. This is particularly useful when dealing with the area’s large, aggressive rats.
From your starting point, follow the worn path ahead, passing the Woodland Trail Site of Grace. Soon, you will be confronted by the Madness Hand invader.
The primary danger posed by the Madness Hand is not necessarily its direct damage output, but the rapid Madness build-up it inflicts. If left unchecked, Madness can quickly overwhelm you.
However, like other NPC invaders in Elden Ring, the Madness Hand is susceptible to aggressive tactics. Instead of giving it space and time to utilize its abilities, take the initiative and attack first. The Madness Hand’s light armor offers little Poise, meaning it can be easily staggered and interrupted. Employ a relentless close-range assault, depleting its health before it can effectively retaliate.
If you maintain this aggressive pressure, the Madness Hand will likely attempt to heal rather than counter-attack when it manages to create distance. This provides an opportunity to reset, re-engage, and continue your offensive, ultimately securing victory.
Continue down the path, now utilizing crouch-walking to evade the attention of the madness-inducing rats if desired. You will soon arrive at the Abandoned Church. Here, you will find the Abyssal Woods map, a Site of Grace, a valuable Scadutree Fragment, and a Madness perfumer bottle – a rewarding discovery for your efforts.
Church Ruins Site of Grace
Leaving the Abandoned Church, proceed southwest along the path, now guided by the map you acquired. Maintain a stealthy crouch-walk to avoid the rats, allowing you to appreciate the eerie atmosphere of the woods. While there are several side paths, often swarming with rats and containing minor items, they generally do not offer rewards commensurate with the risk of increased Madness build-up.
As you progress, the path will lead you through a stream and into a field of distinctive yellow flowers. Here, you will encounter another set of messages on the ground, along with a looming, ominous figure patrolling a pool of water to the west.
These figures are Wormfaces, and they represent a significant shift in gameplay. As the messages indicate, these are unkillable enemies. Direct combat is futile; stealth is your only option for survival.
These stealth sections, while demanding, are not insurmountable and offer a unique, atmospheric experience. Embrace the tension of evading an invincible foe.
Engage stealth mode by pressing the left stick to crouch, and slip into the dense bushes in front of the Wormface. Wait for the creature to turn its back, then carefully move between patches of cover to reach the next area.
Patience is key. Ensure the Wormface is genuinely facing away before making your move. Remember you can hold Circle/B while crouching to move slightly faster when necessary.
Be vigilant for the orb-like, jingling flowers protruding from the bushes. Contact with these flowers will alert the Wormfaces to your presence, so carefully navigate around them.
Upon successfully navigating the stealth section, you will emerge into a wider clearing with a prominent tree in the center. Head to the right, northeast, and you will spot the Abyssal Woods Site of Grace on your left, providing a safe haven.
Abyssal Woods Site of Grace
From the Abyssal Woods Site of Grace, you will find another set of messages, directing you towards more patches of tall grass to the west, signaling another stealth encounter.
As you move between the thickets, you will encounter more of the unsettling Wormfaces.
This stealth section is slightly more challenging due to a greater number of jingling reeds scattered throughout the tall grass.
Successfully navigating this second stealth zone will lead you to a large clearing with a waterfall at the far end. Rest at the Divided Falls Site of Grace located near the waterfall. To the left of the waterfall, on a small hill, you can find a valuable cookbook.
Divided Falls Site of Grace
From the Divided Falls Site of Grace, it may initially seem like a dead end. However, turn around so your back faces the waterfall and head right, which will be southeast on your compass.
The two glowing figures to your right are not Wormfaces, but witches, reminiscent of Jori in their combat style. Engage and defeat them. Follow the path as it winds around to a new section of the forest.
To your left, you’ll find another coven of witches gathered around a tempting crafting cookbook. Eliminate them and collect the cookbook. Continue past their location, following the path around the corner from the lower level.
Further into the gloom, more witches patrol the forest floor. Focus on eliminating them one at a time to avoid being overwhelmed by their combined attacks. Prioritize taking down individual spellcasters before shifting your attention to others.
As you continue deeper into the dark woods, you will pass a disturbing scene: rows of bodies with glowing worms emerging from their necks. This unsettling sight offers a glimpse into the lore surrounding the Wormfaces, adding to the grim atmosphere of the Shadow of the Erdtree DLC.
Finally, at the furthest reaches of the Abyssal Woods, an unexpected structure emerges from the darkness: an abandoned manor house.
Approach the manor and open the front door. This entryway leads to a new and deeply unsettling sub-area: Midra’s Manse, marking the end of the Abyssal Woods and the beginning of a new chapter in your Shadow of the Erdtree journey.
