One of the most celebrated and intricate maps in the Call of Duty Zombies universe is undoubtedly Origins. This map plunges players into a World War I-era battlefield, where the Primis crew confronts ancient evils and seeks to unravel the mysteries of Agartha and Samantha Maxis. A crucial element for survival and Easter Egg completion in Origins is the acquisition and mastery of the Elemental Staffs. These powerful weapons are not only essential for progressing through high rounds but also vital for completing the map’s intricate Easter Egg.
Related: Call of Duty: All Zombies Crews & Their Fates
This comprehensive Origins Staff Guide will walk you through the steps to obtain and upgrade all four elemental staffs: Wind, Fire, Lightning, and Ice. Mastering these staffs is key to conquering Origins and experiencing all it has to offer.
Essential First Steps: The Gramophone and Black Record
Before embarking on the journey to acquire any elemental staff in Origins, you’ll need to secure two essential items: the Gramophone and the Black Record. These items are fundamental as the Gramophone is required to access the Crazy Place, a crucial location for obtaining staff gems, and the Black Record is the key to initially unlock the staff room beneath the Excavation Site.
The Gramophone can be found in the Excavation Site, specifically beneath the stairs near the Pack-a-Punch machine, resting on a table. The Black Record has three potential spawn locations around the Excavation Site:
- On a box beside the generator leading to the Excavation stairs.
- Inside a barrel filled with Element 115, located to the left of the Pack-a-Punch machine.
- On a wall next to crates, on the left side towards the path leading to the Church.
Collect both the Gramophone and the Black Record as your first priority in any Origins playthrough.
How to Get the Wind Staff: Kratos’ Gale
Assembling the Staff of Wind in Origins
The Wind Staff, known as Kratos’ Gale when upgraded, is obtained by collecting three distinct parts from within the Giant Robots that traverse the Origins map. These colossal machines patrol set routes, and each robot carries a specific staff part. To access these parts, you’ll need to open the robots’ foot hatches.
As a Giant Robot walks across the map, observe its mechanical feet. If a foot displays a glowing circle underneath, shoot it with any weapon to open the hatch. Once open, stand directly beneath the foot as it steps down to be lifted into the robot’s head. Be cautious; failing to open the foot or standing under the wrong foot will result in being downed.
Here are the routes and corresponding parts for each Giant Robot in Origins:
- Freya: Travels to the left side of the map between Generator 6 and the Church.
- Odin: Patrols the middle of the map from Generator 5 (Stamin-Up) to Generator 4 (Juggernog).
- Thor: Walks on the right side of the map between Generator 3 (Speed Cola) and Generator 2 (Tank Station).
Each Giant Robot carries a staff part within its head, located at the control panels. Collect all three parts by riding each robot as they become available.
After collecting the staff parts, you’ll need the Yellow Record to access the Wind Crazy Place and obtain the Wind Staff gem. The Yellow Record spawns in Generator Station 5 area:
- Inside the Lightning Tunnel, on a desk to the left.
- Resting on crates beside a burning cart, opposite the Lightning Tunnel entrance.
- On the broken wall to the right of the Stamin-Up machine.
With the Gramophone and Yellow Record in hand, proceed to Generator 4 (near Juggernog) and enter the Wind Tunnel. Descend into the tunnel and place the Gramophone on the table to the left, marked by “The Crazy Place” sign. This will open a portal. Enter the portal to reach the Wind Crazy Place and retrieve the yellow gem from atop the yellow pillar.
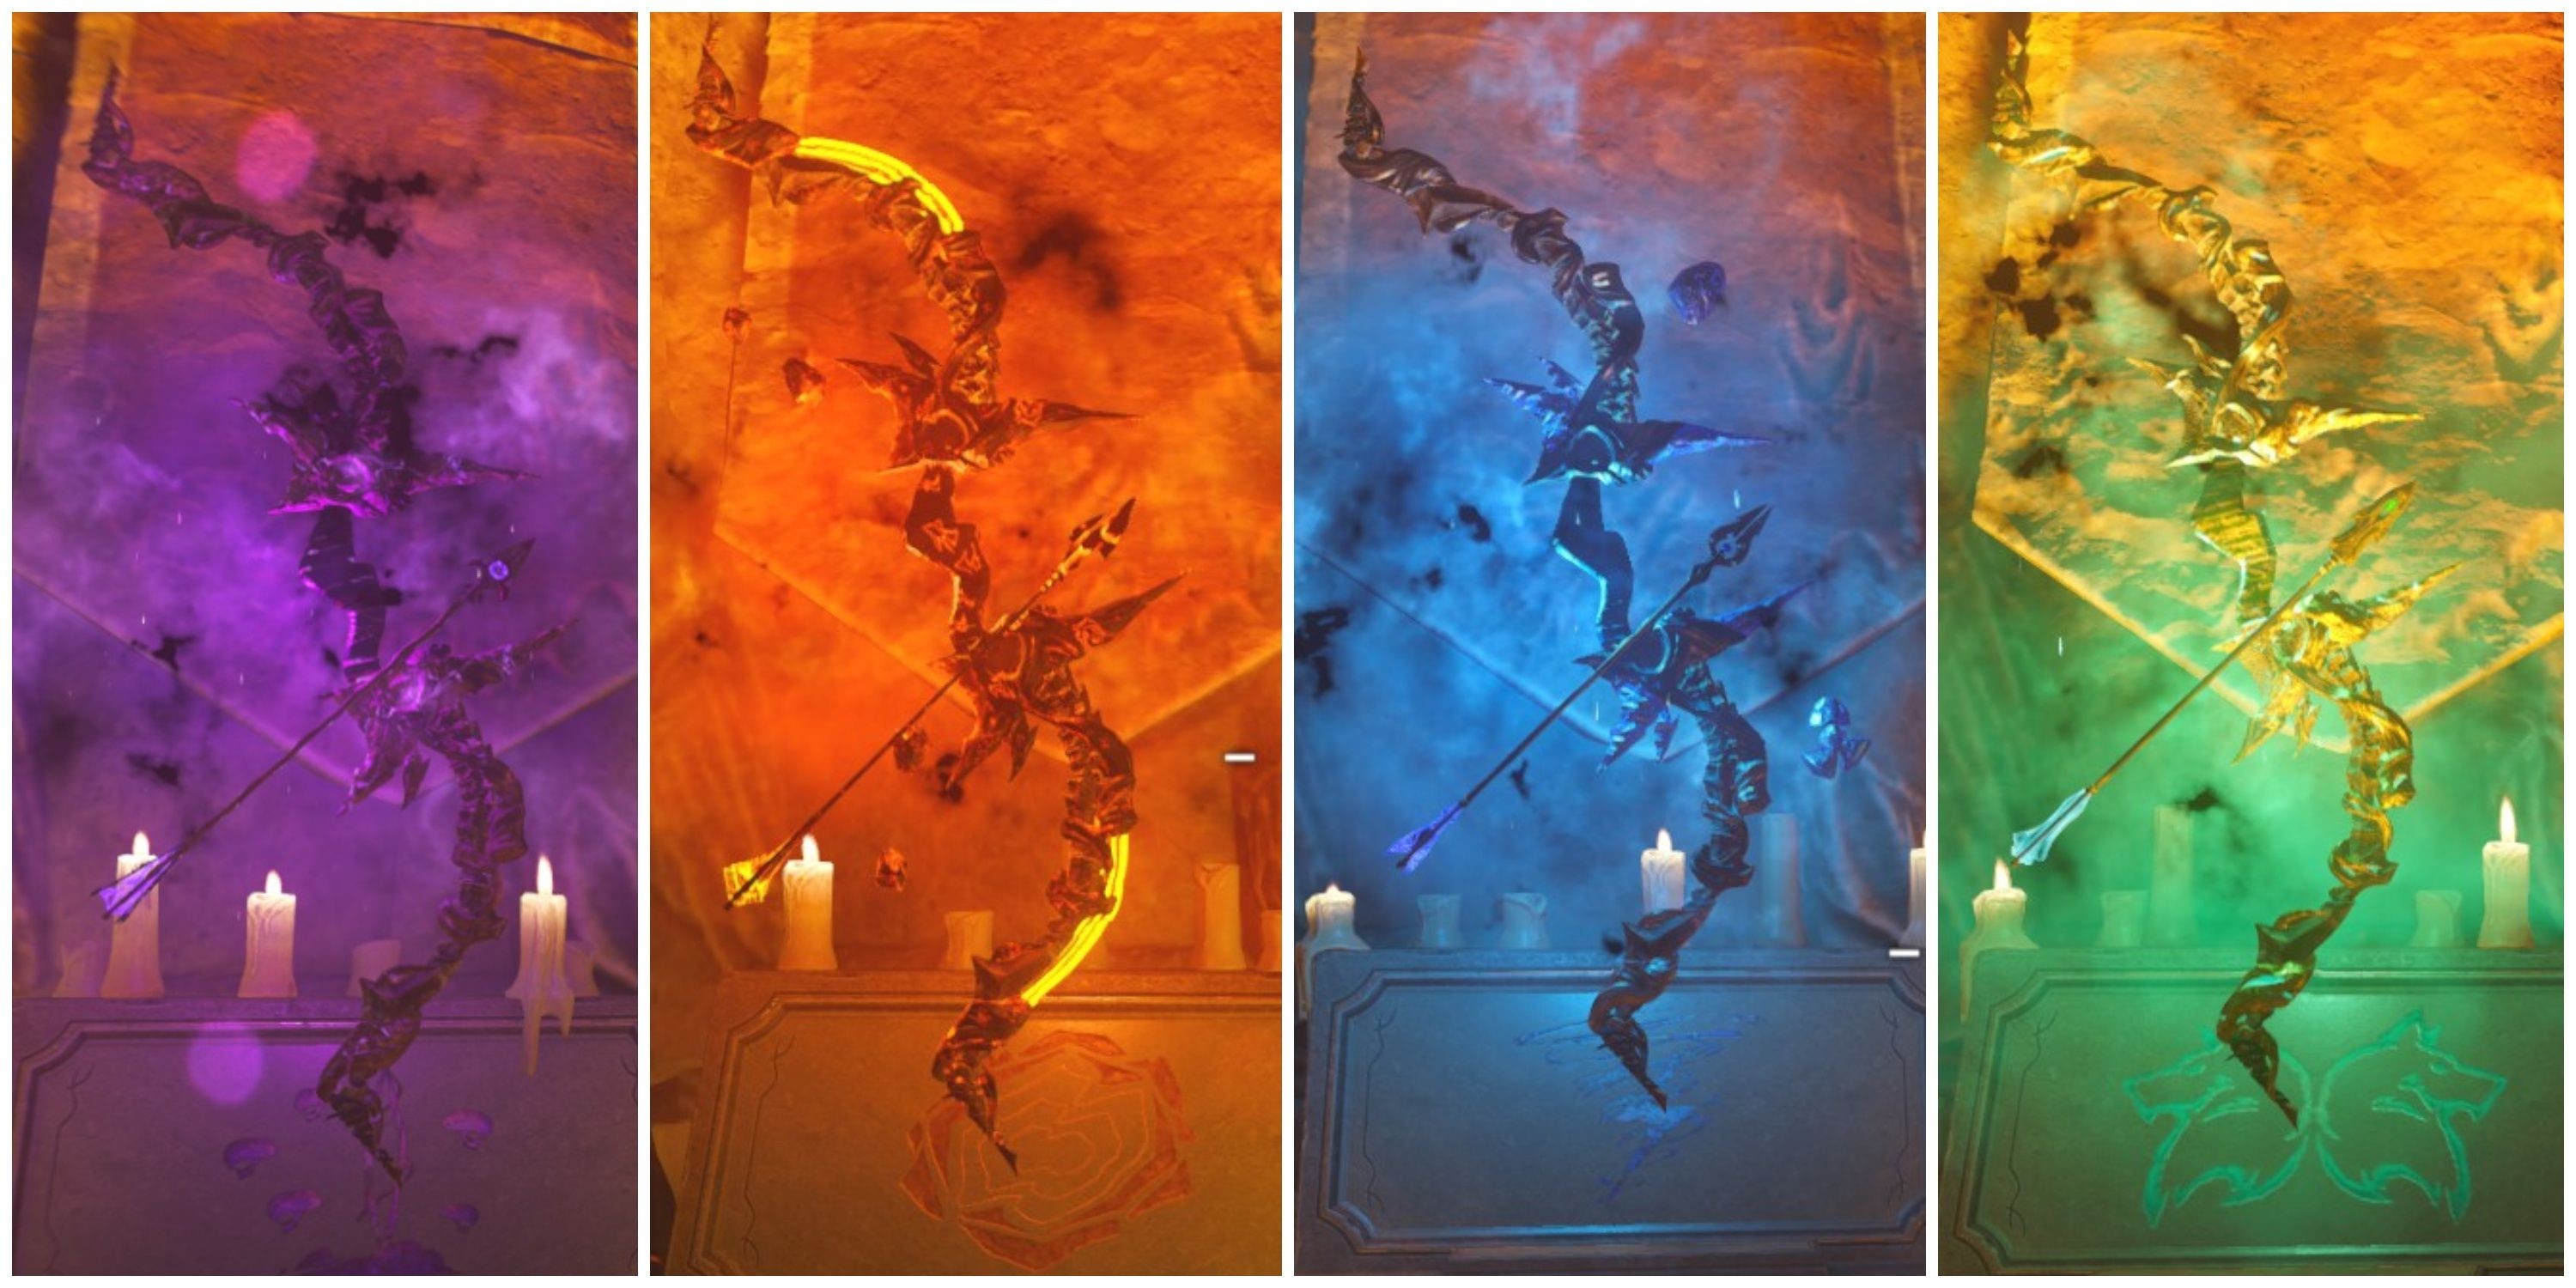
Finally, return to the Excavation Site beneath Pack-a-Punch. Use the Gramophone and Black Record near the stairs to unlock the staff room. Inside, locate the statue with the yellow glow (on the left) and craft the Wind Staff using the collected parts and gem.
How to Get the Lightning Staff: Storm’s Fury
Assembling the Staff of Lightning in Origins
Acquiring the Lightning Staff, upgraded to Storm’s Fury, involves utilizing the tank located at the Church. Activating the tank costs 500 points, and zombies will actively pursue and climb onto it, requiring you to eliminate them to proceed. The tank’s movement is essential for reaching the Lightning Staff parts.
Here are the locations of the three Lightning Staff parts, obtainable via the tank:
- Part 1: Board the tank at the Church and look to your right. You’ll see a wooden walkway. Jump onto it to find the first Lightning Staff part.
- Part 2: Take the tank from the Tank Station (Generator 2). Look to the left and wait until you pass the MP-40 wall-buy. Shortly after, a wooden walkway will appear; jump onto it to collect the second part.
- Part 3: Immediately after grabbing the second part, return to the tank (Stamin-Up is highly recommended for speed). As the tank heads back towards the Church, watch the right side for a raised mud path leading back to the Church. Jump onto this path to find the final Lightning Staff part.
Next, locate the Purple Record, which is essential for accessing the Lightning Crazy Place. It can be found in the vicinity of Generator Station 4:
- On a wooden cart to the left of Generator 4’s entrance.
- On a table near the Wunderfizz machine and Juggernog perk.
- Inside the Wind Tunnel, to the right of “The Crazy Place” sign.
With the Gramophone and Purple Record, proceed to the Lightning Tunnel near Generator 5 and Stamin-Up. Enter the tunnel and place the Gramophone on the table to activate the portal to the Crazy Place. Enter the portal and collect the purple gem from the purple pillar.
Return to the Excavation Site beneath Pack-a-Punch and unlock the staff room using the Gramophone and Black Record. Inside, craft the Lightning Staff at the central statue, distinguished by its purple glow.
How to Get the Fire Staff: Valhalla’s Fury
Assembling the Staff of Fire in Origins
Obtaining the Fire Staff, which upgrades to Valhalla’s Fury, involves a combination of tasks across the map, making it slightly time-consuming but not overly complex.
Here are the three Fire Staff parts and how to acquire them:
- Part 1: After opening the debris leading to the Church, look to the sky for a glowing airplane. Shoot down the plane. The first Fire Staff part will drop at the Excavation Site.
- Part 2: Earn the reward chest at Generator 6 by completing a generator cycle. Activate Generator 6 and defend it until the 115 conversation concludes to receive the reward chest, containing a Fire Staff part.
- Part 3: Defeat the Panzer Soldat, who first appears on Round 8. Upon its defeat, it will drop the final Fire Staff part.
To access the Fire Crazy Place and obtain the Fire Staff gem, you’ll need the Red Record. It can be found in the Church area, towards Generator 6:
- Between the tank and the staircase in the downstairs area of the Church.
- On a bench to the left of the upstairs area of the Church.
- On a box at the entrance of Generator 6.
With the Gramophone and Red Record, head to the Fire Tunnel, located near the Spawn area. Place the Gramophone to open the portal to the Crazy Place. Enter and collect the red gem from the red pillar within the Fire Crazy Place.
Once you have all Fire Staff parts (verify in your HUD by pressing the select button) and the red gem, return to the Excavation Site and unlock the staff room with the Gramophone and Black Record. Craft the Fire Staff at the statue on the right, distinguished by its red glow.
How to Get the Ice Staff: Ull’s Arrows
Assembling the Staff of Ice in Origins
The Ice Staff, upgraded to Ull’s Arrows, is unique in that its acquisition involves using the Shovel and waiting for a specific weather condition: snow.
First, you must find a Shovel. Shovels spawn randomly in several locations around the map:
- Leaning against a wall by the RK5 wall-buy at Spawn.
- Leaning against a wall in Spawn by the “Generator Station 3” sign.
- Inside the Church, near the rear of the tank.
- In the Wind Tunnel, near Generator 4.
- In the Lightning Tunnel, near Generator 5.
Once you have a Shovel, progress through rounds until it starts snowing. Dig sites appear randomly throughout the map. Only dig during snowfall to obtain Ice Staff parts. Dig sites dug during rain or clear weather will not yield the correct parts.
During snowfall, use the Shovel at dig sites to find the three Ice Staff parts:
- Top part: Dig sites around Generator 6 and the Church.
- Middle part: Dig sites in the central map area, between Generator 5 and Generator 4.
- Bottom part: Dig sites in No Man’s Land and around Generator 2 and Generator 3.
After collecting the Ice Staff parts, you need the Blue Record to access the Ice Crazy Place. The Blue Record spawns in a few locations around Generator 2 and the Tank Station:
- On the table with Element 115 rocks inside the Tank Station.
- On a shelf by the Mystery Box location in the Tank Station.
- Opposite the bunk beds, on a shelf next to two crates in the Tank Station.
With the Gramophone and Blue Record, head to the Ice Tunnel near the Church (Generator 6). Enter the tunnel and place the Gramophone to open the portal to the Crazy Place. Enter and collect the blue gem from the blue pillar.
Finally, return to the Excavation Site, unlock the staff room, and craft the Ice Staff at the statue second from the left, marked by its blue glow.
How to Upgrade the Wind Staff to Kratos’ Gale
Upgrading the Wind Staff in Origins
To upgrade the Wind Staff into Kratos’ Gale, first re-enter the Wind Crazy Place using the Gramophone at the Wind Tunnel. Once inside, approach the portal that leads back to the Wind Tunnel area. Instead of entering, look up at the ceiling to see rotating symbols.
Shoot each symbol with the Wind Staff to rotate the rings they are on. Your goal is to match the rings to a specific pattern, as shown in the image below.
Upon correctly aligning the rings, an audio cue will confirm success. Leave the Crazy Place and return to the main map. Now, locate three smokestacks that need to be redirected towards the Pack-a-Punch location. Shoot each smokestack with the Wind Staff to redirect the smoke flow towards Pack-a-Punch:
- To the right of Generator 4, when facing Pack-a-Punch.
- Follow the tank track from the Church, keep to the right wall, the smokestack is near a skull and bones sign.
- At Generator 5, facing Stamin-Up, the smokestack is over the destroyed wall.
If all three smokestacks are correctly redirected, another audio cue will play, and a blue beam of light will descend from the sky onto Pack-a-Punch.
Descend into the Excavation Site beneath Pack-a-Punch. You’ll find four levers. Interact with these levers to rotate the rings above the staff pedestals until all four rings glow yellow. Once all rings are yellow, a yellow orb will appear beneath them. Shoot this orb with the Wind Staff to launch it upwards.
Return to the Wind Crazy Place and place the Wind Staff into the yellow pillar where you initially obtained the gem. Now, kill approximately 20 zombies within the Crazy Place to charge the staff with their souls. You’ll know this step is complete when the Wind Staff icon in your HUD gains a white outline, or souls cease to transfer. Finally, retrieve your upgraded Wind Staff: Kratos’ Gale.
How to Upgrade the Lightning Staff to Storm’s Fury
Upgrading the Lightning Staff in Origins
To upgrade the Lightning Staff to Storm’s Fury, revisit the Lightning Crazy Place via the Lightning Tunnel near Generator 5. In the Lightning Staff area, you’ll see twelve purple arrows on a wall, resembling piano keys. Shoot these arrows with the Lightning Staff in the following sequences, focusing on the bottom row of symbols:
- First Pattern: 1, 3, 6
- Second Pattern: 3, 5, 7
- Third Pattern: 2, 4, 6
An audio cue will signal successful completion of the arrow puzzle. Leave the Crazy Place and return to the map, where you’ll find seven electrical panels sparking. Locate all seven and interact with each a specific number of times to rotate their dials and stop the electrical sparks:
- Spawn Stairs (downstairs, right): Dial face left.
- Generator 4 Giant Robot Footprint: Dial face up.
- Tank Station (Generator 2): Dial face down.
- Church Downstairs Area: Dial face right.
- Church Upstairs (water basin): Dial face up.
- Generator 5 (wall left of Stamin-Up): Dial face down.
- Excavation Site (wall): Dial face up.
When all dials are correctly positioned, a beam of light will emerge from the sky and descend upon the Pack-a-Punch Excavation site. Enter the Excavation Site and use the four levers to rotate the rings above the staff pedestals until all lights turn purple. Then, descend to the staff room and shoot the purple orb that has appeared with the Lightning Staff.
Return to the Lightning Crazy Place and place the Lightning Staff in the purple pillar. Kill approximately 20 zombies to charge the staff with souls. Once charged, retrieve your upgraded Lightning Staff, Storm’s Fury.
How to Upgrade the Fire Staff to Valhalla’s Fury
Upgrading the Fire Staff in Origins
To upgrade the Fire Staff to Valhalla’s Fury, equip the Fire Staff and enter the Fire Crazy Place via the Fire Tunnel near Spawn. In the Fire Staff area, use the Fire Staff to kill zombies while they are standing on the hexagonal grates on the floor. Killing zombies on these grates will cause the cauldrons on the walls to light up. Light all four cauldrons by killing zombies on the grates. An audio cue will indicate success.
Next, go to the upstairs area of the Church. You’ll find four symbols glowing orange on the walls. Each symbol is composed of a pattern of circles and corresponds to a torch in the Church’s basement. Each symbol represents a number, and you must shoot the torches in the basement with the Fire Staff in quick succession, according to the symbols you see.
Here is a translation of the symbols to numbers for the torches:
- 11: 1 orange dot, 1 circle, 2 orange dots
- 5: 1 orange dot, 2 orange dots
- 9: 1 orange dot, 1 circle, 1 circle
- 7: 2 orange dots, 1 orange dot
- 6: 2 orange dots, 1 circle
- 3: 1 orange dot, 1 circle
- 4 (Blood Stain): 1 orange dot, 1 orange dot
Once you identify the four lit symbols upstairs, descend to the Church basement and shoot the corresponding numbered torches with the Fire Staff in quick succession. Successful completion will trigger an audio cue and a beam of light directed towards the Excavation Site.
Return to the Excavation Site and use the four levers to rotate the rings above the staff pedestals until all lights turn red. Descend to the staff room, look up, and shoot the glowing red orb with the Fire Staff.
Finally, return to the Fire Crazy Place and place the Fire Staff in the red pillar. Kill approximately 20 zombies near the pillar to charge the staff. Once charged, retrieve your upgraded Fire Staff, Valhalla’s Fury.
How to Upgrade the Ice Staff to Ull’s Arrows
Upgrading the Ice Staff in Origins
To upgrade the Ice Staff to Ull’s Arrows, equip the Ice Staff and enter the Ice Crazy Place through the Ice Tunnel near the Church. In the Ice Staff area, look up at the ceiling tiles and also observe the tile on the pillar. The pillar tile displays a symbol. Find the matching symbol among the floating ceiling tiles and shoot that ceiling tile with the Ice Staff. Repeat this process, matching the pillar symbol and shooting the corresponding ceiling tile until an audio cue confirms completion.
Leave the Crazy Place and locate three tombstones positioned just outside the map boundaries. You need to interact with these tombstones using the Ice Staff: first, shoot each tombstone with the Ice Staff to remove the water surrounding it, then shoot it again with any regular weapon to destroy the tombstone completely.
- Tombstone 1: Near the Giant Robot footprint at Generator 4 and the KN-44 wall-buy.
- Tombstone 2: At the Giant Robot footprint outside the Excavation Site.
- Tombstone 3: Behind the Tank Station, beside the destroyed Giant Robot on the mud path to No Man’s Land.
Destroying all three tombstones correctly will trigger an audio cue and a beam of light directed from the sky back to the Excavation Site. Return to the Excavation Site and use the four levers to rotate the rings above the staff pedestals until all lights turn blue. Descend to the staff room and shoot the blue orb that appears with the Ice Staff.
Finally, return to the Ice Crazy Place and place the Ice Staff in the blue pillar. Kill approximately 20 zombies in the Crazy Place to charge the Ice Staff. Once charged, retrieve your upgraded Ice Staff, Ull’s Arrows.
Related: Call of Duty: Black Ops 3 Zombies – How to Get the Bow & All Bow Upgrades
[