Drawing is a skill accessible to everyone, regardless of perceived talent. With practice, the right techniques, and a passion for learning, anyone can develop their artistic abilities. This guide provides a simple, step-by-step approach to get you started on your drawing journey, focusing on the core principles that underpin all successful artwork.
1. Warm-Up and Hand-Eye Coordination Exercises
Before diving into serious drawing, warming up your hand and familiarizing yourself with your tools is crucial. This prepares your “drawing muscles” and helps you translate your thoughts onto paper. Experiment with different mark-making techniques to explore the possibilities of your pen or pencil.
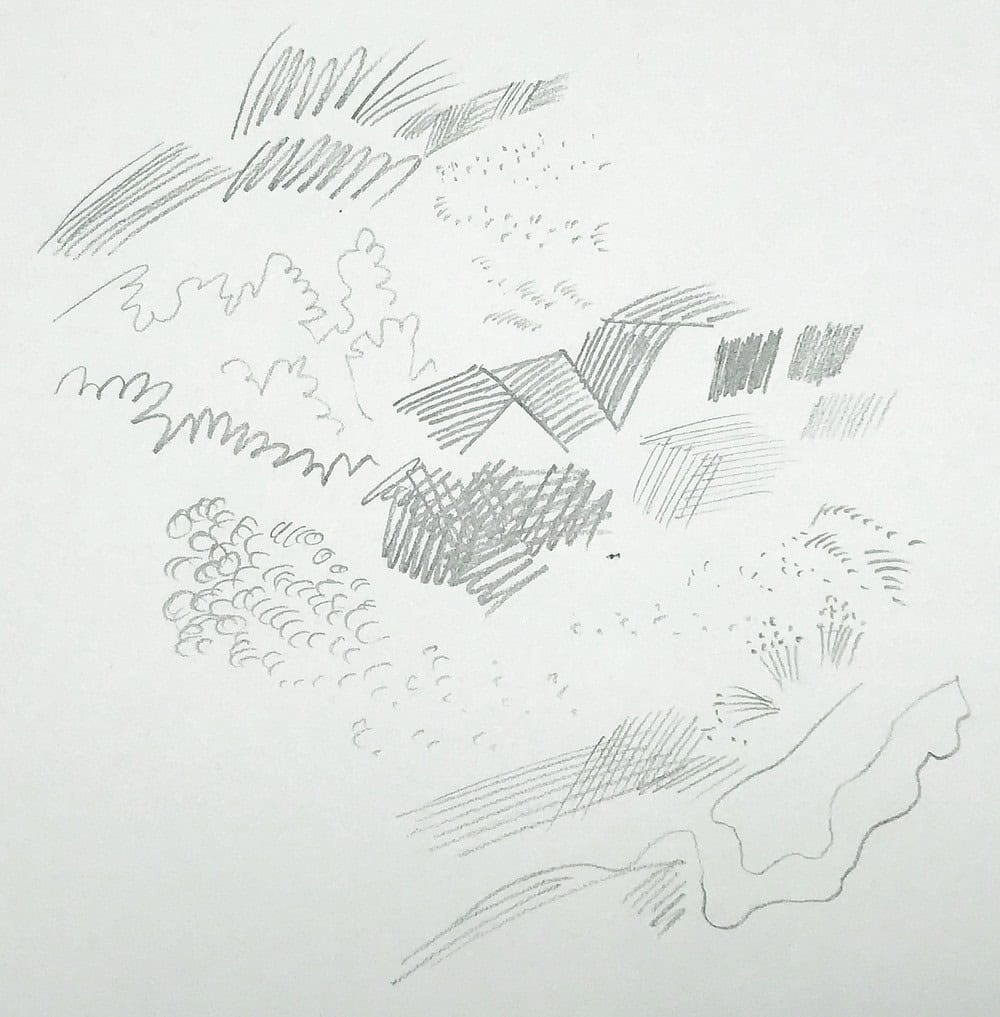
Try creating scribbles, doodles, dots, stipples, hatching, and zig-zag lines. Vary the pressure you apply to see how it affects the resulting marks. The key is to make it enjoyable and playful to maintain motivation.
To further enhance your hand-eye coordination, practice drawing straight and curved lines of varying lengths. Then, move on to round shapes like circles and ellipses, and try drawing loose figure-eight shapes. Experiment with drawing from your shoulder, keeping your elbow and wrist locked, to achieve smoother arcs. Fill a page with these explorations, and notice how your hand feels afterward. Regular warm-ups can significantly improve your line work and pencil control.
2. The Foundation: Basic Shapes and Light Lines
The foundation of all drawing lies in the ability to break down complex subjects into basic shapes: circles, rectangles, and triangles. Mastering these simple forms unlocks the potential to draw virtually anything.
When you observe an object, identify how it can be deconstructed into these fundamental shapes. Whether it’s a flower, a house, or an animal, simplify its form into manageable components. This approach makes complex subjects less daunting.
Use these shapes as a loose underdrawing, employing light lines and rough forms. This initial sketch serves as a guide, focusing on accurate proportions and a solid foundation. Avoid concentrating on perfect lines, shadows, or details at this stage; these elements can be added later.
Refine these initial shapes in the subsequent steps to create a more defined structure. Gestural drawings, characterized by their looseness and spontaneity, are excellent for warming up and capturing the essence of your subject on paper.
3. Refining Lines, Angles, and Adding Volume
The next step involves refining your initial sketch by creating a solid outline. Observing your subject closely is paramount; drawing is as much about seeing as it is about mark-making.
Compare the angles and edges of your drawing to the actual subject, making adjustments as needed. Pay attention to the shapes, curves, and proportions you’ve already established. Use your pencil as a measuring tool to accurately translate angles onto paper.
Often, the initial exploratory stage involves drawing several loose lines. Now, choose one contour line and define it with a solid stroke, staying true to your visual observation. Remember to draw what you see, not what you think you see.
4. Practice with Quick Sketches
Before finalizing your drawing, take a step back and engage in quick sketching exercises to reinforce what you’ve learned. Choose an object and draw it rapidly from various angles. The goal is to develop fluidity and comfort in transferring what you see to paper.
Aim for numerous quick drawings rather than striving for a single perfect piece. Shorter, frequent sessions are more effective than infrequent, longer ones. These basic exercises are essential for building drawing skills, and with time, they will become second nature.
5. Focus, Contrast, and Detail
Now it’s time to add the finishing touches to your drawing. At this stage, your sketch should become more polished and refined. Ensure that your basic framework and proportions are accurate before proceeding. If not, don’t hesitate to start a new drawing or correct the existing one.
Introduce contrast, light and dark areas, and subtle details such as textures in select areas. Remember to avoid overdoing the details. Instead, create focal points with more intricate elements to guide the viewer’s eye.
Recall your mark-making exercises and utilize different lines and textures to enhance your subject. Add darker areas to suggest volume, but avoid overworking the sketch. Squinting slightly can help you identify values and create more convincing shadows.
6. Consistent Practice and Learning from Mistakes
The drawing process can be summarized in three simple steps:
- Start with basic shapes and light lines to establish proportions.
- Refine lines, check angles, and add solid outlines.
- Incorporate detail, texture, shadows, and highlights.
The key to improvement is consistent practice. Dedicate time to hone these skills, and they will eventually become instinctive. Remember that mistakes are inevitable and valuable learning opportunities. Embrace them as part of the process and trust that they will contribute to your growth as an artist.
7. Expanding Your Knowledge: Advanced Drawing Concepts
This guide provides a solid foundation for drawing. However, to further elevate your skills, explore advanced techniques and concepts such as:
- Understanding 3D volumes
- Perspective
- Values
- Light and shadow
- Foreshortening
Mastering these concepts will enable you to create more dynamic and realistic drawings.
Drawing is a journey of continuous learning and exploration. Embrace the process, practice regularly, and you’ll be amazed at the progress you make.
