This guide provides helpful tips and strategic locations for placing towers in the game, ensuring efficient network routing. Focusing on challenging spots, this guide aims to assist players in optimizing their gameplay experience. We’ll cover some of the trickiest locations and provide visual aids to help you get those towers standing in just the right spot. Keep in mind that these notes are not exhaustive, but they should provide a good starting point.
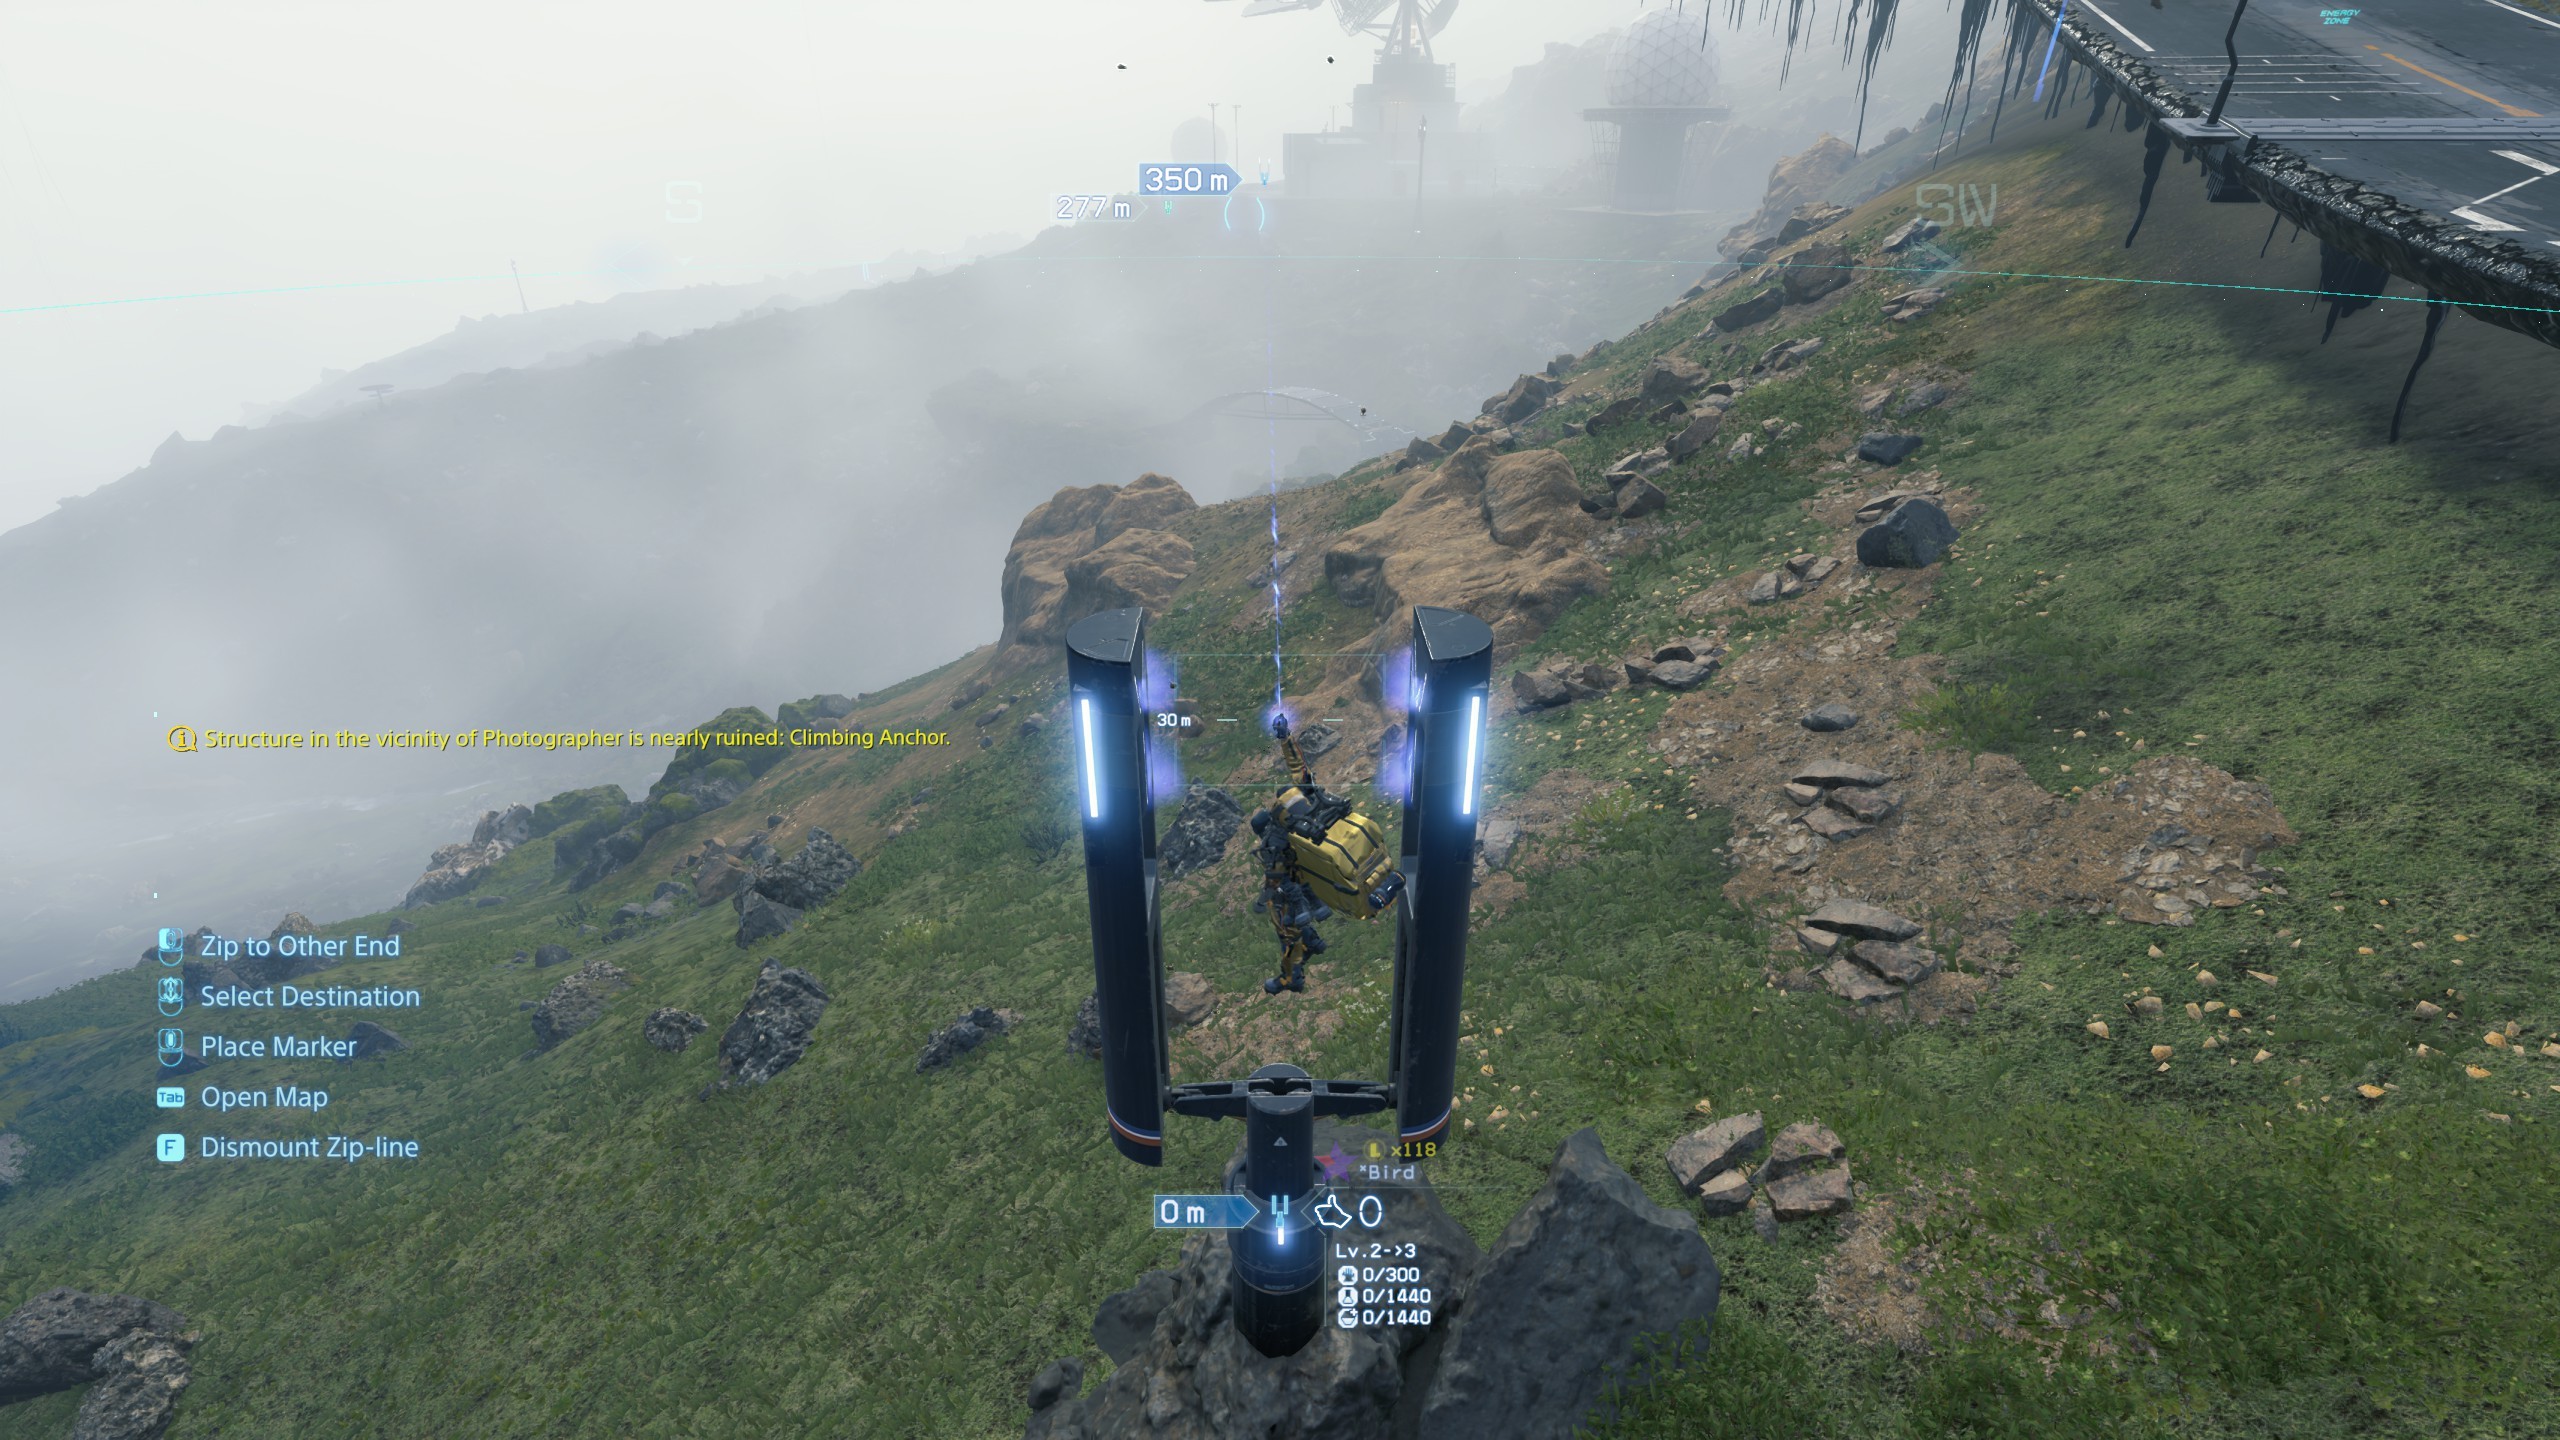
This guide avoids spoilers as much as possible, using acronyms and notation for unusual locations that will be easy to understand as you explore them. Each screenshot includes an indication of nearby towers and their distances, offering you context for how distance plays a crucial role.
The priority is building a central continuous route from the En to the M (as seen in various gameplay videos) once you unlock the Zip-line tech. Prioritizing the mountain sections will save you considerable time and resources later.
One notable exception to efficient network routing is the branching around WNMKS. While these branches may seem useful initially, their value diminishes as you progress. The “improvised” routing stems from the fact that distance and terrain don’t allow for even tower spacing, meaning that almost any reasonable tower placement will suffice. If you choose to build here, consider upgrading them as Vampair did. This shelter is also not frequently used, so it might be more practical to commandeer a vehicle for missions in this area.
There’s also a potential conflict with towers between the WS and the FP. If you decide to build roads in this area, precision tower placement is crucial. You might need to add an additional LV.2 tower to bypass the asphalt that could obstruct your path.
The numbers beneath each image represent the coordinates visible using the cufflink map. You can find the coordinates in the top-right corner of your screen, enabling precise location.
Tower Placement Strategies
-
Central Route Priority: Establish a strong central route linking En to M as soon as you get the Zip-line tech.
-
Mountain Sections: Focus on mountain sections early to save time and energy in the long run.
-
WNMKS Area: Be cautious with tower placement around WNMKS. Consider upgrading them if you choose to build in this area.
-
WS to FP Towers: If you build roads between WS and FP, ensure precise placement of the second tower or add an LV.2 tower to overcome obstructions.
Specific Tower Locations
The following sections provide details on specific tower locations. They show the optimal placements for towers between key areas, helping you establish a solid network.
DCSLKC to WS
DCSLKC > WS Tower 3 (148.95, 191.80)
R to MKC
R > MKC Tower 2 (-1077.00, -65.47)
MKC
MKC Tower (-1137.63, 235.12) – Handy chiral bridge!
MKC to M
MKC > M Tower 1 (-1292.15, 409.75)
MKC > M Tower 3 (-1021.06, 871.30)
M
M Tower (-939.91, 1028.96) – Very tricky positioning! Look at the rock’s texture!
M to S
M > S Tower 1 (-690.02, 864.28)
M to DCNMKC
M > DCNMKC Tower 1 (-983.40, 1246.83)
M > DCNMKC Tower 2 (-1202.34, 1384.10)
M > DCNMKC Tower 3 (-1396.42, 1522.39) – Tarzan!
Cos to JD
Cos > JD Tower 1 (1117.96, 89.90) – Very tricky positioning! Look at the rock’s texture!
JD
JD Tower (1578.11, -217.16)
HL to G
HL > G Tower 1 (-1029.32, -150.18)
HL > G Tower 2 (-965.39, -678.75)
G
G Tower (-908.51, -925.24)
G to VP
G > VP Tower (-675.55, -1065.55)
VP
VP Tower (-444.75, -1210.59) – Handy chiral bridge!
Conclusion
Most of the remaining zip-line towers are either similar to Lord Vampair’s route or are straightforward to place. With careful navigation and scouting, you can easily integrate them into the existing network. The key is to plan efficiently and use the environment to your advantage.
By following this guide and adapting your strategies based on in-game observations, you can construct an optimal tower network in A Bird Story. Happy building!