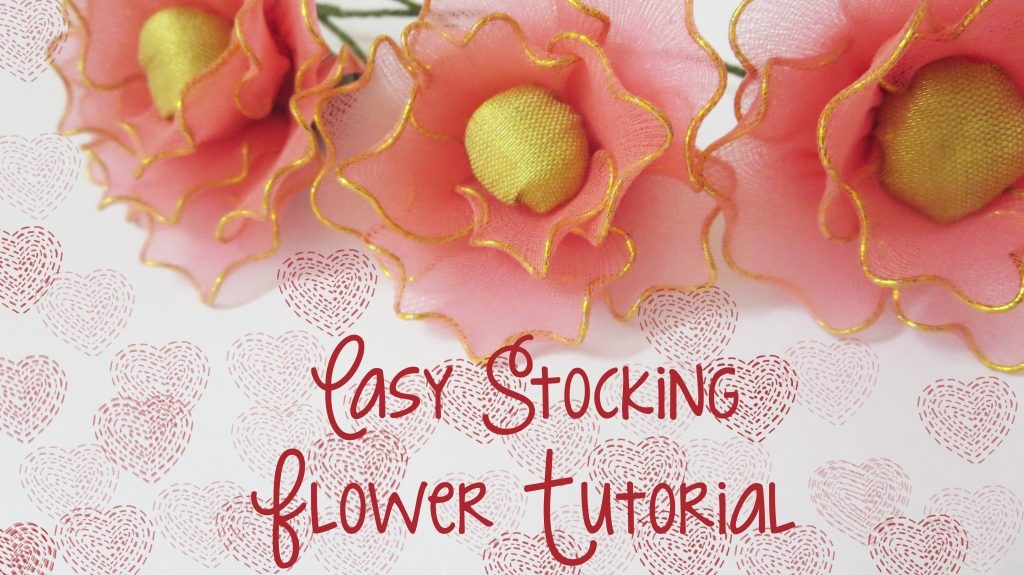
Nylon flowers, also known as stocking flowers, are delicate, vibrant creations that can add a touch of elegance to any occasion. This complete guide will walk you through the process of nylon flower making, from gathering your materials to mastering various techniques and finding inspiration for your own unique designs.
Gathering Your Supplies
Before you begin your nylon flower journey, you’ll need to gather a few essential supplies:
- Nylon Stockings: These are the heart of your flowers. You can find them in a wide array of colors at craft stores. Experiment with different deniers (thickness) for varying textures.
- Flower Making Wire: This flexible wire will form the framework for your petals and leaves. Choose a gauge (thickness) that’s easy to manipulate but strong enough to hold its shape.
- Floral Tape: This self-adhesive tape is used to wrap stems and secure petals, creating a neat and professional finish. Green is the most common color, but you can find it in other shades to match your flower designs.
- Scissors or Wire Cutters: For cutting the nylon and wire.
- Round Objects (Pen Refills, Pencils, or Dowels): To shape the wire into petal forms.
- Embellishments (Optional): Beads, sequins, glitter, and other decorative elements can add extra flair to your flowers.
Basic Techniques: Creating Petals and Leaves
The fundamental technique in nylon flower making involves stretching nylon over wire frames to create petals and leaves. Here’s a step-by-step guide:
-
Forming the Wire Frame: Wrap the flower making wire around a round object, such as a pen refill or pencil, to create a loop. Leave a tail of wire at each end for twisting.
-
Shaping the Petal: Remove the wire from the round object and shape the loop into the desired petal form. Twist the wire ends together to secure the shape.
-
Covering with Nylon: Cut a square of nylon stocking slightly larger than the wire frame. Stretch the nylon tightly over the frame and gather the excess nylon at the base.
-
Securing the Nylon: Wrap thread or floral tape tightly around the gathered nylon at the base of the petal to secure it. Trim any excess nylon.
Adding Details and Variations
Once you’ve mastered the basic techniques, you can explore different ways to add details and variations to your nylon flowers.
-
Varying Petal Shapes: Experiment with different shapes, such as round, pointed, heart-shaped, or ruffled petals, to create different flower varieties.
-
Using Multiple Colors: Combine different colors of nylon to create gradients, highlights, or contrasting details.
-
Adding Embellishments: Glue beads, sequins, or glitter to the petals for extra sparkle and texture.
Assembling Your Nylon Flower
After you’ve created your petals and leaves, it’s time to assemble your flower.
-
Creating the Center: Form a small ball of cotton or fabric and wrap it with nylon to create the flower’s center. Secure it with floral tape and attach a wire stem. Using a contrasting color for the center can make your flower stand out.
-
Attaching the Petals: Arrange the petals around the center, overlapping them slightly. Secure each petal to the stem with floral tape.
-
Adding Leaves: Attach leaves to the stem below the flower head.
-
Wrapping the Stem: Wrap the entire stem with floral tape to create a smooth, finished look.
Tips and Tricks for Success
-
Count Your Twists: For uniform petals, count the number of twists you make on the wire when forming the loops.
-
Use Tools to Open Twists: Opening the wire twists by hand can be painful. Use pliers or wire cutters to make the process easier.
-
Two-Sized Petals: Using two different sizes of petals in layers will give your flower a more realistic and full look.
-
Shape the Petals: Press your index finger on the center of the petal frame, pushing it outward, while simultaneously pushing the side edges inwards with your middle finger and thumb to create a curved petal shape.
Inspiration and Ideas
Nylon flowers can be used in a variety of creative projects. Here are a few ideas to get you started:
-
Bouquets and Centerpieces: Create stunning floral arrangements for weddings, parties, or everyday décor.
-
Hair Accessories: Make delicate hair clips, headbands, or tiaras adorned with nylon flowers.
-
Jewelry: Design unique earrings, necklaces, or brooches featuring miniature nylon flowers.
-
Home Décor: Add a touch of whimsy to your home with nylon flower garlands, wall art, or window decorations.
Conclusion
Nylon flower making is a rewarding craft that allows you to create beautiful and unique floral creations. With practice and experimentation, you can master the techniques and develop your own signature style. So gather your supplies, unleash your creativity, and start making nylon flowers today!
