FUSE, initially a commercial character creation program by Mixamo, offered immense potential for indie game developers. Its ability to quickly generate fully textured characters, coupled with the Mixamo Auto Rigger for adding animations, made it a valuable tool. While its development journey faced some twists and turns, particularly after Adobe acquired Mixamo, the core functionality remains useful, especially when paired with Blender 2.8. This guide will walk you through using FUSE models in Blender, even if you’re a complete beginner.
Before Adobe acquired Mixamo, they offered a Steam release of version 1.3 for around $40. Later, Mixamo made the software free and opened the Mixamo Auto Rigger and all its animations to everyone. Although the server closed down after Adobe’s acquisition, and external links within the Steam version of FUSE may lead to 404 errors or the Adobe website, FUSE remains a useful tool.
The last Steam release was Version 1.3 and Mixamo decided to make the software Free to Play, they also opened the Mixamo Auto Rigger and all the animations they had to everyone. This auto rigger actually produced working models for both SFM and GMod.
Just before the next Steam release (ver 1.4 which would have added a bunch of new options like Blendshapes/shapekeys) Mixamo was bought out by Adobe and updates to Steam ceased.
Adobe then released FUSE as a free Beta tool to anyone who had an Adobe Creative Cloud account and called it FUSECC. The CC version included the updates that were going to add to the Steam version and was developed a little further until in April 2020 it was announced that FUSECC was being discontinued and remove from the CC list of apps on 20 September 2020.
Acquiring FUSE
You can still find the FREE Steam version of FUSE in the Steam Store which was available on the Steam Store: https://store.steampowered.com/app/257400/Fuse/
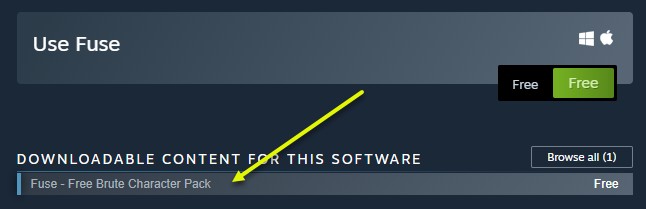
There were also 2 character DLC packs for the Steam version that added more model and texture options to the program available here. These DLC packs may only be available to those who bought or downloaded them before Mixamo was bought out. However, that said the Brute pack may still be available by clicking the DLC link on the FUSE main store page.
Another DLC pack offered even more character and texture options (including TF2 Spy and Sniper models), but this was removed following Adobe’s acquisition of Mixamo due to a broken agreement with Valve. Those who purchased it beforehand may still have access.
Creating a Model in FUSE
The character creation process in FUSE is straightforward: launch the program, add body parts and clothing, configure textures, and export your model as an OBJ file.
Exporting from FUSE: OBJ Options
FUSE only allows exporting models in OBJ format, but there are key export options to consider, notably whether to pack textures and UV maps.
Packing textures combines multiple textures into a single sheet.
If you choose to pack textures, using higher resolution settings (2048×2048 or 4096×4096) is recommended to preserve detail.
Importing into Blender 2.8
Importing your FUSE OBJ model into Blender 2.8 follows the standard OBJ import process. Navigate to File > Import > Wavefront (.obj). Keep in mind that OBJ files do not include an armature, which you’ll need to add separately if you intend to pose or animate the model.
Addressing Material Display Issues
Upon importing, the model’s materials might not display correctly in Blender’s Material Preview mode. This often requires adjusting the shader nodes.
Experiment with the Material properties panel, particularly settings related to alpha, to achieve the desired look, and the render engine (Eevee or Cycles) will also affect the appearance.
If you’re not using packed textures, you may need to modify the Blend Mode for each material within each mesh object to ensure textures display properly. If the textures appear transparent even after adjusting the Blend Modes, the issue might lie with reversed normals in the mesh itself. While you could re-export the model with the “Invert Normals” option, it’s generally preferable to correct this manually within Blender.
Next Steps: Armatures, Weight Painting, and Animation
With your FUSE model successfully imported into Blender 2.8, the next steps involve adding an armature (rig), weight painting to connect the mesh to the armature, and finally, creating animations. While this guide focuses on getting the model into Blender, these are essential steps for fully utilizing your FUSE character.
Conclusion
While FUSE’s development has stalled and its direct integration with Mixamo’s auto-rigging service is no longer available, it remains a useful tool for quickly creating character models. By exporting as OBJ and importing into Blender 2.8, you can leverage Blender’s powerful tools for rigging, texturing, and animation to bring your FUSE characters to life. This guide provides a foundation for incorporating FUSE models into your Blender workflow.