Are you striving to complete the “A Henge Away From Home” achievement in Guild Wars 2? With 32 parts spread across 4 sections, this achievement can seem daunting. But don’t worry! This guide breaks down each step, offering clear instructions and helpful tips to get you closer to that coveted completion. Let’s dive in and earn those achievement points.
1. Essential Items & Initial Steps
- Blooming Druid Stone: This is your starting point. You’ll receive this backpack after completing the “Sprouting the Druid Stone” achievement. Make sure you have it in your inventory.
- Heavy Houndskin Mantle: Obtain this reward by completing 20 of the Flashpoint achievements listed under the Story Journal. With 32 achievements to choose from, selecting 20 shouldn’t be too difficult.
2. Draconis Mons Runestones
This section involves defeating specific enemies in Draconis Mons and combining their elements with Druid Runestones. Remember that a completed Druid Runestone is made of 5 fragments that are bought from the heart vendors and the unbound magic vendor.
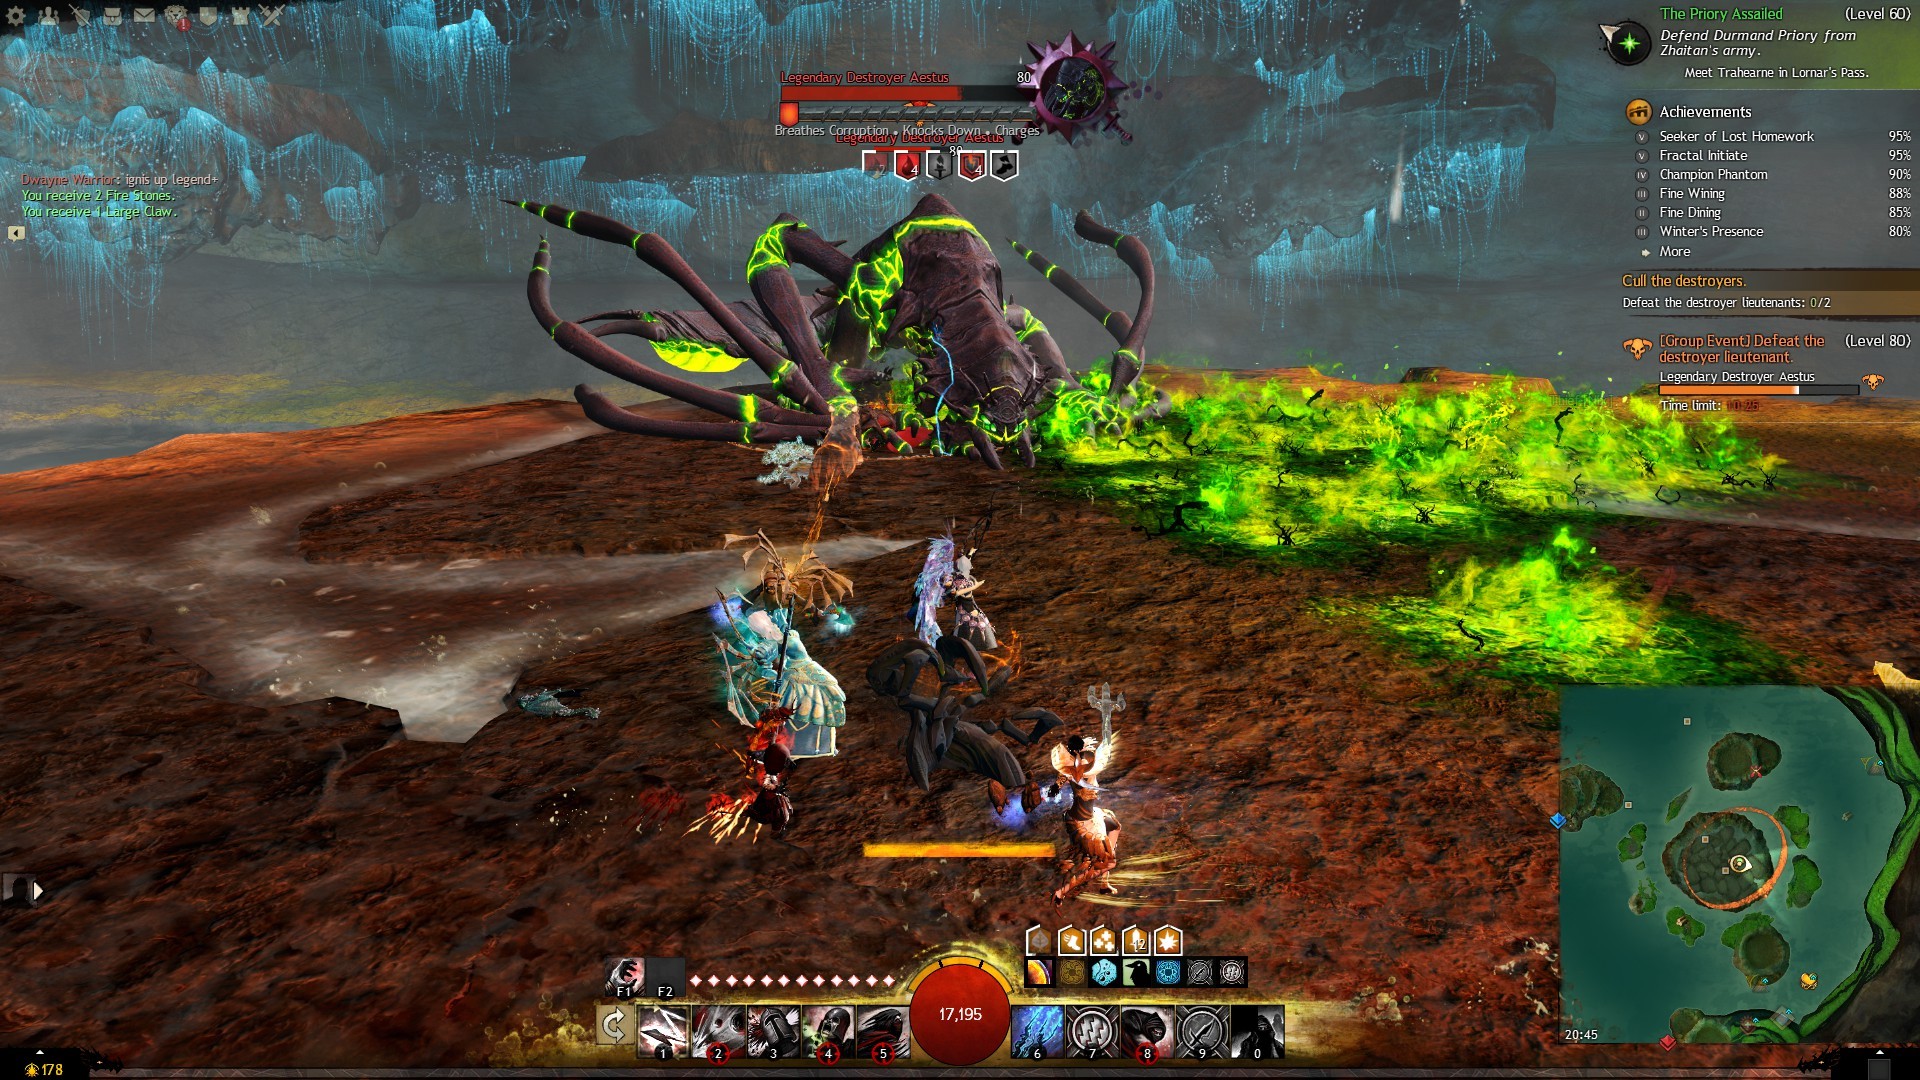
- Element of Aestus: This is awarded after defeating the Legendary Destroyer Aestus. This boss is located at the Frothing Pedestal Point of Interest (POI) in eastern Draconis Mons. You’ll need to participate in the group event “Defeat the Destroyer Lieutenants.”
Alt text: Location of the Legendary Destroyer Aestus on the Draconis Mons map, marked by a red circle.
- Aestus Runestone: Combine the Element of Aestus with a completed Druid Runestone.
- Element of Ignis: This element is awarded after defeating the Legendary Destroyer Ignis. This boss is located at the Seething Pillar POI in western Draconis Mons, during the “Defeat the Destroyer Lieutenant” group event.
Alt text: The Seething Pillar POI on the Draconis Mons map, highlighting the location of the Legendary Destroyer Ignis.
- Ignis Runestone: Combine the Element of Ignis with a completed Druid Runestone.
- Element of the Desecrator: Obtain this element by defeating a Champion Molten Desecrator in Draconis Mons. Look for the group event “Neutralize the destroyer champions and all destroyer burrows.”
Alt text: Map of Draconis Mons, showing the location of a Champion Molten Desecrator near the volcano.
- Desecrator Runestone: Combine the Element of the Desecrator with a completed Druid Runestone.
- Destroyer’s Rest: Now, bring the Aestus Runestone, Ignis Runestone, and the Desecrator Runestone to Kodama. Note that Kodama will only accept these if all three Runestones have been completed.
3. Elemental Runestones
For this section, you’ll need to collect elements from across Tyria and combine them with Druid Runestones.
- Element of Fire: This drops from Fire Elementals anywhere in Tyria. The Wildflame Caverns in Metrica Province is an excellent spot due to the abundance of embers.
Alt text: Screenshot of the Wildflame Caverns in Metrica Province, a prime location to farm Fire Elementals for the Element of Fire.
- Volcanic Runestone: Combine the Element of Fire with a completed Druid Runstone.
- Element of Water: This drops from Ice Elementals throughout Tyria. Head to The Grekvelnn Burrows in Wayfarer Foothills, a low-level cave teeming with Ice Elementals.
Alt text: Inside the Grekvelnn Burrows, Wayfarer Foothills, showing numerous Ice Elementals for farming the Element of Water.
- Glacial Runestone: Combine the Element of Water with a completed Druid Runestone.
- Element of Air: This can be more elusive. While The Opticalium POI near The Hinterlabs in Metrica Province offers low-level sparks, the drop rate might be low. Try the Cathedral of Eternal Radiance in Malchor’s Leap.
Alt text: Screenshot of the Cathedral of Eternal Radiance in Malchor’s Leap, where Air Elementals can be found.
- Charged Runestone: Combine the Element of Air with a completed Druid Runestone.
- Element of Earth: Earth Elementals in Mount Maelstrom’s Mon Maelstrom are a good source for this.
Alt text: The rocky landscape of Mon Maelstrom in Mount Maelstrom, the location for farming Earth Elementals.
- Earthen Runestone: Combine the Element of Earth with a completed Druid Runestone.
- Elemental Rest: Bring the Volcanic Runestone, Glacial Runestone, Charged Runestone, and Earthen Runestone to Kodama. Again, all Runestones must be completed for Kodama to accept them.
4. Offerings to Kodama and Orchard Planting
This section requires you to craft a Vision Crystal, gather items, and plant Fire Orchid Seeds in various locations.
- Druid’s Vision: Bring a Vision Crystal to Kodama. Crafting a Vision Crystal requires level 500 in Armorsmith, Leatherworker, Tailor, Weaponsmith, Artificer, or Huntsman. You’ll need 5 Bloodstone Bricks, 5 Dragonite Ingots, 5 Empyreal Stars, and an Augur’s Stone (bought from Miyani for 20 Spirit Shards). Alternatively, you can find Vision Crystals in the Chest of Ascended Crafting Materials from the Chest of Loyalty.
- A Storm Bouquet for Kodama: Bring 10 Fire Orchids and 5 Charged Lodestones to Kodama.
- A Frozen Bouquet for Liriodendron: Bring 10 Fire Orchids and 5 Glacial Lodestones to Liriodendron.
- An Earthen Bouquet for Broadleaf: Bring 10 Fire Orchids and 5 Onyx Lodestones to Broadleaf.
- An Infernal Bouquet for Rosewood: Bring 10 Fire Orchids and 5 Molten Lodestones to Rosewood.
- Dierdre’s Orchard: Plant 3 Fire Orchid Seeds in the Fertile Soil patch in Diedre’s Steps (Mount Maelstrom). You can access Diedre’s Steps via portals that spawn after killing specific bosses (Keeper of Light, Earth, Winds, and Waves). The Fertile Soil patch is in the west on the ground level.
Alt text: The entrance to Diedre’s Steps, showing a portal activated after defeating a Keeper.
Alt text: Close-up of the Fertile Soil patch inside Dierdre’s Orchard, ready for planting Fire Orchid Seeds.
- Maguuma’s Orchard: Plant 3 Fire Orchid Seeds in the Fertile Soil patch in Dry Top. The patch is in the top left corner of the map, north of Vine Bridge Waypoint.
Alt text: Map of Dry Top, highlighting the Fertile Soil patch for Maguuma’s Orchard near Vine Bridge Waypoint.
- Melandru’s Orchard: Plant 3 Fire Orchid Seeds in the Fertile Soil patch at the Cathedral of Verdance in Cursed Shore. Head up the ramps from Verdance Waypoint towards the karma vendor to find it.
Alt text: The Fertile Soil patch at the Cathedral of Verdance in Cursed Shore, Melandru’s Orchard.
- Seaside Propagation: Plant 1 Fire Orchid Seed on an island west of Frothing Pedestal in the Eastern Boiling Sea. Glide to the island, and the Fertile Soil is on the north side.
Alt text: Overview of the island in the Eastern Boiling Sea where the Seaside Propagation Fertile Soil patch is located.
Alt text: Close up of the Seaside Propagation fertile soil patch
- Wind Rider Ledge Propagation: Plant 1 Fire Orchid Seed in Wind Rider Ledges, Draconis Mons. Use the Oakheart Essence to reach the Fertile Soil patch.
Alt text: Location in Wind Rider Ledges where the first Oakheart Essence should be used to begin ascending.
Alt text: Continue using Oakheart essence to navigate Wind Rider Ledges to reach the fertile soil.
- Rata Arcanum Propagation: Plant 1 Fire Orchid Seed in a cave beyond the Rata Arcanum Inquest base, using Oakheart’s Essence.
Alt text: Cave Entrance inside Rata Arcanum using Oakhearts Essence
- Seaside Ledges Propagation: Plant 1 Fire Orchid Seed near the cave entrance leading to Kodama.
Alt text: Arrow pointing towards the narrow passage leading to the fertile soil in Seaside Ledges.
Alt text: Close up of the Seaside Ledges Propagation Fertile Soil
- Nu II Propagation: Plant 1 Fire Orchid Seed at the end of the Nu II Vault.
Alt text: The entryway to the Nu II Vault, the beginning of the path to the final fertile soil.
Alt text: The enclosed section of the Nu II Vault with the Fertile Soil at the far end.
- Ancient Hollow Propagation: Plant 1 Fire Orchid Seed in Scolding Gorge, accessed from Ancient Hollow waypoint via updrafts and mushrooms.
Alt text: Using updrafts and mushrooms to ascend into the upper-level cave for Ancient Hollow Propagation.
Alt text: The fertile soil located at the very west of the cave
5. Druid Locations
Here’s how to find Kodama, Liriodendron, Broadleaf, and Rosewood:
- Kodama: From Heathen’s Hold Waypoint, go west and drop down to a ledge with a cave opening. Kodama is at the far end of the cave (Druid’s Grotto POI).
Alt text: Minimap showing the route from Heathens Hold Waypoint west to the cave where Kodama resides.
Alt text: Interior of the cave, showing the location of Kodama marked with the Druids Grotto POI.
- Liriodendron: From Heathen’s Hold Waypoint, go west and glide east. Land on the Peace Grounds to find Liriodendron.
Alt text: Indicating the path to glide to reach Liriodendron.
Alt text: Liriodendron standing inside the peace grounds.
- Broadleaf: From Heathen’s Hold Waypoint, use the Thermal Tube north of the waypoint. Glide southwest into the updraft to reach Broadleaf.
Alt text: Facing the Thermal Tube entrance north of the Heathen’s Hold Waypoint.
Alt text: Gliding path arrows to reach broadleaf.
- Rosewood: From Ancient Hollow Waypoint, use the bouncy mushrooms to reach a mossy platform. Rosewood is at the end of the rock.
Alt text: The first bouncy mushroom towards Rosewood
Alt text: Rosewood location at the mossy platform
With this comprehensive guide, you’ll be well-equipped to conquer “A Henge Away From Home” in Guild Wars 2. Good luck, and happy adventuring!