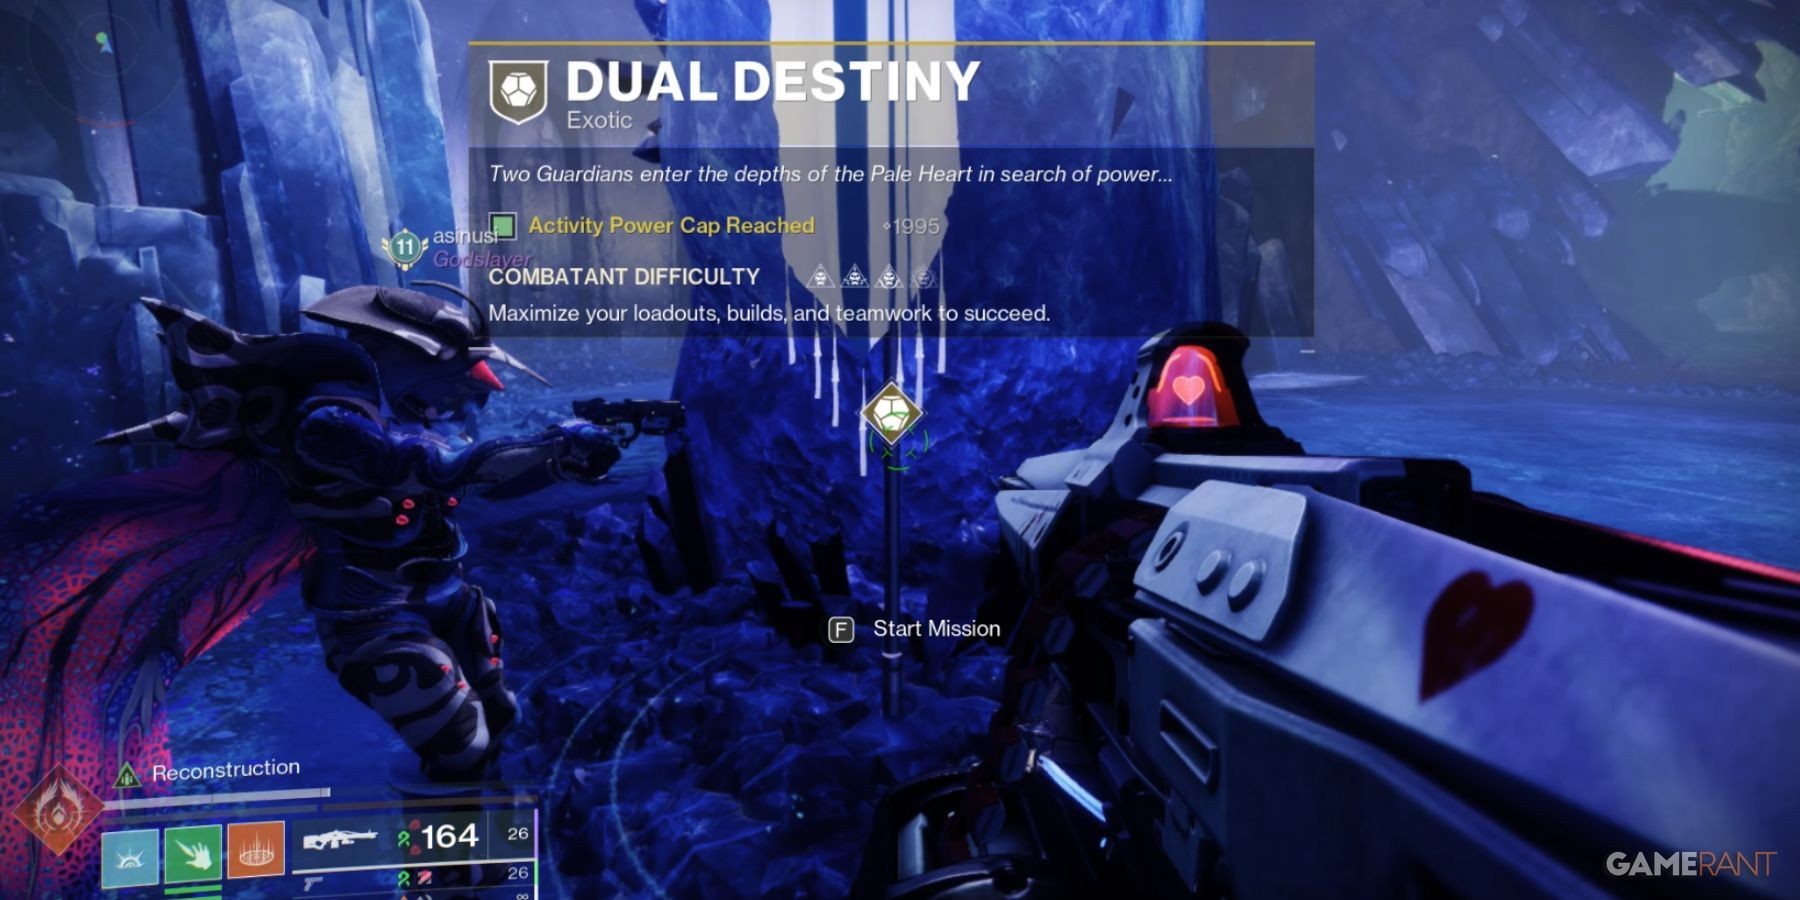
One of the most exciting additions to Destiny 2 is the Exotic class item, a highly sought-after piece of gear obtainable through the special Exotic mission, Dual Destiny. However, initiating this mission isn’t immediately obvious and requires strong teamwork and communication between two players. This guide will walk you through each step, ensuring you and your fireteam partner can conquer Dual Destiny and claim your Exotic class item. Teamwork is key, so grab a trusted friend, clanmate, or use Bungie’s Fireteam Finder to find a Guardian ready to face this challenge with you.
Unlocking the Dual Destiny Exotic Mission
Complete Pale Heart Overthrows and Defeat Savathun’s Secret-Keepers
Before you can access Dual Destiny, you must prove your worth in the Pale Heart. This involves completing three Level 3 Overthrow activities across different zones: The Impasse, The Blooming, and The Landing. It’s crucial to complete one Overthrow in each of these areas. Don’t leave the area immediately after the Overthrow is finished!
After defeating the final boss in each Level 3 Overthrow, keep an eye on the left side of your screen for the message: “A Secret-Keeper of the Witch Queen is near…” This indicates that a special Wizard enemy, a Secret-Keeper, has spawned nearby. Locate and eliminate this Wizard in each of the three Overthrow locations.
Once you’ve defeated all three Secret-Keeper Wizards, a prominent green beam of light will appear in the sky. Follow this beam; it leads to the Refraction area, situated between The Landing and The Blooming.
In the Refraction, venture into the blue crystal cave at the back. Inside, you’ll find a statue resembling Savathun. Approaching it will grant you a new buff called “Savathun’s Envoy” with a timer.
Two Savathun’s Envoys, marked on your map, will appear beneath floating Pyramid structures where enemies are spawning. Defeat the waves of enemies until a boss emerges. Upon defeating this boss, it will drop a ball of Light or Dark energy. You must bank this energy ball at the correctly aligned energy spot within the blue crystal cave. A marker will guide you to the correct dunking location.
With the envoys dealt with and energy banked, the Dual Destiny mission launch flag will materialize right next to Savathun’s statue. You are now ready to begin the Exotic mission!
Completing the Dual Destiny Exotic Mission
Refraction Doors: Light and Darkness Alignment
Upon launching Dual Destiny, each player will receive an alignment buff: either Light Aligned or Darkness Aligned. This alignment, possibly subclass-dependent or random if both players are using Prismatic subclasses, dictates how you interact with the mission’s mechanics. The first mechanic is immediately apparent: Darkness Aligned players can only stand on orange plates, while Light Aligned players must use white plates.
To open the first doorway, coordinate with your partner. The Darkness Aligned player steps on the orange plate, and the Light Aligned player steps on the white plate simultaneously. This synchronized action will unlock the doorway, allowing you to progress.
Continue through the Refraction patrol area, eliminating enemies as you go. You’ll eventually reach higher ground with another sealed doorway. This time, the plates are positioned further apart. Again, simultaneous activation is required – Darkness on the left orange plate, Light on the right white plate. Note the mission timer, which updates as you proceed, adding a sense of urgency. Enter the opened area and proceed into a small crystal cavern where a Taken Knight and other enemies will spawn. Defeat them and proceed further to find a rally flag – the start of your first encounter.
Find Balance 1: Symbol Communication
A Light and Dark plate will appear, initiating the encounter when stepped on by the respective player. Defeat the initial wave of enemies. Two mini-bosses will then spawn: a Dark enemy (slightly orange) and a Light enemy (with white wisps). Each player must defeat their corresponding enemy. Defeating these mini-bosses will drop a Mote of Light (for Light Aligned) or a Mote of Darkness (for Darkness Aligned).
This is where communication becomes crucial. After each mini-boss kill, one player will see symbols appear on pedestals, while the other will see floating symbols that can be shot. The player seeing the pedestal symbols must call them out in the order they appear (left to right). The other player must then shoot the floating symbols in that exact order.
Example:
- Light player defeats their mini-boss and sees the Snake symbol.
- Light player defeats the second mini-boss and sees the Witness symbol.
- Darkness player shoots the floating symbols in order: Snake, then Witness.
Success will teleport you to a larger arena. The core mechanic remains the same, but now, instead of two symbols, one player must communicate three symbols in the correct order for the other to shoot. Kill three waves of mini-bosses to reveal all three symbols. For the player reading the symbols, the pedestals are located on a round balcony accessible via a ramp near the enemy spawn.
The third phase expands to four symbols. One platform will have the pedestals at the back for the symbol-reading player. Again, communicate the symbols in the order they appear (left to right on the pedestals), and have your partner shoot the corresponding floating symbols in the same order. Completing this concludes the encounter.
First Jumping Puzzle: Aligned Platforms
You’ll be teleported again. Proceed through a relatively straightforward jumping puzzle. Players will initially move together until you reach two Taken Phalanxes guarding Light and Darkness plates. Step on your respective plates to activate platforms for the jumping section ahead. More plates will appear on each side, requiring players to split up – Light players to the white side, Darkness to the orange side – to open the path. Be mindful that the plate sides switch towards the middle and end of the puzzle, so watch for your plate alignment on the opposite side.
At the puzzle’s end, open the final door by again standing on your correct alignment plates simultaneously. Continue through the large doorway to reach the next rally flag.
Find Balance 2: The Clock Face Puzzle
Communication is paramount for this encounter. One player will see elements that the other cannot. A clock-face contraption will appear at the end of the room, with beams connecting to buttons that can be activated by shooting.
A Tormentor boss will spawn. The player who lands the final blow on the Tormentor will gain the “Harmonic Sundering” buff. This buff allows that player to shoot the clock face buttons. However, they must only shoot the buttons that are visible to both players. Between the two players’ perspectives, three buttons will be identical. You must determine these three common buttons so the buffed player can activate them.
Example:
- Player 1 sees buttons 1, 2, 3, 6, 7, and 8.
- Player 2 sees buttons 2, 4, 5, 6, 7, and 9.
- The common buttons are 2, 6, and 7. The player with Harmonic Sundering shoots buttons 2, 6, and 7.
This encounter is timed, and the Harmonic Sundering buff is also temporary, so speed and clear communication are essential. This process repeats three times to complete the encounter.
Second Jumping Puzzle: Rings of Alignment
This jumping puzzle is simpler than the first. Step on your respective plates to activate rings of energy that launch you to the next floating island. Initially, you’ll separate onto individual islands, defeat enemies, and then proceed to the next island by using your alignment plates to activate the next ring. On the final island, you’ll reunite. After defeating two Tormentors that spawn, activate the final ring using your plates to reach the final encounter.
Mastery of Balance: Dual Subjugator Boss Fight
The final boss is a dual encounter against two Subjugators, incorporating mechanics from the entire mission. Initially, only one Subjugator will be active and damageable. Eventually, a white shield will appear, and two mini-bosses will spawn on pedestals to the Subjugator’s left and right – one Darkness Aligned, one Light Aligned. Kill your respective mini-boss.
One player will then see three symbols appear vertically (top to bottom). The other player must shoot these symbols in the same top-to-bottom order. Successfully shooting the symbols will remove the Subjugator’s shield, allowing you to damage it again. When the Subjugator reaches its last health segment, it will teleport away inside an immune shield, and the second Subjugator will enter the arena. Repeat the symbol mechanic with the second Subjugator until it also reaches its last health segment.
To break the large orange shields protecting both bosses in this final phase, you’ll revisit the clock-face mechanic. First, defeat the Light and Dark mini-bosses that spawn again. Once defeated, position yourselves on opposite sides of the arena, facing your respective clock faces.
This time, the common button combination changes rapidly. Quickly call out the single button you both see in common from the four displayed on each clock face and shoot it simultaneously before the combination changes. Repeat this process three times to drop the barriers on both bosses, allowing you to finally defeat them.
Claiming Your Exotic Reward
Head to the back of the arena to claim your well-earned reward: the Exotic class item. However, there’s one final choice. Interacting with the pedestals will teleport you into shielded prisons where you must choose between “Prepare for Battle” and “Choose Peace.” “Prepare for Battle” initiates a PVP duel between the fireteam members. To skip the duel and claim your reward peacefully, both players must select “Choose Peace.”