Destiny 2’s ever-evolving universe continues to challenge Guardians, and the Duality dungeon is no exception. Set within the hauntingly beautiful Derelict Leviathan from the Season of the Haunted, Duality plunges players into the fractured subconscious of the exiled Emperor Calus. This guide serves as your comprehensive walkthrough to navigate the treacherous parallel realities of Duality and vanquish the Nightmares that lurk within.
Journey to the First Encounter
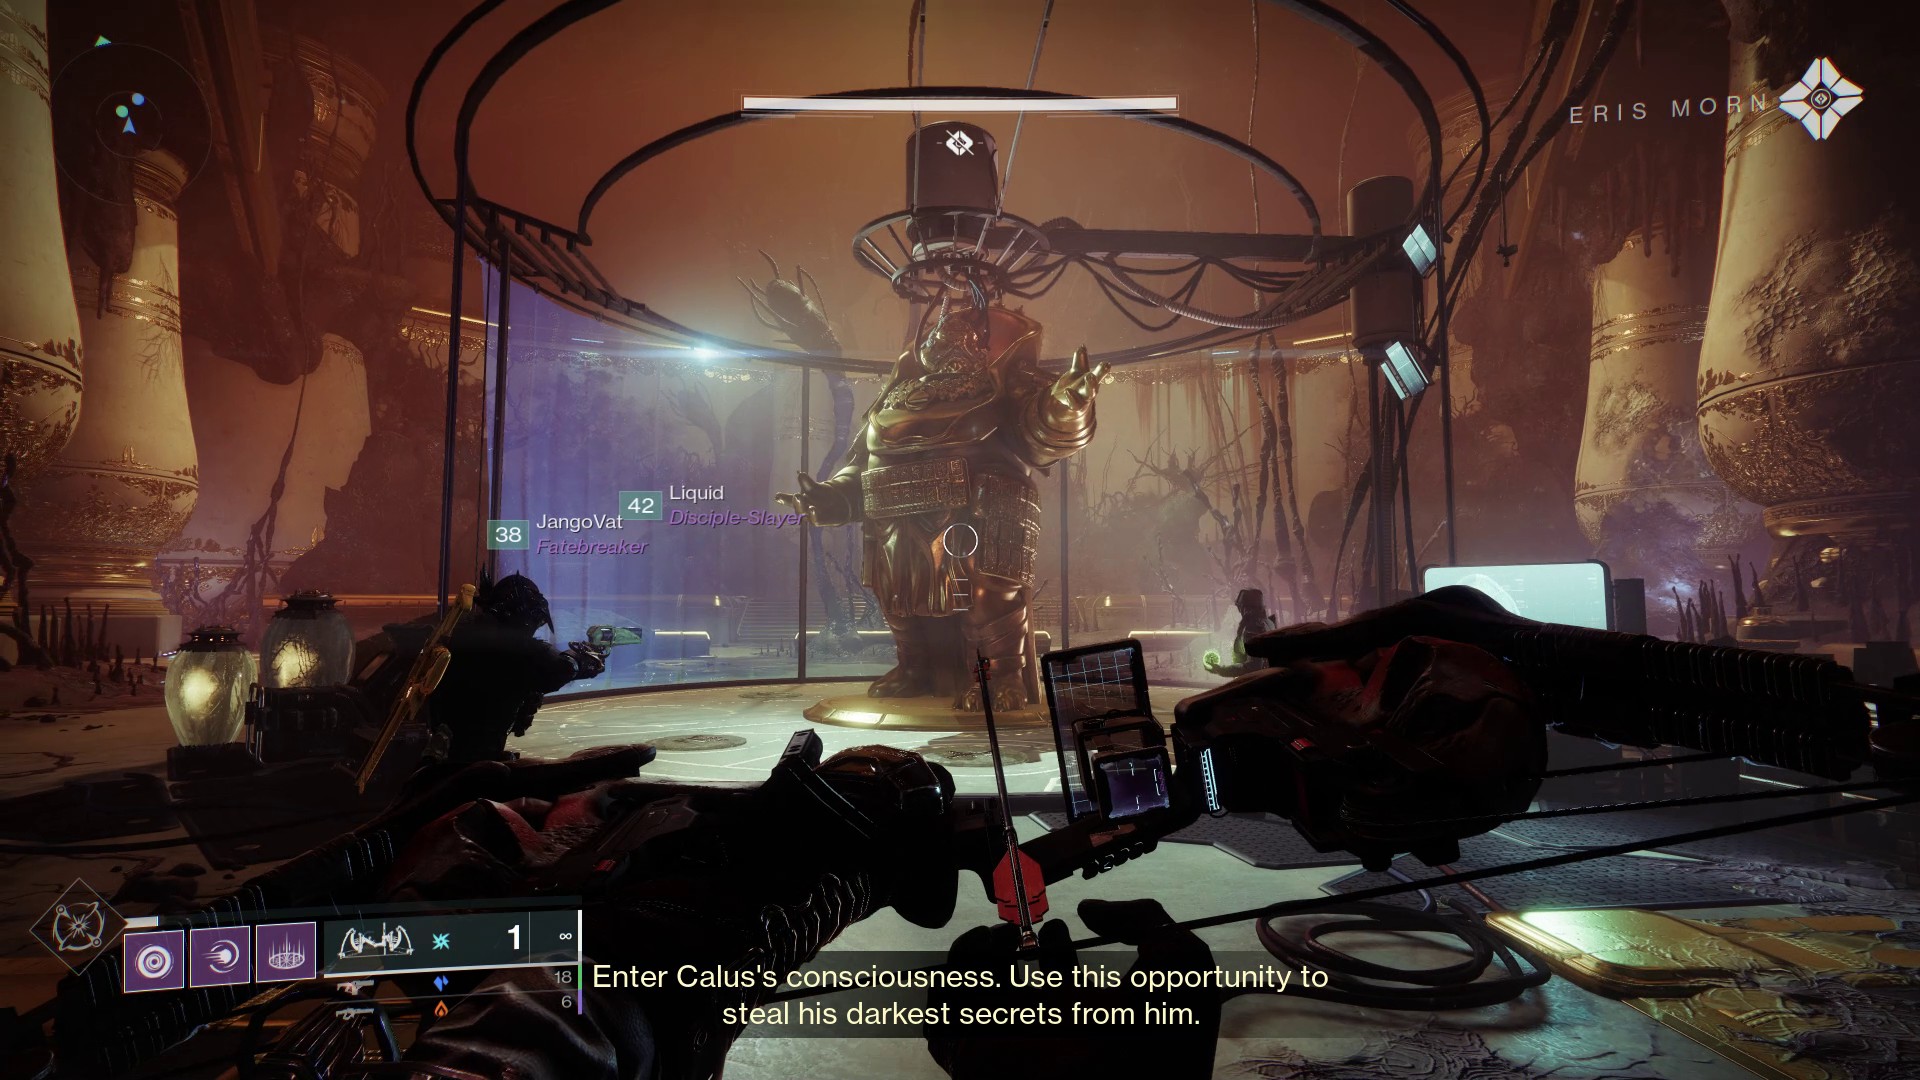
Image: Bungie via Polygon
Your Duality dungeon descent begins in the familiar Tribute Hall from the Season of Opulence. Proceed forward and engage with Eris Morn. She will task you with entering Calus’ mind by interacting with one of his imposing statues. Once Eris concludes her dialogue, drop into the newly opened abyss to initiate the dungeon.
Upon landing, advance and peer through the grate. A pulsating red bell will be visible in the distance. Shoot this bell until it retracts to instantaneously transition into the shadow realm, a distorted mirror of reality. In this shadow realm, you’ll find a similar room layout, but with the grate and wall now absent, granting you freedom of movement. Gather your fireteam and advance towards the bell in this shadow dimension, positioning yourselves within the circle etched on the floor surrounding it. Fire upon the bell until it closes once more to return to normal reality.
Image: Bungie via Polygon
This bell mechanic is fundamental to Duality. Shooting bells allows traversal to the shadow realm from any location, teleporting you to the corresponding shadow realm location based on your real-world position. However, returning to reality is exclusive to the bell’s vicinity. Guardians attempting to teleport back to reality without being near a bell will face immediate demise.
Continue through the subsequent chambers, experimenting with bell activations and platforming challenges. Ascend upwards, always vigilant for grates concealing glowing bells. Eliminate enemies proactively to prevent them from disrupting your platforming with knockback into the abyss.
Persist along the path until you arrive at a grand, opulent chamber adorned with statues. Clear all adversaries in this area, and a central floor door will unlock. Descend into this opening to confront the dungeon’s first encounter.
Defeating the Sorrow Bearer, Gahlran’s Shadow
Image: Bungie via Polygon
Gahlran’s Shadow, the first boss, will test your understanding of the bell system within Duality. This encounter unfolds across two versions of a long, rectangular room: normal reality and the shadow realm. Bells are positioned at both ends of the room, and four Standard receptacle locations are present, each marked with a symbol from the Leviathan raid: Axe, Chalice, Sun, and War Beast.
Initiate the encounter by utilizing a bell to enter the shadow realm. Your fireteam must locate two Standard Bearers, who will be situated within two of the four side rooms connected to the main arena. (Rooms populated with Cabal Warhounds are strong indicators of a nearby Standard Bearer.) Assign two players to search for Standard Bearers, and the third player to eliminate the Bellkeepers. Bellkeepers are positioned at the opposite end of the arena from your entry bell. Crucially, the return bell will remain inactive until both Bellkeepers are neutralized.
Be mindful of the timer in the shadow realm during dungeon encounters. Failure to return to normal reality before the timer expires results in death. (Eliminating Standard Bearers in this and subsequent encounters extends your time in the shadow realm.) Gahlran’s immune shadow will also relentlessly pursue you in the shadow realm, so remain vigilant.
Image: Bungie via Polygon
Once your team possesses two Standards and all Bellkeepers are deceased, regroup at a bell and return to reality. In reality, eliminate the newly spawned enemies and Bellkeepers. Next, instruct the Standard carriers to plant their Standards in the designated receptacles, unlocking the doors behind them. Clear all enemies within these newly opened rooms.
With two doors open and enemies eliminated, direct the two Standard holders to enter the rooms they unlocked. The third player should remain outside, near the bell.
Your team configuration should now be:
- One player in a room on the left side of the arena.
- One player in a room on the right side of the arena.
- One player in the main arena, adjacent to the bell.
Once positioned, teleport to the shadow realm.
The player in the main arena must immediately dispatch the Bellkeepers and then clear the arena of as many enemies as possible, while remaining alert for Gahlran’s movements.
Image: Bungie via Polygon
The two Standard players will find themselves in long corridors swarming with Gahlran’s shadows. Each player must eliminate all shadows in their respective corridor. Success will unlock a door at the end, leading back to the main arena. Upon eliminating all shadows, the primary Gahlran boss in the main arena will become vulnerable to damage.
Damage phase initiated! Remember the timer. Well of Radiance excels at team survivability, while Thundercrash, Golden Gun, and Tether are potent damage supers. Swords are highly recommended for weapons due to their consistent close-range damage output. Linear fusion rifles are also effective, though Gahlran’s mobility may favor closer engagements unless a player is utilizing Divinity for boss stabilization.
Image: Bungie via Polygon
With approximately 10 seconds remaining on the timer, disengage from the boss and return to the bell. Teleport back to reality and prepare to repeat the entire process. As Duality is a dungeon, not a raid, you can repeat this damage cycle as many times as necessary to defeat Gahlran; he does not have an enrage mechanic. The only failure condition is a full fireteam wipe.
Upon finally defeating Gahlran, descend into the floor opening and proceed further into Calus’ nightmare Leviathan.
Navigating the Crypt and Statue Puzzle
Image: Bungie via Polygon
Following Gahlran’s defeat, venture into the crypt. Continue along the path until you reach a large, open chamber. Jump onto the path to your left and activate the switch on one of the central pillars. This action will extend coffins from the wall opposite you, forming platforms.
Traverse this new path upwards and across the room. Activate another switch located here to extend another set of coffins. Return to the coffin wall and ascend until you reach a new opening. Follow the descending slide and winding corridors until you reach a significant gap requiring a leap of faith. Jump at the last possible moment to reach the platform. If struggling, equip a sword or utilize a jump-enhancing Exotic armor piece for your class.
Image: Bungie via Polygon
Continue along the path until you enter a room containing a bell and four gladiator statues. Observe the statues’ orientation in normal reality. The objective is to have all statues face the bell by rotating them counter-clockwise. Typically, one statue is correctly positioned, two are facing backward, and one is facing sideways.
Use the bell to enter the shadow realm. Switches are located on the backs of the shadow realm statues. These switches control the rotation of the statues in normal reality (shadow realm statues remain static). Activate the switches as many times as needed to orient the real-world statues correctly. Then, return to reality via the bell. If successful, the vault door beneath the bell will open, leading to the next encounter.
Unlocking the Vault
Image: Bungie via Polygon
The vault encounter is not a traditional boss fight. Similar to the first boss, it occurs in two versions of the same chamber. Two bells are situated at opposite ends of the circular room, and four rooms are positioned at the corners.
Upon encounter initiation, an invulnerable Cabal Centurion will enter the room, and two symbols (Chalice, War Beast, Sun, or Axe) will appear on Standard deposit nodes around the room’s perimeter.
These symbols correspond to staircases located in each of the four corners. At the base of each staircase is a large rectangular structure. The symbol associated with that staircase is visible on the back of this rectangle.
Again, designate two Standard runners and one Bellkeeper eliminator. Direct the Bellkeeper player to the two pits around the circle (underneath the bells) to eliminate the Bellkeepers. Each Standard player should select one of the two illuminated symbols in the center to pursue. Once Bellkeepers are down and Standard players are at the rectangle displaying their assigned symbol, transition to the shadow realm.
Image: Bungie via Polygon
Immediately upon shifting to the shadow realm, stairs will materialize in front of each Standard player. Each player must ascend their stairs and eliminate all Cabal present, including the Legionary at the summit. Upon clearing the Cabal, a Standard Bearer with a Solar shield and accompanying Warhounds will spawn. Each Standard player must defeat a Standard Bearer (extending the shadow realm timer) and collect the Standard. With Standards in hand, return to the bell.
While Standard players are engaged, the Bellkeeper player should focus on eliminating Bellkeepers. After dispatching the two Bellkeepers in the pit opposite the entry bell, clear as many remaining enemies as possible until your allies are ready to return.
Image: Bungie via Polygon
Once everyone is positioned, use the bell to return to reality. Both Standard players must then deposit their Standards into their respective holsters. This action will render the previously invulnerable Cabal Centurion vulnerable and trigger a large wave of enemies. Eliminate all enemies, including the miniboss Cabal. Upon the miniboss’s defeat, a second invulnerable miniboss will appear. Repeat this entire process two more times (three minibosses total) to unlock the vault door and claim your loot.
The path from the vault encounter to the final boss is considerably shorter than previous transitions. Simply follow the path deeper into the Leviathan, utilizing bells as needed, until you descend into the final boss arena.
Confronting Calus’ Greatest Shame, Caiatl
Image: Bungie via Polygon
The Caiatl boss encounter can be initially perplexing due to a slight shift in bell mechanics during the damage phase. However, fundamentally, the fight mirrors the structure of the preceding encounters.
You will once again find yourself in a dual arena setup. This time, there are three bells: left, right, and middle, along with a colossal bell at the arena’s far end where Caiatl spawns, which becomes significant later.
To initiate the fight, descend the stairs. Three sets of Bellkeepers will spawn, along with a significant number of enemies. Two symbols (Axe, War Beast, Chalice, or Sun) will appear on the four pillars closest to the giant bell. Four balconies, each corresponding to one of the four symbols, are also present around the room.
First, eliminate all six Bellkeepers. Next, assign two Standard players and one Bellkeeper player. The two Standard players should select a symbol from the pillars and move to their corresponding balconies. Activate one of the bells to transition to the shadow realm.
Note: Depending on team coordination, playstyle, and skill level, utilizing a single Standard player (capable of holding multiple Standards) and two Bellkeeper eliminators might be more efficient for this encounter.
Image: Bungie via Polygon
The shadow realm arena closely resembles the real-world arena, with the exception of deep pits surrounding the balconies. Immediately after teleporting, Standard players should eliminate the Standard Keepers on their balconies and retrieve the Standards they drop. The Bellkeeper player should prioritize eliminating the four Bellkeepers as quickly as possible.
Once both Standards are secured and Bellkeepers are down, return to reality via a bell. Deposit the two Standards – which will spawn two more symbols – and repeat the process to collect the remaining two Standards.
Note: During Standard collection, avoid eliminating Standard Bearers not associated with the active symbols in reality. These incorrect Standard Bearers are snipers and will aggressively target your team in the shadow realm. However, eliminating them wastes valuable time on the shadow realm timer.
With all four Standards deposited, the chains behind the Standards will illuminate. Shoot the gem embedded in the chains to ring the large bell at the room’s rear. This triggers the damage phase, which can become chaotic.
Image: Bungie via Polygon
Upon ringing the large bell, Caiatl will teleport your team and herself into the shadow realm. Six Bellkeepers will also spawn. Immediately assess Caiatl’s movement. She will begin moving towards one of the three bells. If she reaches a bell, she will escape back to reality, ending the damage phase. You must eliminate the Bellkeepers near her target bell, stand adjacent to it, and ring it before she reaches it. Caiatl moves swiftly, but approaching her will cause her to stomp, slowing her advance momentarily.
Ringing the bell before she reaches it (ensure she is very close) will stun Caiatl for 10 seconds. Anyone within the bell’s radius when it rings will also receive a 10-second damage buff. While technically possible to defeat Caiatl without the buff, it is significantly slower.
Repeat this bell-ringing process for all three bells, ringing each before she reaches it. Once all three bells are rung and she has limited health remaining (ideally around half), she will escape through the large bell, teleporting you with her.
Note: Missing a bell or allowing Caiatl to escape is not a wipe, merely a missed damage opportunity. Like the Gahlran fight, you can reach the damage phase indefinitely as long as your team avoids a full wipe.
Once back in the main arena, the encounter restarts from the beginning. Repeat this entire process until you have inflicted sufficient damage to defeat her. With the Nightmare of Caiatl vanquished, Eris will pull you back to the Tribute Hall, rewarding you with your hard-earned loot.
See More: