Embarking on The Legend of Zelda: Echoes of Wisdom is a captivating journey, distinguished by its enchanting narrative and the innovative ability to utilize echoes to solve puzzles and traverse Hyrule. While the game gently nudges you forward with quest markers, akin to a guiding light in the mist, having a comprehensive walkthrough enhances the experience, ensuring you don’t miss crucial elements and can strategically plan your adventure. This guide serves as your beacon, illuminating the path through Hyrule and offering insights into the optimal progression.
One of the unique aspects of Echoes of Wisdom is the branching paths that present themselves early in the game, challenging you to decide which region to tackle first. While these choices don’t drastically alter the overarching narrative—as you will eventually explore every corner of the map—they do influence the order in which you acquire essential abilities and face different environmental challenges. For players pondering where to begin or seeking the most efficient route, this guide is designed to provide clarity and direction.
If you’re new to Hyrule or simply looking for a gentle introduction, consider exploring our beginner’s guide for foundational tips and tricks. To truly harness the power of your abilities, understanding which echoes are most beneficial is key. As you delve deeper into the story, enriching your adventure with collectables such as heart pieces, stamps, and fairy bottles will significantly enhance your journey.
Below, we present a structured overview of the main storyline in Zelda: Echoes of Wisdom, highlighting potential narrative junctures and offering strategic advice on the best order to approach dungeons and regions when faced with multiple paths. This echoes of wisdom guide is crafted to ensure a smooth and fulfilling playthrough.
Zelda: Echoes of Wisdom Walkthrough: A Step-by-Step Guide
Echoes of Wisdom unfolds across a diverse landscape, beginning in the Suthorn Forest and progressing through regions like the Gerudo Desert and Jabul Waters. You’ll navigate back to Hyrule Castle before facing another pivotal decision: venturing into the Faron Wetlands, Eldin Volcano, or Hebra Mountains. Successfully navigating these areas leads you to the enigmatic Eternal Forest, culminating in the final confrontation at Null’s Body.
This is your roadmap for the adventure ahead. For a more detailed exploration, including insights into each section, expected upgrades, and key unlocks, continue reading. We also provide our expert recommendations on the optimal order to tackle regions when the game presents you with choices, ensuring your journey through Echoes of Wisdom is both strategic and enjoyable.
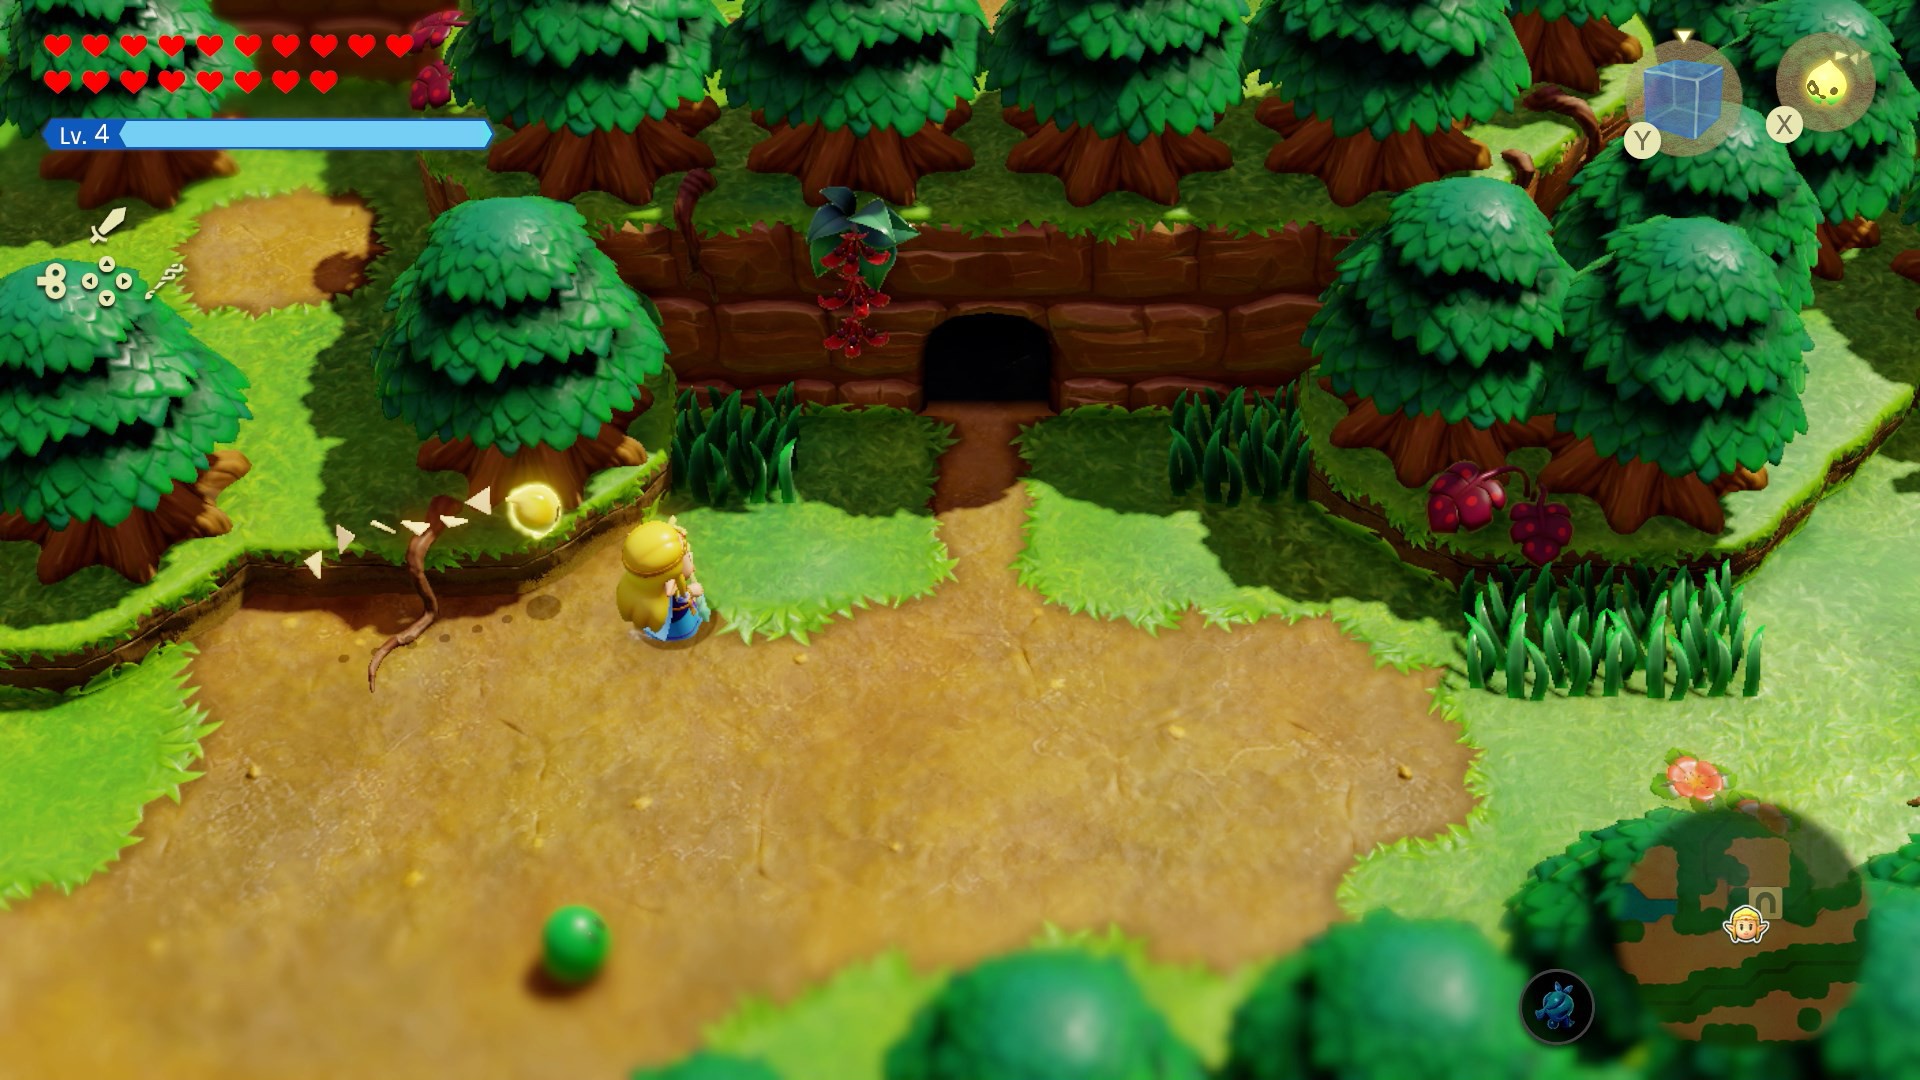
Starting Your Adventure in Suthorn Forest
Image: Nintendo via Polygon
The initial phase of Echoes of Wisdom is swift yet impactful. Emerging from the starting cavern, you’re quickly drawn into the unfolding crisis at Hyrule Castle, reporting on Link’s disappearance and the emergence of void rifts. A subsequent rift plunges you into captivity, setting the stage for your heroic escape and the acquisition of crucial early abilities. This introductory segment is structured into key stages:
- Escape from Hyrule Castle Dungeon: Ingeniously break free from your cell and navigate past the castle guards in Hyrule Castle Underground, setting the tone for your adventure.
- Journey to Suthorn Ruins: Proceed towards the Suthorn Ruins, a location pivotal to understanding the immediate threat and your burgeoning powers.
- Conquer Stilled Suthorn Ruins and Suthorn Ruins: These ruins serve as an extended tutorial, introducing you to the fundamental mechanics of utilizing Tri and your echo abilities. Stilled Suthorn Ruins and Suthorn Ruins are designed to familiarize you with puzzle-solving and combat using echoes.
Upon successfully sealing the rift in Suthorn, your path leads to Lueburry’s workshop. Here, strategic discussions with Lueburry and the rescued official reveal the broader scope of the crisis. Tri pinpoints multiple significant rifts across Hyrule, presenting your first major decision point: Gerudo Desert or Jabul Waters?
Gerudo Desert or Jabul Waters: Charting Your Course
Image: Nintendo via Polygon
After the initial Suthorn segment, Echoes of Wisdom presents its first significant fork in the road, compelling you to choose between aiding the Gerudo people in the Gerudo Desert or assisting the Zora in Jabul Waters. Both paths are essential to complete the main story, but the order in which you undertake them influences your acquired abilities and gameplay style. Which region should you prioritize? This echoes of wisdom guide offers some strategic insights.
Opting for the Gerudo Desert segment first unlocks the invaluable Flying Tile Echo. This ability grants rapid horizontal movement across gaps and chasms, significantly enhancing exploration and puzzle-solving. Additionally, you’ll acquire the Bow of Might, empowering your Swordfighter form with ranged combat capabilities. To complete the Gerudo Desert portion, you must:
The Jabul Waters path offers a different but equally crucial advantage: the Water Block Echo. This echo enables vertical traversal, allowing you to ascend cliffs effortlessly, eliminating the need for makeshift bed ladders. You’ll also discover an echo granting access to bombs, which are essential for destroying cracked walls and battling certain enemies. To complete the Jabul Waters segment:
- Navigate to Jabul Waters, addressing the environmental challenges of this water-rich region.
- Assist the Zora in resolving the rift in Stilled Upper Zora River, facing aquatic foes and puzzles.
- Confront and defeat Jabu-Jabu in a dynamic boss encounter, testing your combat skills.
- Seal the rift within the Jabul Ruins dungeon, concluding this region’s storyline.
Strategically, while both regions offer compelling benefits, we found the Bow of Might obtained from the Gerudo Desert to be particularly advantageous early on. Ranged combat provides a tactical edge, especially when approaching the challenges within Jabul Waters. However, the choice ultimately aligns with your preferred play style, as both dungeons reward you with tools that will prove invaluable throughout your adventure.
Return to Hyrule Castle: Consolidating Your Progress
Image: Nintendo via Polygon
With the two major rifts addressed, your quest directs you back to Hyrule Castle. The time has come to rescue the King and unravel the mysteries plaguing Hyrule. This segment is notably linear, guiding you through a stilled, dungeon-like version of Hyrule Castle.
Following the King’s rescue, Tri detects three new colossal rifts erupting across Hyrule, specifically in the Faron Wetlands, Eldin Volcano, and Hebra Mountains.
Before embarking on these new regional quests, this juncture presents an ideal opportunity for extensive map exploration. The Water Block Echo and Flying Tile Echo, now in your arsenal, grant unprecedented freedom to traverse Hyrule. Dedicate time to exploration, engage in side quests to bolster your resources, and enhance your capabilities by collecting heart pieces and Might Crystals to upgrade your weaponry. As enemy strength increases, preparedness becomes paramount. Furthermore, you can now unlock unique outfits using amiibo scans, adding a layer of customization and potential in-game advantages.
Faron Wetlands, Eldin Volcano, or Hebra Mountains: The Next Triad of Trials
Image: Nintendo via Polygon
Once again, Echoes of Wisdom presents a choice, though the order of tackling the Faron Wetlands, Eldin Volcano, and Hebra Mountains is largely flexible. Each region offers distinct challenges and unique tools, influencing your approach to subsequent areas.
Eldin Volcano, domain of the Goron people, is characterized by fire-based monsters. Here, you gain full access to bombs for your Swordfighter form, not just as echoes. The Eldin Volcano questline includes:
- Ascending Eldin Mountain to reach the Goron settlement and initiate dialogue.
- Aiding the Gorons by navigating and resolving the Stilled Goron City crisis.
- Locating the two Goron elders to devise a strategy for reaching the mountain’s summit.
- Entering Eldin Temple to eliminate the source of the rifts in this volcanic region.
The Faron Wetlands is inhabited by Deku Scrubs and features electric-based monsters and their echoes. The dungeon here emphasizes spider-like enemies that facilitate wall scaling, applicable in both 2D platforming segments and the 3D overworld. The Faron Wetlands journey entails:
The Hebra Mountains, home to yeti-like creatures, presents ice-based monsters. This region felt perceptibly more challenging and, in our opinion, offered fewer immediately impactful additions to your skillset compared to the others. The Hebra Mountains segment unfolds as follows:
- Journeying north into the Hebra Mountains, navigating icy terrains and facing cold-resistant enemies.
- Assisting Condé by resolving the rift in Stilled Hebra Mountain Cave, facing environmental puzzles and cave-dwelling monsters.
- Following Condé further up the mountain to locate his brother and advance the storyline.
- Completing Lanayru Temple to dispel the rifts plaguing the Hebra region.
Based on our experience, prioritizing Eldin Volcano is advisable. Gaining full access to bombs provides a versatile combat and puzzle-solving tool. Following Eldin Volcano, Faron Wetlands and then Hebra Mountains provides a balanced progression, allowing you to gradually adapt to increasing challenges.
[Ed. note: Spoilers for the concluding portion of The Legend of Zelda: Echoes of Wisdom are discussed below. Proceed only if you have reached this stage in the game to avoid spoilers.]
Graphic: Julia Lee/Polygon | Source images: Nintendo via Polygon
Entering the Eternal Forest: The Penultimate Chapter
Image: Grezzo, Nintendo EPD/Nintendo via Polygon
Following the resolution of the three regional crises, you are summoned back to Hyrule Castle, marking the commencement of the game’s final act. Your next destination is the Eternal Forest, a previously unexplored area located directly north of Hyrule Castle. While the minimap is obscured within the forest, it’s designed to be less labyrinthine than forests in previous Zelda titles.
After solving a brief puzzle and experiencing pivotal cutscenes, you’ll find yourself in the Stilled Ancient Ruins, a relatively linear platforming zone. Your objective is to navigate from the southern to the northern end of this area. Utilizing Water Block and Flying Tile Echoes will streamline your progress, though summoning beds remains a viable option if needed. By this stage, your echo summoning capabilities should be substantial.
Reaching the northern section culminates in a confrontation with Null Zelda, followed by the liberation of Link from his crystalline imprisonment.
You are now presented with the definitive point of no return. Tri cautions that proceeding further locks you into the game’s finale. It is strongly advised to address any pending tasks before advancing. Revisit areas to collect any remaining Pieces of Heart, complete outstanding side quests, and stock up on health-restoring smoothies to prepare for the final challenges.
The Point of No Return: Null’s Body and the Final Confrontation
Together with Link, you venture into the ultimate dungeon, Null’s Body Null’s Body. The dungeon itself is relatively concise, designed to lead swiftly to the final boss encounter, which is notably extensive and demanding. Victory marks the game’s conclusion, unlocking post-game collection bonuses.
With the main story complete, the post-game encourages you to finalize your collection of any remaining echoes, heart pieces, fairy bottles, and incomplete side quests, ensuring a comprehensive and fulfilling Echoes of Wisdom experience.
See More: