Elden Ring offers a vast and intricate world filled with challenges that can test even the most seasoned players. To overcome these obstacles, mastering the combat system is crucial, and one often-underutilized mechanic is buff stacking. Like many RPGs, Elden Ring allows players to combine various buffs to enhance their character’s abilities. However, the game doesn’t explicitly explain which buffs stack, which overwrite each other, and which synergize effectively. Understanding these nuances is essential for creating powerful builds and conquering the Lands Between. This guide will provide a comprehensive overview of buff stacking in Elden Ring, helping you maximize your potential and dominate your foes.
Understanding Buff Categories in Elden Ring
Buff stacking in Elden Ring revolves around understanding different buff categories. Generally, you can have one active buff from each category simultaneously, alongside unique buffs. This categorization helps prevent overpowering combinations while still allowing for significant player enhancement. The primary buff categories are:
Aura Buffs
Aura buffs are effects that emanate from the player, often affecting both the player and nearby allies. These buffs typically provide general combat enhancements.
| Aura Buff Example | Effect | Duration |
|---|---|---|
| Golden Vow | Increases attack power by 15% and damage negation by 10%. | 80 seconds |
| Uplifting Aromatic | Increases physical damage by 10% and grants 90% damage negation for one hit. | 40 seconds |
| Rallying Standard Skill | Increases damage by 20% and damage negation by 20%. | 30 seconds |
Body Buffs
Body buffs are self-targeted enhancements that modify a player’s core attributes, damage output, or defenses. These are focused on individual player empowerment.
| Body Buff Example | Effect | Duration |
|---|---|---|
| Howl of Shabriri | Increases attack power by 25% but increases damage taken by 30%. | 40 seconds |
| Bloodboil Aromatic | Increases physical damage by 30%, max stamina by 20%, but reduces damage negation by 25%. | 60 seconds |
| Boiled Crab | Grants 20% physical damage negation. | 60 seconds |
Weapon Buffs
Weapon buffs apply special conditions or elemental damage directly to your weapon. Note that most Somber weapons and weapons with unique affinities cannot be buffed, with exceptions like Bloodhound’s Fang and Varre’s Bouquet.
| Weapon Buff Example | Effect | Duration |
|---|---|---|
| Bloodflame Blade | Adds fire damage and blood loss buildup to the weapon. | 60 seconds |
| Ash of War: Royal Knight’s Resolve | Increases the next hit’s damage by 80% and stamina damage by 300%. | 10 seconds |
| Moonlight Greatsword Skill (Dark Moon Greatsword) | Adds magic damage and frostbite buildup; heavy attacks launch magic projectiles. | 60 seconds |
Regeneration Buffs
Regeneration buffs provide passive health recovery over time, aiding in sustain during exploration or prolonged combat.
| Regeneration Buff Example | Effect | Duration |
|---|---|---|
| Blessing of the Erdtree | Heals self and allies at a rate of 12 HP per second. | 90 seconds |
Unique Buffs
Unique buffs are a diverse category encompassing effects from Great Runes, Talismans, armor/weapon passives, specific spells, and items. These buffs do not generally interfere with the four main categories and can be stacked freely with each other and other buff types, as long as their conditions are met. Examples include Talismans that boost attack power under certain conditions or spells that create damage-enhancing zones.
| Unique Buff Example | Effect | Duration |
|---|---|---|
| Terra Magica | Increases magic damage by 35% within the designated area. | 30 seconds |
| Oath of Vengeance Skill | Increases all attributes by 5, prevents stagger, and increases damage negation by 45% (stat increase lasts 60s, other effects 5s). | Variable |
| Contagious Fury Skill (Jellyfish Shield) | Increases damage by 20% when used with the Jellyfish Shield. | 30 seconds (lost on shield swap) |
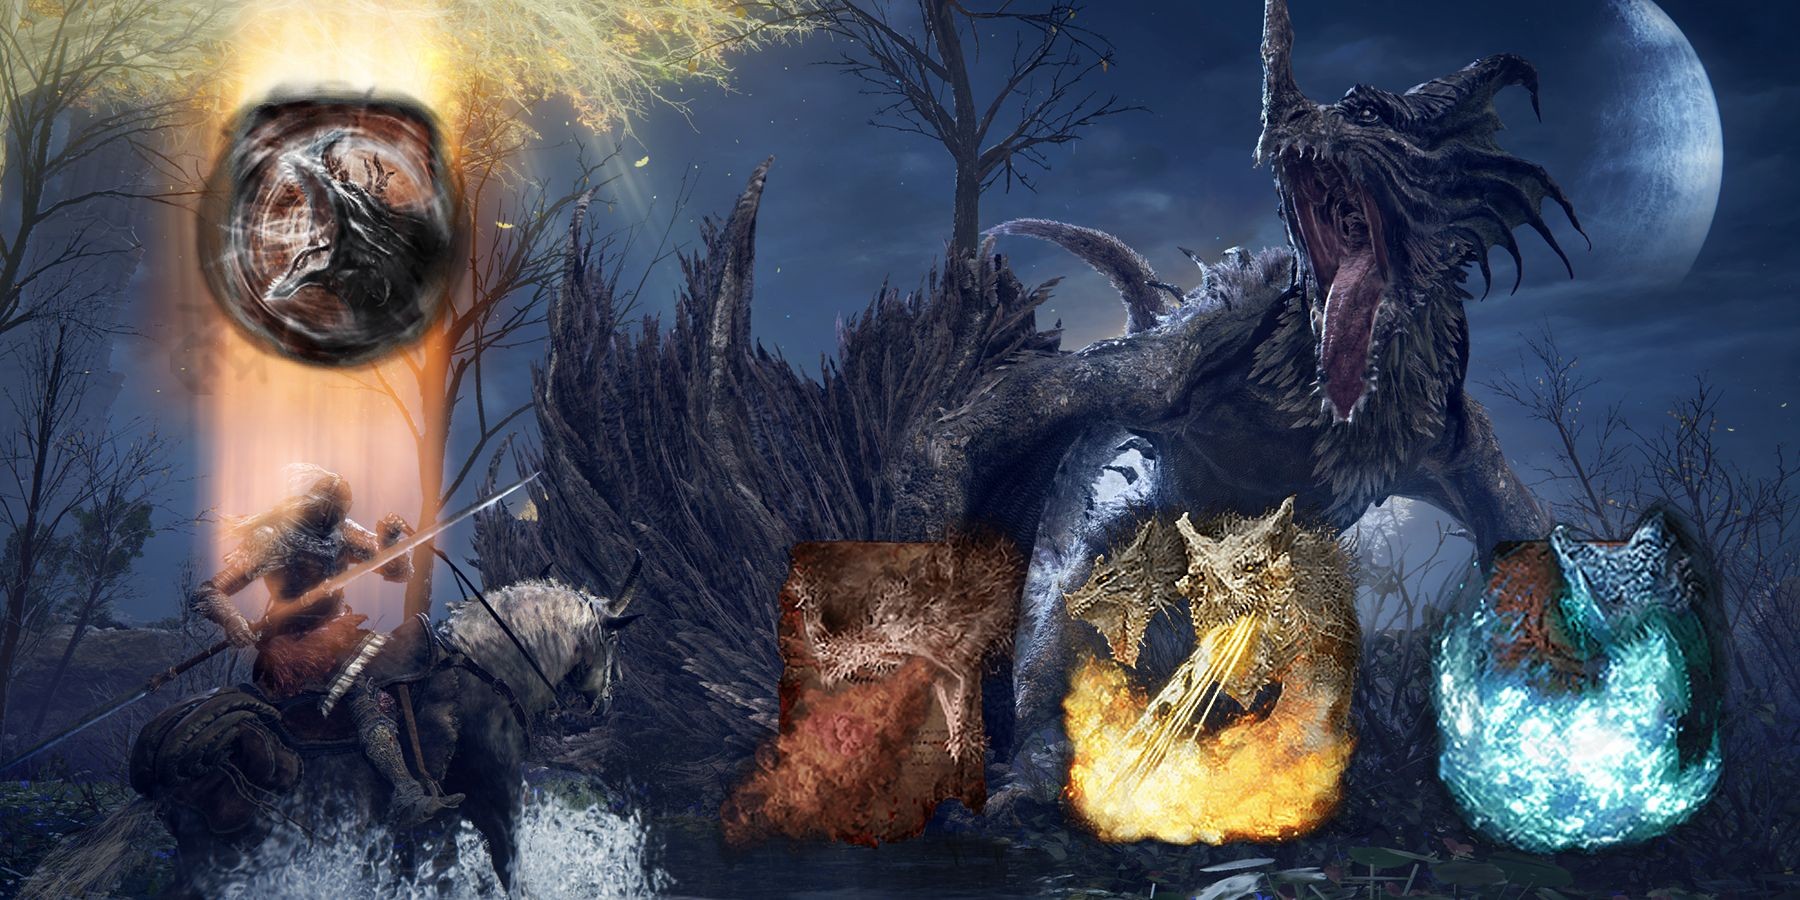 Elden Ring gameplay featuring Dragon Communion Incantations, showcasing diverse combat options
Debuffs in Elden Ring: A Separate System
Debuffs in Elden Ring operate independently from buffs, meaning they do not interfere with your buff stacking strategy. Understanding debuffs is crucial for both applying them to enemies and mitigating them when inflicted upon yourself. Debuffs are broadly categorized into:
Status Effects
Status effects are build-up conditions that, upon reaching a threshold, trigger a specific negative effect. Multiple status effects can be active on a target simultaneously.
| Status Effect | Effect | Examples |
|---|---|---|
| Bleed | Causes a burst of physical damage when the buildup is complete. | Reduvia Dagger, Rivers of Blood katana |
| Poison | Deals damage over time. | Poison Armament, Poison Moth Flight |
| Madness | Reduces FP and Stamina, and briefly stuns the target. | Frenzied Burst, Vyke’s War Spear |
| Scarlet Rot | Deals significant damage over a longer duration than poison. | Rotten Breath, Scarlet Rot Incantations |
| Frostbite | Reduces enemy damage negation and slows stamina regeneration; also deals a burst of damage. | Freezing Mist, Hoarfrost Stomp |
| Sleep | Renders the target temporarily unconscious. | Sleep Pots, St. Trina’s Sword |
| Eternal Sleep | Similar to Sleep, but potentially longer duration or different properties (less common). | Fevor’s Cookbook 3 recipe |
Standard Debuffs
Standard debuffs are generally applied by weapon skills and spells and typically overwrite each other. You can only have one standard debuff active on an enemy at a time. For instance, applying Rennala’s Full Moon will remove the effect of Ranni’s Dark Moon, and vice versa. Similarly, debuffs like Greyoll’s Roar and Shriek of Milos will not stack.
| Standard Debuff Examples | Effect |
|---|---|
| Rennala’s Full Moon & Ranni’s Dark Moon | Reduce magic damage negation. |
| Greyoll’s Roar & Shriek of Milos | Reduce enemy attack power. |
Unique Debuffs
Unique debuffs are less common and often have specific or unusual effects. While technically stackable with each other, practical application can be challenging. Examples include Oil Pots (increases fire damage vulnerability), Cursed-Blood Pot, Darkness, Bewitching Branch, Blade of Death skill, and Knowledge Above All skill.
| Unique Debuff Examples | Effect |
|---|---|
| Oil Pots | Increases fire damage taken. |
| Bewitching Branch | Temporarily charms enemies. |
Top Buff Choices Across Categories
To get you started with buff stacking, here’s a selection of strong buffs from each category. These are effective options for enhancing your combat prowess in Elden Ring:
| Buff Category | Buff Name | Effect |
|---|---|---|
| Aura Buffs | Golden Vow | Excellent all-around buff for both offense and defense. |
| Aura Buffs | Uplifting Aromatic | Great for a burst of damage and a single hit of damage negation, useful for aggressive play. |
| Aura Buffs | Rallying Standard Skill | Provides a balanced boost to damage and defense, especially potent for co-op. |
| Body Buffs | Howl of Shabriri | Highest damage increase, but at the cost of increased vulnerability; for risky, high-reward playstyles. |
| Body Buffs | Bloodboil Aromatic | Strong physical damage boost with stamina increase, but reduces defense; good for stamina-reliant builds. |
| Body Buffs | Boiled Crab | Purely defensive, excellent for mitigating physical damage, especially against tough physical attackers. |
| Weapon Buffs | Bloodflame Blade | Combines fire damage and bleed buildup, effective against a wide range of enemies. |
| Weapon Buffs | Ash of War: Royal Knight’s Resolve | Massive damage increase for a single hit, ideal for charged attacks or opening strikes. |
| Weapon Buffs | Moonlight Greatsword Skill | Adds magic damage, frostbite, and ranged capabilities to the Dark Moon Greatsword, versatile for magic builds. |
| Regeneration Buffs | Blessing of the Erdtree | Provides consistent healing for survivability in longer fights or exploration. |
| Unique Buffs | Terra Magica | Significant magic damage boost in an area, perfect for sorcerers. |
| Unique Buffs | Oath of Vengeance Skill | Temporary stat boost, stagger prevention, and high damage negation for aggressive engagements. |
| Unique Buffs | Contagious Fury Skill | Easy damage buff with the Jellyfish Shield, useful for any build that can equip shields. |
Crafting Your Buff Stacking Routine
Implementing a buff stacking routine can significantly enhance your combat effectiveness without resorting to exploits or over-leveling. The key is to create a consistent pre-combat sequence that becomes second nature.
Simple Buff Routine
- Choose one buff from each primary category (Aura, Body, Weapon, Regeneration) that suits your build and playstyle.
- Prioritize longer duration buffs first. This often means starting with Flask of Wondrous Physick combinations and Aura buffs.
- Apply buffs in descending order of duration to maximize their uptime during combat.
For example, a basic routine might look like this:
- Drink Flask of Wondrous Physick (consider Crimsonwhorl Bubbletear for healing and Stonebarb Cracked Tear for poise damage).
- Cast Golden Vow (Aura buff).
- Use Flame, Grant Me Strength (Body buff).
- Apply Bloodflame Blade to your weapon (Weapon buff).
- Use Blessing of the Erdtree (Regeneration buff).
This streamlined approach provides a solid foundation of buffs without excessive setup time, allowing you to quickly engage enemies with enhanced capabilities.
Advanced Buff Stacking: Equipment Swapping
For those looking to push buff stacking to its limits, equipment swapping offers a method to temporarily gain additional buffs. This technique exploits the mechanics of certain Talismans that trigger buffs upon status effect application.
- Equip Talismans like Lord of Blood’s Exultation or Kindred of Rot’s Exultation. These Talismans boost attack power when Bleed or Poison, respectively, is inflicted in your vicinity, including on yourself.
- Inflict the relevant status effect on yourself. Use items like Festering Bloody Finger (for Bleed) or Poison Armament (for Poison).
- As soon as the Talisman buff activates, quickly swap out the Talisman for another damage-boosting Talisman like Shard of Alexander or Ritual Sword Talisman.
This allows you to gain the temporary buff from the Exultation Talisman and then benefit from another damage-enhancing Talisman simultaneously. This requires precise timing and quick menu navigation but can yield a significant damage increase for optimized builds.
Conclusion
Buff stacking is a powerful tool in Elden Ring that, when mastered, can dramatically increase your survivability and damage output. By understanding the different buff categories, selecting synergistic buffs, and practicing a consistent routine, you can significantly enhance your Tarnished’s capabilities. Whether you opt for a simple buff routine or delve into advanced techniques like equipment swapping, incorporating buffs into your gameplay will undoubtedly make your journey through the Lands Between more manageable and rewarding. Experiment with different buff combinations to discover what works best for your build and conquer the challenges that await.