Embarking on a journey through the vast and intricate world of Elden Ring can be both exhilarating and daunting. FromSoftware’s masterpiece throws players into the Lands Between with minimal hand-holding, offering unparalleled freedom in exploration. However, this freedom can sometimes lead to encounters with enemies far beyond your current capabilities, resulting in frustration rather than fun. To navigate this open-world RPG more smoothly and enjoy a balanced challenge, following a recommended Elden Ring Progression Guide can be incredibly beneficial.
This guide provides a structured path through the Lands Between, ensuring you’re appropriately leveled and equipped as you delve deeper into the game’s diverse regions. We’ll outline the best area order in Elden Ring for players seeking to experience the main storyline, discover hidden secrets, conquer optional bosses, and complete engaging side quests, including the necessary steps to access the Shadow of the Erdtree DLC. Each area will be accompanied by recommended character and weapon upgrade levels, along with key bosses to tackle, ensuring a more rewarding and less punishing experience.
Why Follow a Recommended Progression in Elden Ring?
While Elden Ring champions player freedom, a little direction can go a long way, especially for newcomers to FromSoftware games or those unfamiliar with the sheer scale of the Lands Between. A well-structured Elden Ring progression guide offers several advantages:
- Avoid Difficulty Spikes: The Lands Between is not linearly scaled. Wandering into a high-level area prematurely can lead to constant defeats and hinder your progress. This guide helps you tackle areas in an order that aligns with your character’s expected power level.
- Optimal Leveling and Gearing: By following a recommended path, you’ll naturally accumulate runes (experience points) and valuable items at a pace that keeps you competitive. You’ll know when to focus on leveling up and upgrading your weapons, preventing you from feeling underpowered.
- Story and Lore Immersion: While the story is fragmented, there is a general flow to Elden Ring’s narrative. This guide helps you experience key story moments and character developments in a more coherent and impactful order.
- Comprehensive Exploration: This guide isn’t about rushing to the finish line. It encourages thorough exploration of each region, ensuring you don’t miss out on dungeons, bosses, loot, and the rich tapestry of side content that Elden Ring offers.
- Preparation for Shadow of the Erdtree DLC: The guide implicitly leads you to a point where you’re well-prepared to tackle the challenges of the Shadow of the Erdtree DLC, ensuring a smoother transition into the expansion content.
Remember, this is a guide, not a rigid set of rules. Feel free to deviate and explore as you wish, but returning to this Elden Ring progression guide can help you get back on track if you find yourself struggling or feeling lost.
Elden Ring Recommended Map Order
Below is an annotated map of Elden Ring, illustrating our suggested progression route through the Lands Between. Each area is color-coded and numbered, corresponding to the order in which you should ideally explore them. The key on the right provides recommended character levels and weapon upgrade levels for each area, ensuring you’re adequately prepared for the challenges ahead.
Click for the full resolution. | Image credit: Eurogamer/MapGenie/FromSoftware
For easier reference, the same information is presented in the table below. This table details the recommended area order, along with suggested character levels for first-time players and corresponding weapon upgrade levels.
| Order | Area | Character level | Weapon upgrade level |
|---|---|---|---|
| 1 | Limgrave | 1-20 | 0-2 |
| 2 | Weeping Peninsula | 20-30 | 2-3 |
| 3 | Stormveil Castle | 30-40 | 3-4 |
| 4 | Liurnia of the Lakes | 40-50 | 3-4 |
| 5 | Raya Lucaria Academy | 50-60 | 5-6 |
| 6 | Caria Manor | 60-70 | 7-8 |
| 7 | Siofra River | 60-70 | 7-10 |
| 8 | Ainsel River | 60-70 | 7-10 |
| 9 | Caelid | 70-80 | 10-12 |
| 10 | Redmane Castle | 70-80 | 10-12 |
| 11 | Altus Plateau | 70-80 | 10-12 |
| 12 | Nokron, Eternal City | 70-80 | 12-20 |
| 13 | Siofra Aqueduct | 70-80 | 12-20 |
| 14 | Deeproot Depths | 70-80 | 12-20 |
| 15 | Carian Study Hall | 80-90 | 15-20 |
| 16 | Nokstella, Eternal City | 80-90 | 15-20 |
| 17 | Lake of Rot | 80-90 | 15-20 |
| 18 | Moonlight Altar | 80-90 | 15-20 |
| 19 | Mt. Gelmir | 80-90 | 18-20 |
| 20 | Volcano Manor | 80-90 | 18-20 |
| 21 | Dragonbarrow | 90-100 | 16-20 |
| 22 | Leyndell, Royal Capital | 90-100 | 18-20 |
| 23 | Forbidden Lands | 90-110 | 20-22 |
| 24 | Mountaintops of the Giants | 90-110 | 20-22 |
| 25 | Consecrated Snowfield | 100-110 | 22-24 |
| 26 | Mohgwyn Palace | 100-120 | 23-25 |
| 27 | Subterranean Shunning-Grounds | 130-150+ | 25 |
| 28 | Miquella’s Haligtree | 130-150+ | 25 |
| 29 | Crumbling Farum Azula | 130-150+ | 25 |
| 30 | Leyndell, Ashen Capital | 130-150+ | 25 |


Elden Ring Area Order in Detail
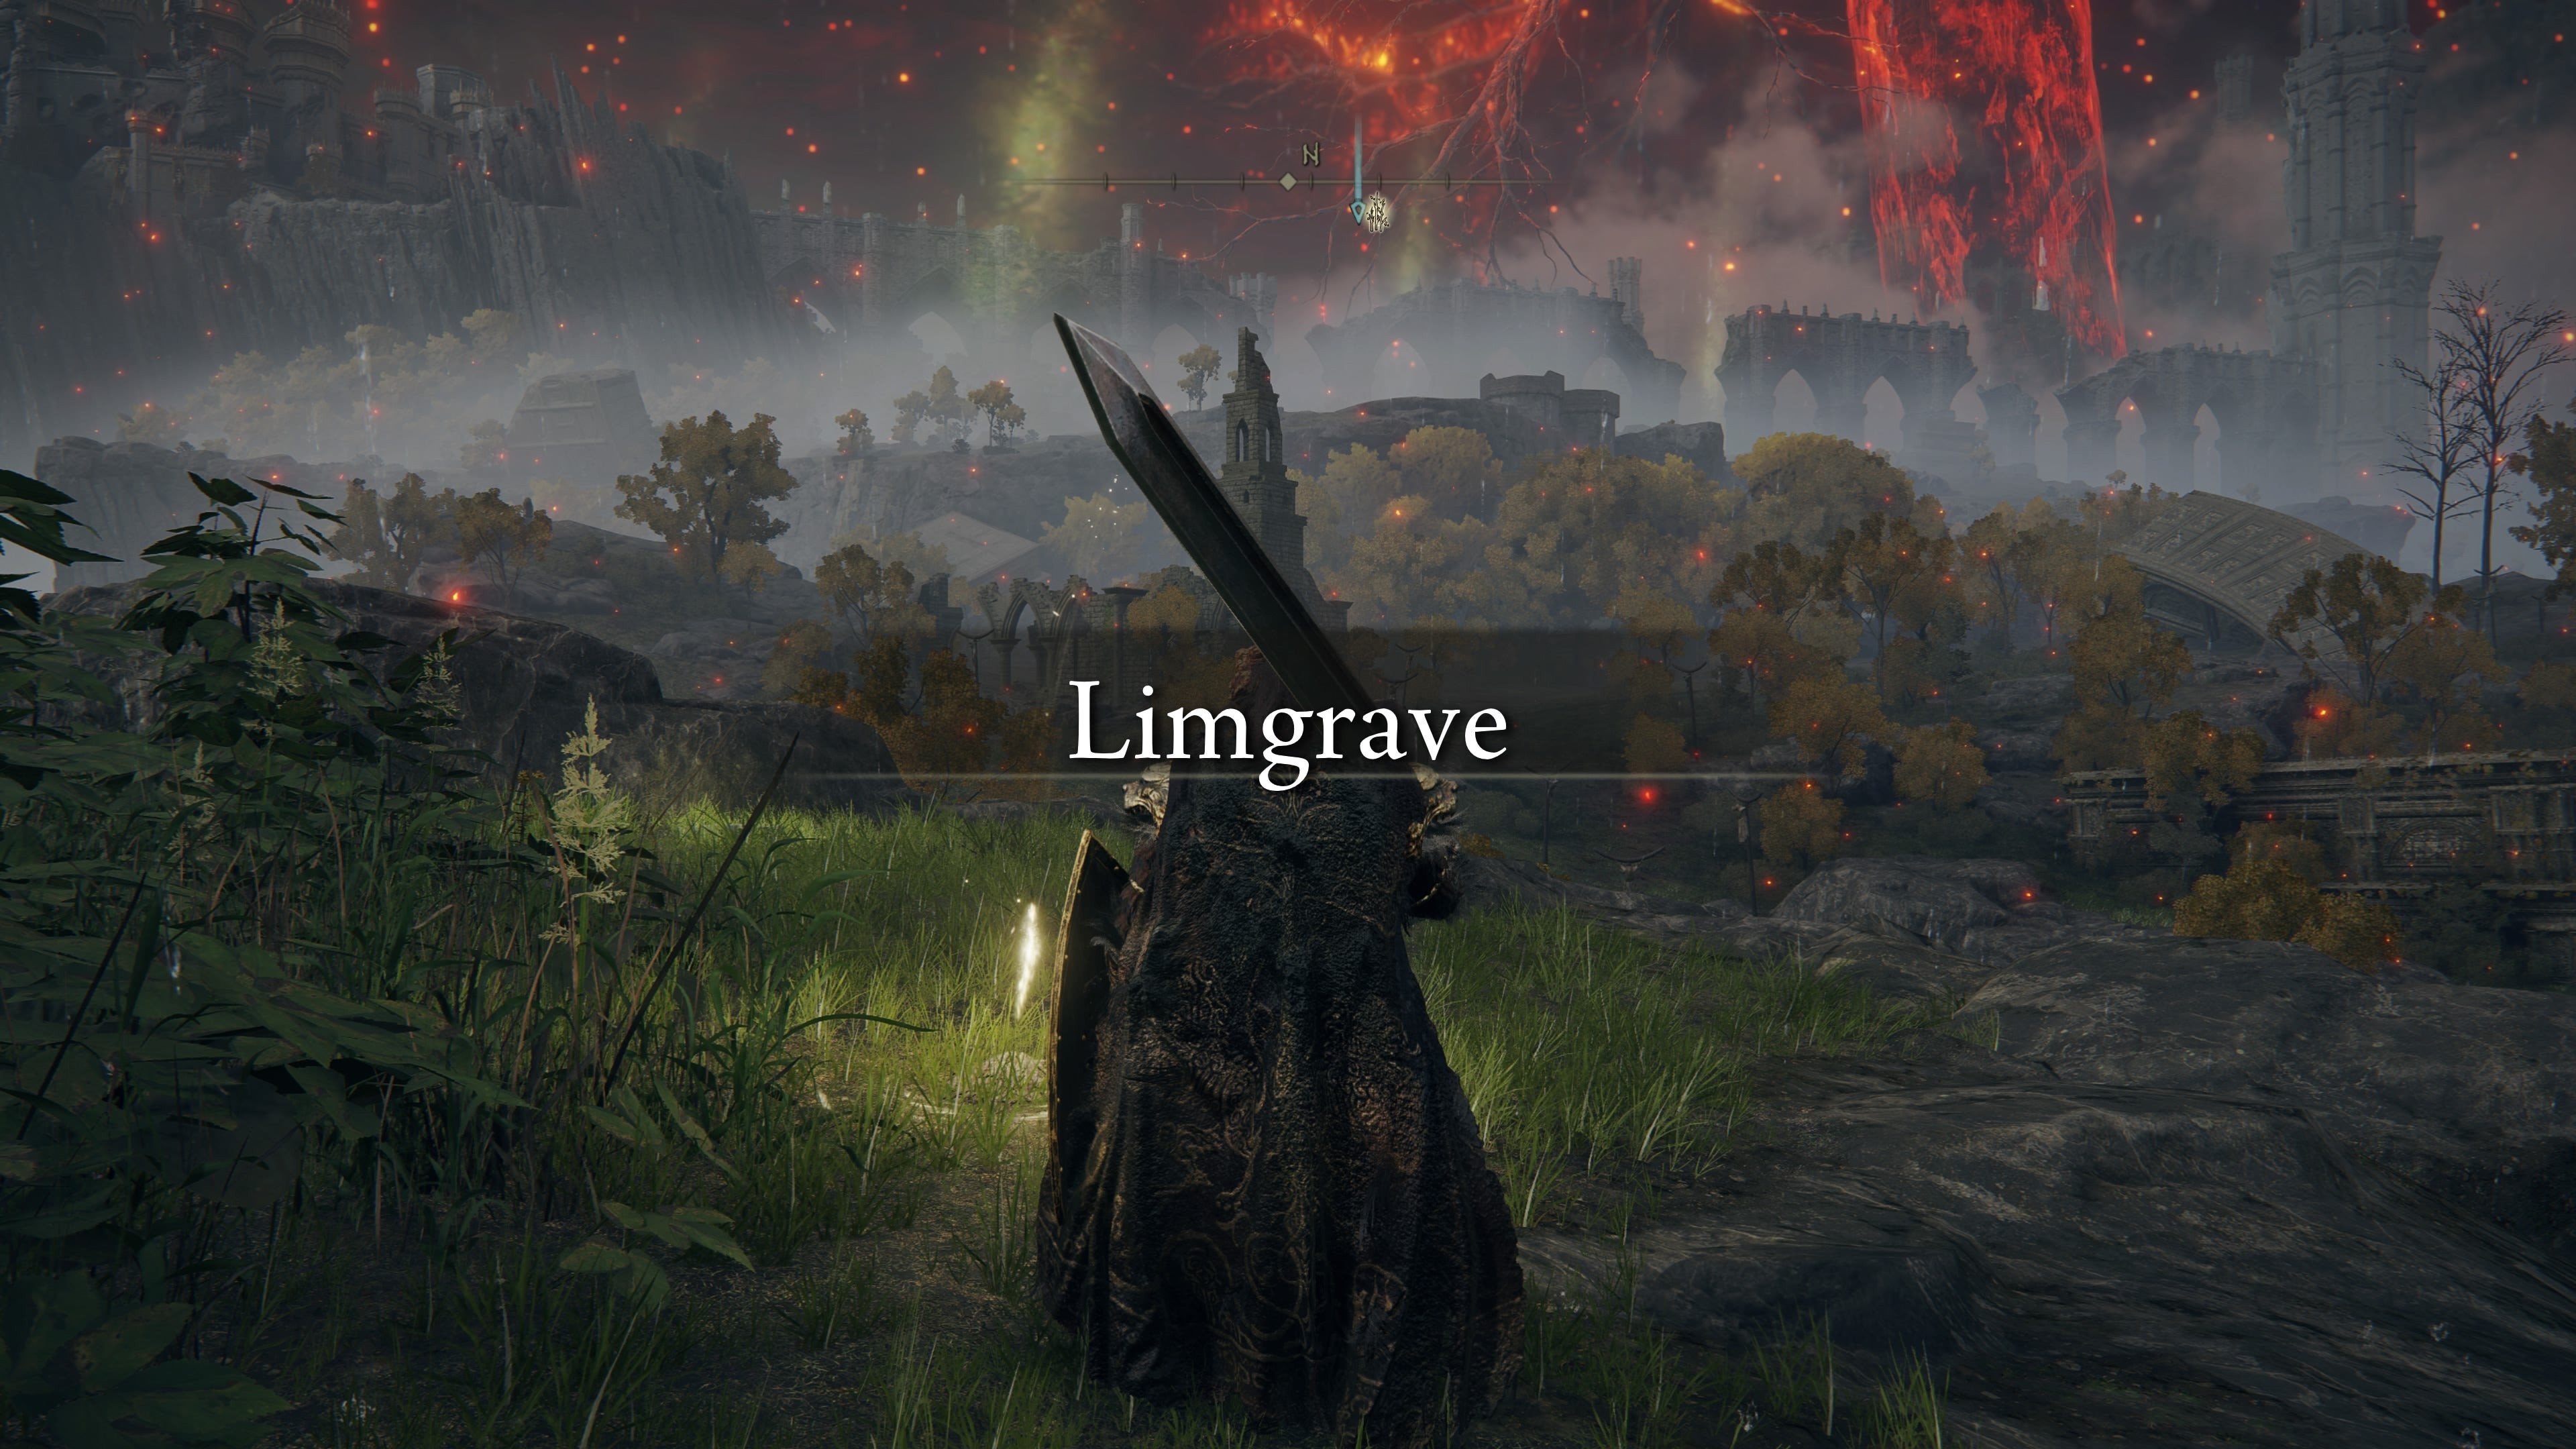
Limgrave is where you’ll begin your Elden Ring journey, and is full of dungeons and bosses to take on before you explore further. | Image credit: Eurogamer/FromSoftware
1. Limgrave
Your adventure in the Lands Between begins in Limgrave, the starting region designed to gently introduce you to Elden Ring’s mechanics and open-world structure. After creating your Tarnished and emerging from the Stranded Graveyard, don’t forget to tackle the Cave of Knowledge tutorial if you’re new to the game. Limgrave is rich with content, including numerous dungeons, mini-bosses, and valuable resources.
We recommend thoroughly exploring both Western and Eastern Limgrave. The eastern side, encompassing Mistwood, is slightly more challenging, so starting with the west provides a smoother learning curve. While tempting, it’s wise to avoid the Tree Sentinel guarding the Church of Elleh initially, as it’s designed to be a formidable early-game challenge. Focus on clearing out smaller dungeons like Groveside Cave, Murkwater Catacombs, and Stormfoot Catacombs to gain runes and upgrade materials. Don’t feel pressured to immediately follow the Guidance of Grace towards Stormveil Castle. Limgrave offers plenty to strengthen your character before tackling the first legacy dungeon.
2. Weeping Peninsula
Once you’ve gained a few levels and familiarized yourself with the gameplay in Limgrave, venture south to the Weeping Peninsula. This region, directly south of Limgrave, offers a moderate step up in difficulty and is perfect for players around level 20-30. The Weeping Peninsula is packed with dungeons, ruins, and strong enemies, culminating in Castle Morne.
We’d recommend completing the Weeping Peninsula’s Castle Morne before Stormveil Castle. It’s technically optional, but very worthwhile for its loot. | Image credit: Eurogamer/FromSoftware
Conquering Castle Morne and defeating the boss Leonine Misbegotten is highly recommended. Not only is it a good challenge at this stage, but it also rewards you with the powerful Grafted Blade Greatsword and progresses the questline of Edgar and Irina. Completing the Weeping Peninsula will provide a significant boost to your character’s level and equipment, preparing you for the challenges of Stormveil Castle.
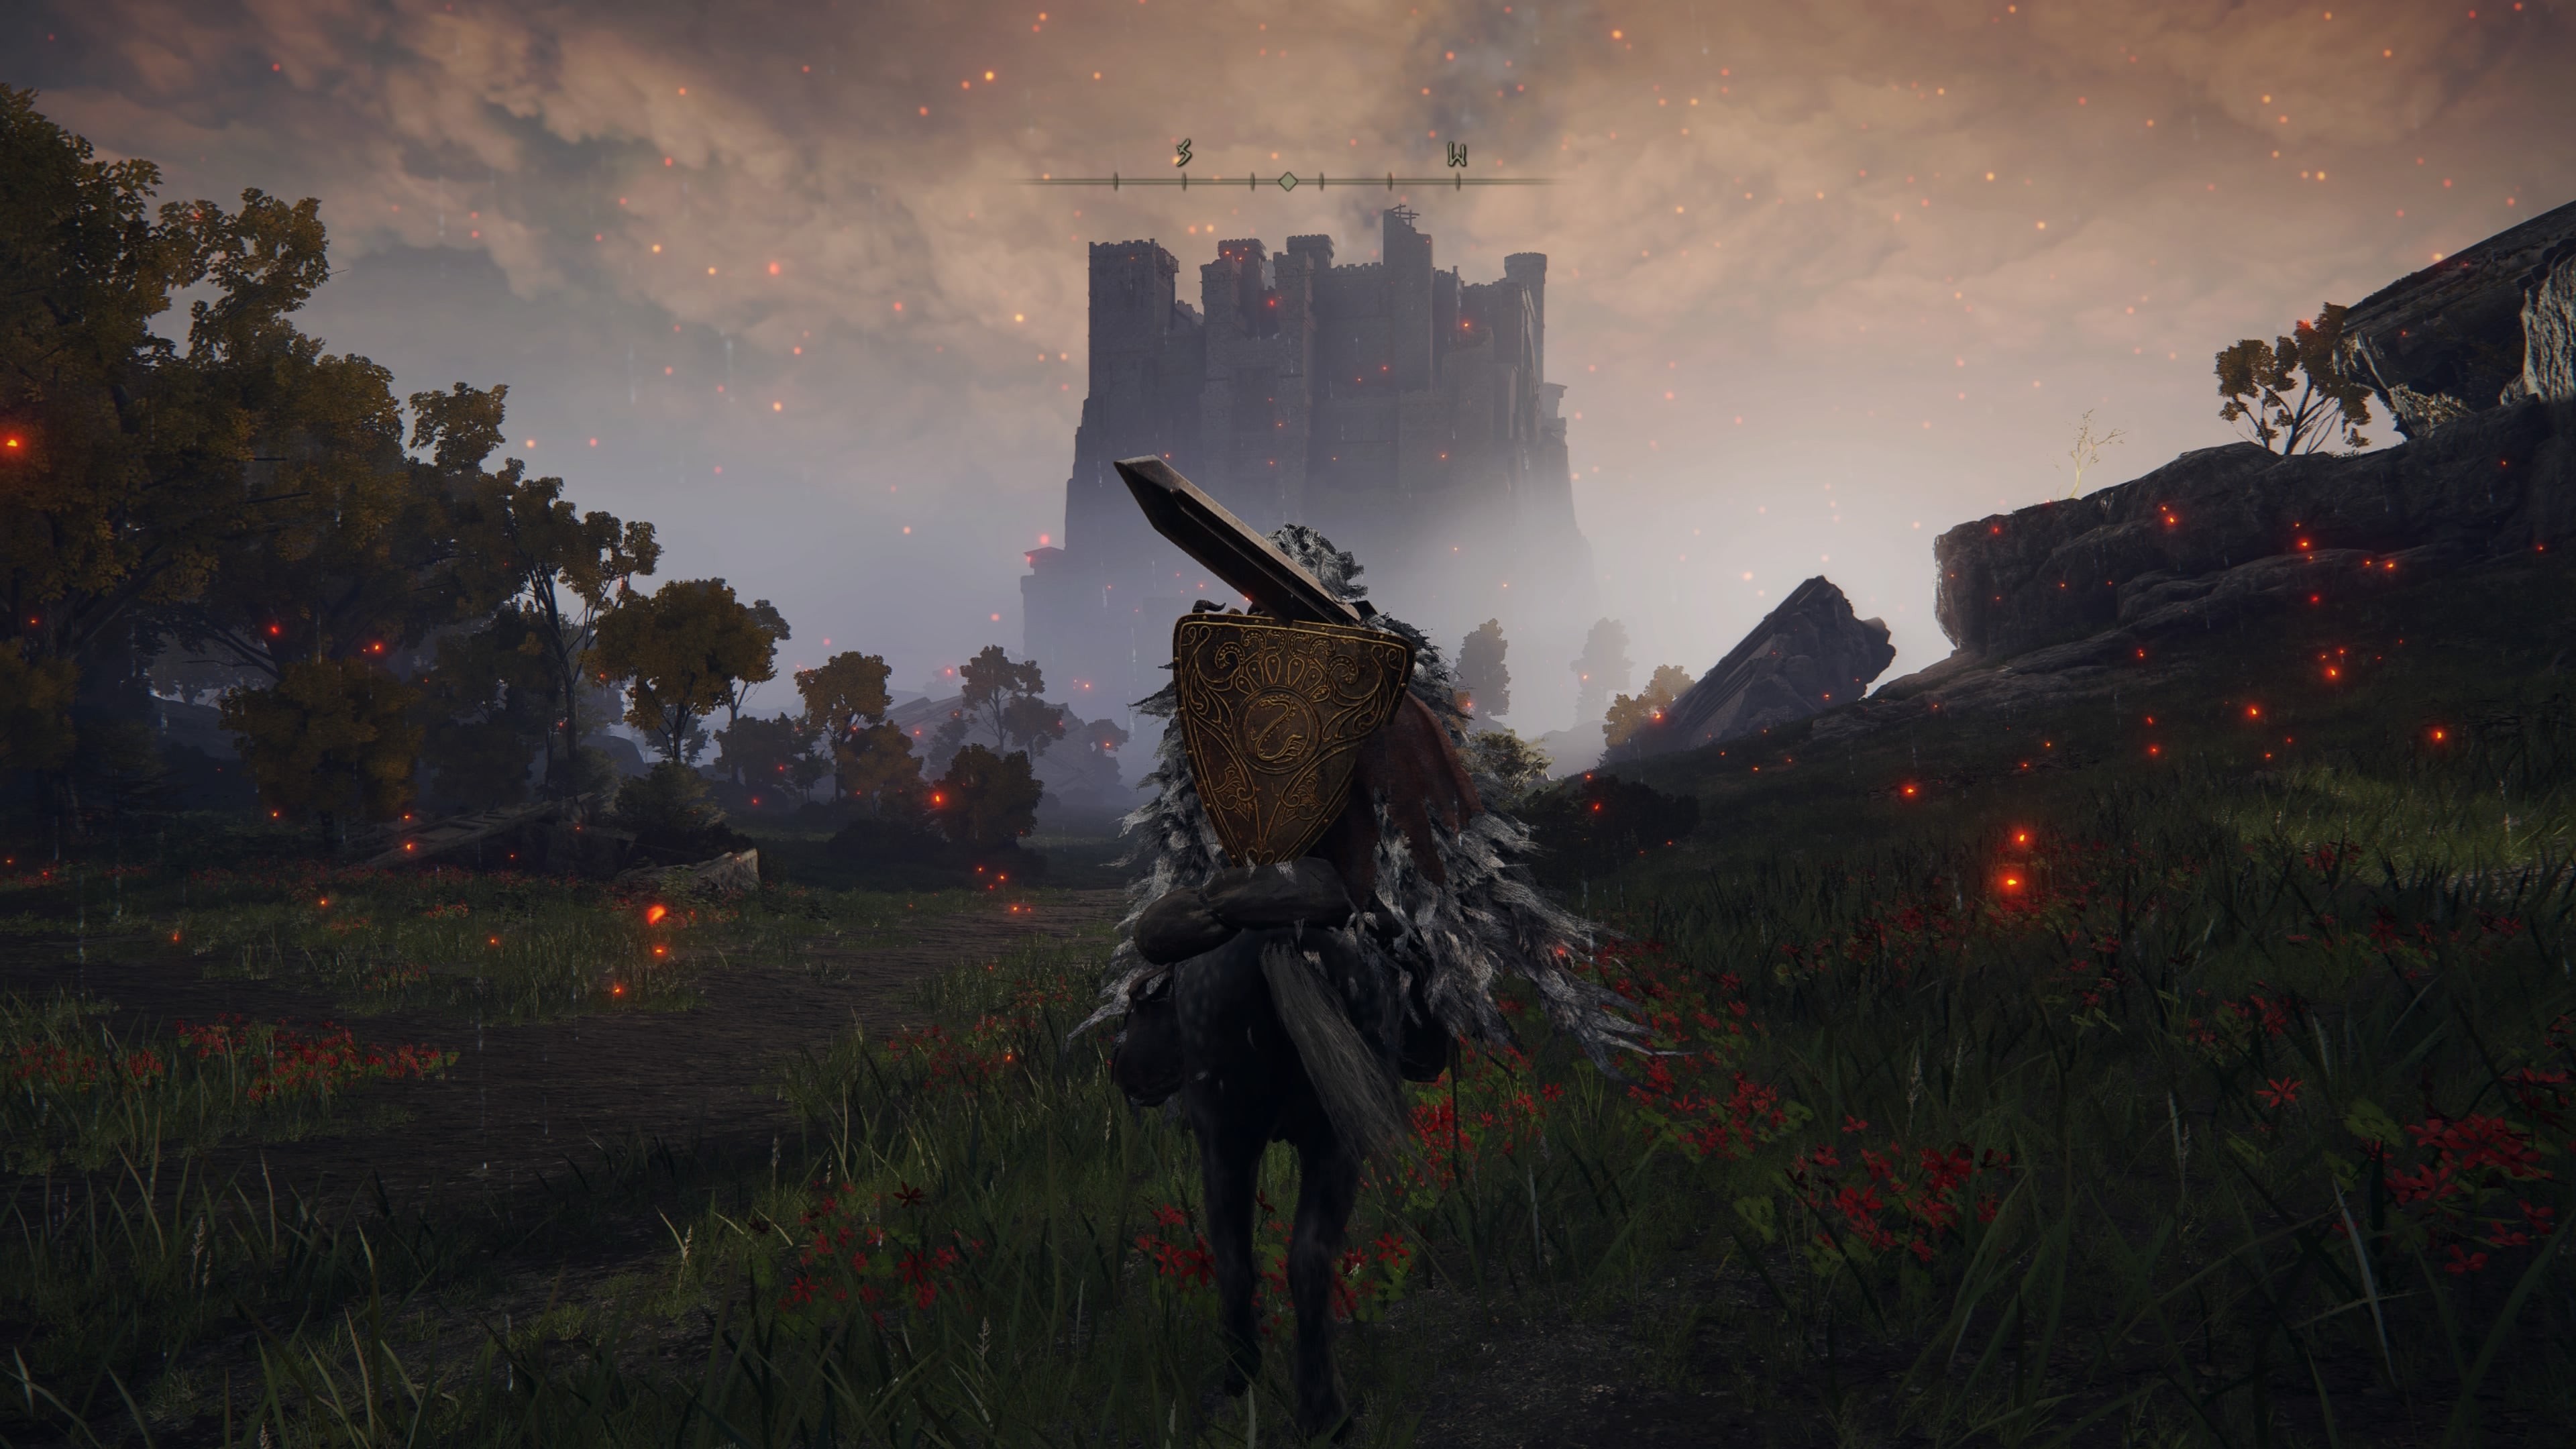
3. Stormveil Castle
With your character strengthened from Limgrave and the Weeping Peninsula, it’s time to return to the gates of Stormveil Castle, following the Guidance of Grace from the Church of Elleh. Prepare for a significant step up in difficulty as you face Margit, The Fell Omen, the imposing gatekeeper of the castle. Margit is a challenging boss designed to test your skills, and defeating him is a major milestone.
After encountering Margit (regardless of the outcome), you’ll gain access to the Roundtable Hold, a hub area where you can interact with NPCs, purchase valuable items, and upgrade your equipment. Make sure to explore the Roundtable Hold thoroughly before venturing into Stormveil Castle itself.
Stormveil Castle is the first of Elden Ring’s legacy dungeons, vast and intricately designed areas that are central to the main storyline. Within its walls, you’ll face numerous enemies and navigate complex layouts, ultimately leading to the shardbearer boss Godrick the Grafted. Defeating Godrick is crucial for story progression and grants you your first Great Rune.
4. Liurnia of the Lakes
Emerging victorious from Stormveil Castle leads you to the expansive region of Liurnia of the Lakes. This vast, swampy area is significantly larger than Limgrave and offers a wealth of exploration opportunities. Liurnia is divided into northern and southern sections, with the northern part generally being more challenging. For this stage of your progression, focusing on the southern half of Liurnia is advisable.
Liurnia is teeming with diverse enemies, dungeons, and secrets. Explore locations like the Lakeside Crystal Cave, the Academy Crystal Cave, and the various minor Erdtrees scattered throughout the region. Engage with NPCs and begin questlines, as Liurnia is central to many important storylines.
5. Raya Lucaria Academy
As you explore Liurnia, your attention will naturally be drawn to the towering Raya Lucaria Academy at the heart of the lake. This prestigious sorcery school is another legacy dungeon and a key objective in your Elden Ring progression. To gain entry, you’ll need to acquire the Academy Glintstone Key, located near the academy’s southern entrance (detailed guides are readily available online if you need help finding it).
Liurnia of the Lakes is one of the biggest areas in Elden Ring, home to both the Raya Lucaria Academy and Caria Manor dungeons. | Image credit: Eurogamer/FromSoftware
Raya Lucaria Academy is a challenging dungeon filled with sorcerous enemies and intricate puzzles. Within its walls, you’ll face bosses like the Red Wolf of Radagon and the shardbearer Rennala, Queen of the Full Moon. Defeating Rennala grants you a second Great Rune and unlocks the ability to respec your character’s stats.
6. Caria Manor
After conquering Raya Lucaria Academy and exploring the southern parts of Liurnia, it’s time to venture to the northwestern corner of the region and tackle Caria Manor. This elegant but eerie manor is another significant dungeon, distinct from the academy in its atmosphere and enemy types.
Caria Manor culminates in a boss fight against Royal Knight Loretta. Loretta is a formidable opponent with powerful ranged attacks, requiring careful dodging and strategic combat. Defeating Loretta opens up the Three Sisters area behind the manor, a crucial location for progressing several important side quests, particularly Ranni the Witch’s questline, which is essential for unlocking one of Elden Ring’s alternative endings.
7-8. Siofra River and Ainsel River
Having explored the surface of Liurnia, it’s time to delve into the underground realms of the Lands Between. During your travels, you may have discovered elevators leading downwards. Now is the ideal time to explore the subterranean regions of Siofra River and Ainsel River.
Siofra River is accessible via an elevator in East Limgrave, while Ainsel River can be reached later through Ranni’s questline or via a coffin in Deeproot Depths (which we’ll reach later in this guide). These underground areas offer a unique change of pace and atmosphere, filled with distinct enemies and environments.
Elden Ring’s undergrounds areas are some of its most exciting and mysterious, and progress a number of important side quests such as Ranni’s questline. | Image credit: Eurogamer/FromSoftware
In Ainsel River, you’ll encounter the Dragonkin Soldier of Nokstella boss. Exploring both Siofra and Ainsel Rivers is crucial for progressing Ranni’s questline. In Siofra River, you’ll encounter Blaidd, a key character in Ranni’s quest, further intertwining these underground areas with important storylines.
9-10. Caelid and Redmane Castle
While technically accessible from the start of the game, the eastern region of Caelid is best tackled after Liurnia and the initial underground explorations. Caelid is a rot-infested wasteland, characterized by its harsh red skies and significantly more challenging enemies. Scarlet Rot is a pervasive environmental hazard here, so be prepared with items to manage its effects.
Avoid venturing too far north into Dragonbarrow for now, as that area is even more challenging and intended for later in the game. Focus on exploring the southern and central parts of Caelid as you make your way towards Redmane Castle.
Redmane Castle is located in southeastern Caelid and is the site of the Radahn Festival. Progressing Ranni’s questline will trigger this festival, allowing you to participate in a grand battle against the shardbearer Starscourge Radahn. Radahn is a powerful and memorable boss, and defeating him is another significant step in your Elden Ring progression.
You can wander in Caelid right away, but we’d suggest waiting until you have a good few levels under your belt before taking on Radahn in Redmane Castle. | Image credit: Eurogamer/FromSoftware
11. Altus Plateau
Altus Plateau is another viable destination after Liurnia of the Lakes, offering a similar level of challenge to Caelid. However, we recommend exploring Caelid first as Altus Plateau leads more directly into Elden Ring’s later-game story progression.
Altus Plateau is accessible via the Grand Lift of Dectus (requiring two halves of the Dectus Medallion) or by navigating a challenging path through the Ruin-Strewn Precipice. Exploring Dragonbarrow (north of Caelid) can lead you to one half of the Dectus Medallion, making the transition to Altus Plateau feel more natural after Liurnia and Caelid.
Altus Plateau is a mountainous region with diverse environments, including the Leyndell Royal Capital outskirts and Mt. Gelmir. It’s rich with dungeons, bosses, and valuable items, and serves as a gateway to the mid-to-late game content.
12. Nokron, Eternal City
After conquering Radahn in Caelid and progressing to Altus Plateau, a new underground area becomes accessible. Defeating Radahn causes a star to fall, creating a crater in Limgrave (east of Mistwood). Descending into this crater leads you to Nokron, Eternal City.
Nokron is a visually stunning and mysterious underground city, distinct from Siofra and Ainsel River in its architecture and atmosphere. It’s a significant area for both exploration and story progression, particularly for Ranni’s questline and for acquiring powerful items.
13-14. Siofra Aqueduct and Deeproot Depths
As you explore Nokron, you’ll eventually reach the Siofra Aqueduct. Progressing through this area culminates in a boss fight against the Valiant Gargoyles. Defeating these gargoyles unlocks a coffin that transports you to the secret area of Deeproot Depths.
Deeproot Depths is another vast underground region, connected to Nokron and other areas. It’s crucial for progressing Fia’s questline and offers further exploration opportunities and boss encounters. Exploring both Siofra Aqueduct and Deeproot Depths expands upon the underground lore and rewards you with valuable items and runes.
15. Carian Study Hall
After exploring Deeproot Depths, return to the surface and revisit the Carian Study Hall in Liurnia. If you’ve been following Ranni’s questline, you should now possess the Carian Inverted Statue. Using this statue at the entrance of the Carian Study Hall unlocks its inverted version, granting access to a previously inaccessible part of the dungeon.
Within the inverted Carian Study Hall, you’ll face new challenges and enemies, culminating in a boss fight against Preceptor Miriam (again, in a more challenging form). Completing the Carian Study Hall and its inverted version is important for Ranni’s quest and for acquiring valuable sorceries and items.
16-17. Nokstella, Eternal City and Lake of Rot
Our underground exploration is not yet complete. From Ainsel River Main (accessible via a portal at the top of Ranni’s Tower or a coffin in Deeproot Depths), you can access the northern section of Ainsel River, leading to another underground city: Nokstella, Eternal City.
Nokstella is another visually impressive Eternal City, distinct from Nokron in its design and enemy types. It’s primarily focused on progressing Ranni’s questline and collecting valuable loot. Navigating through Nokstella eventually leads you to the treacherous Lake of Rot.
The Lake of Rot is a hazardous area filled with Scarlet Rot. You’ll need to carefully traverse this area, managing your Scarlet Rot build-up with items and strategic pathing. The Lake of Rot culminates in a boss fight against Astel, Naturalborn of the Void.
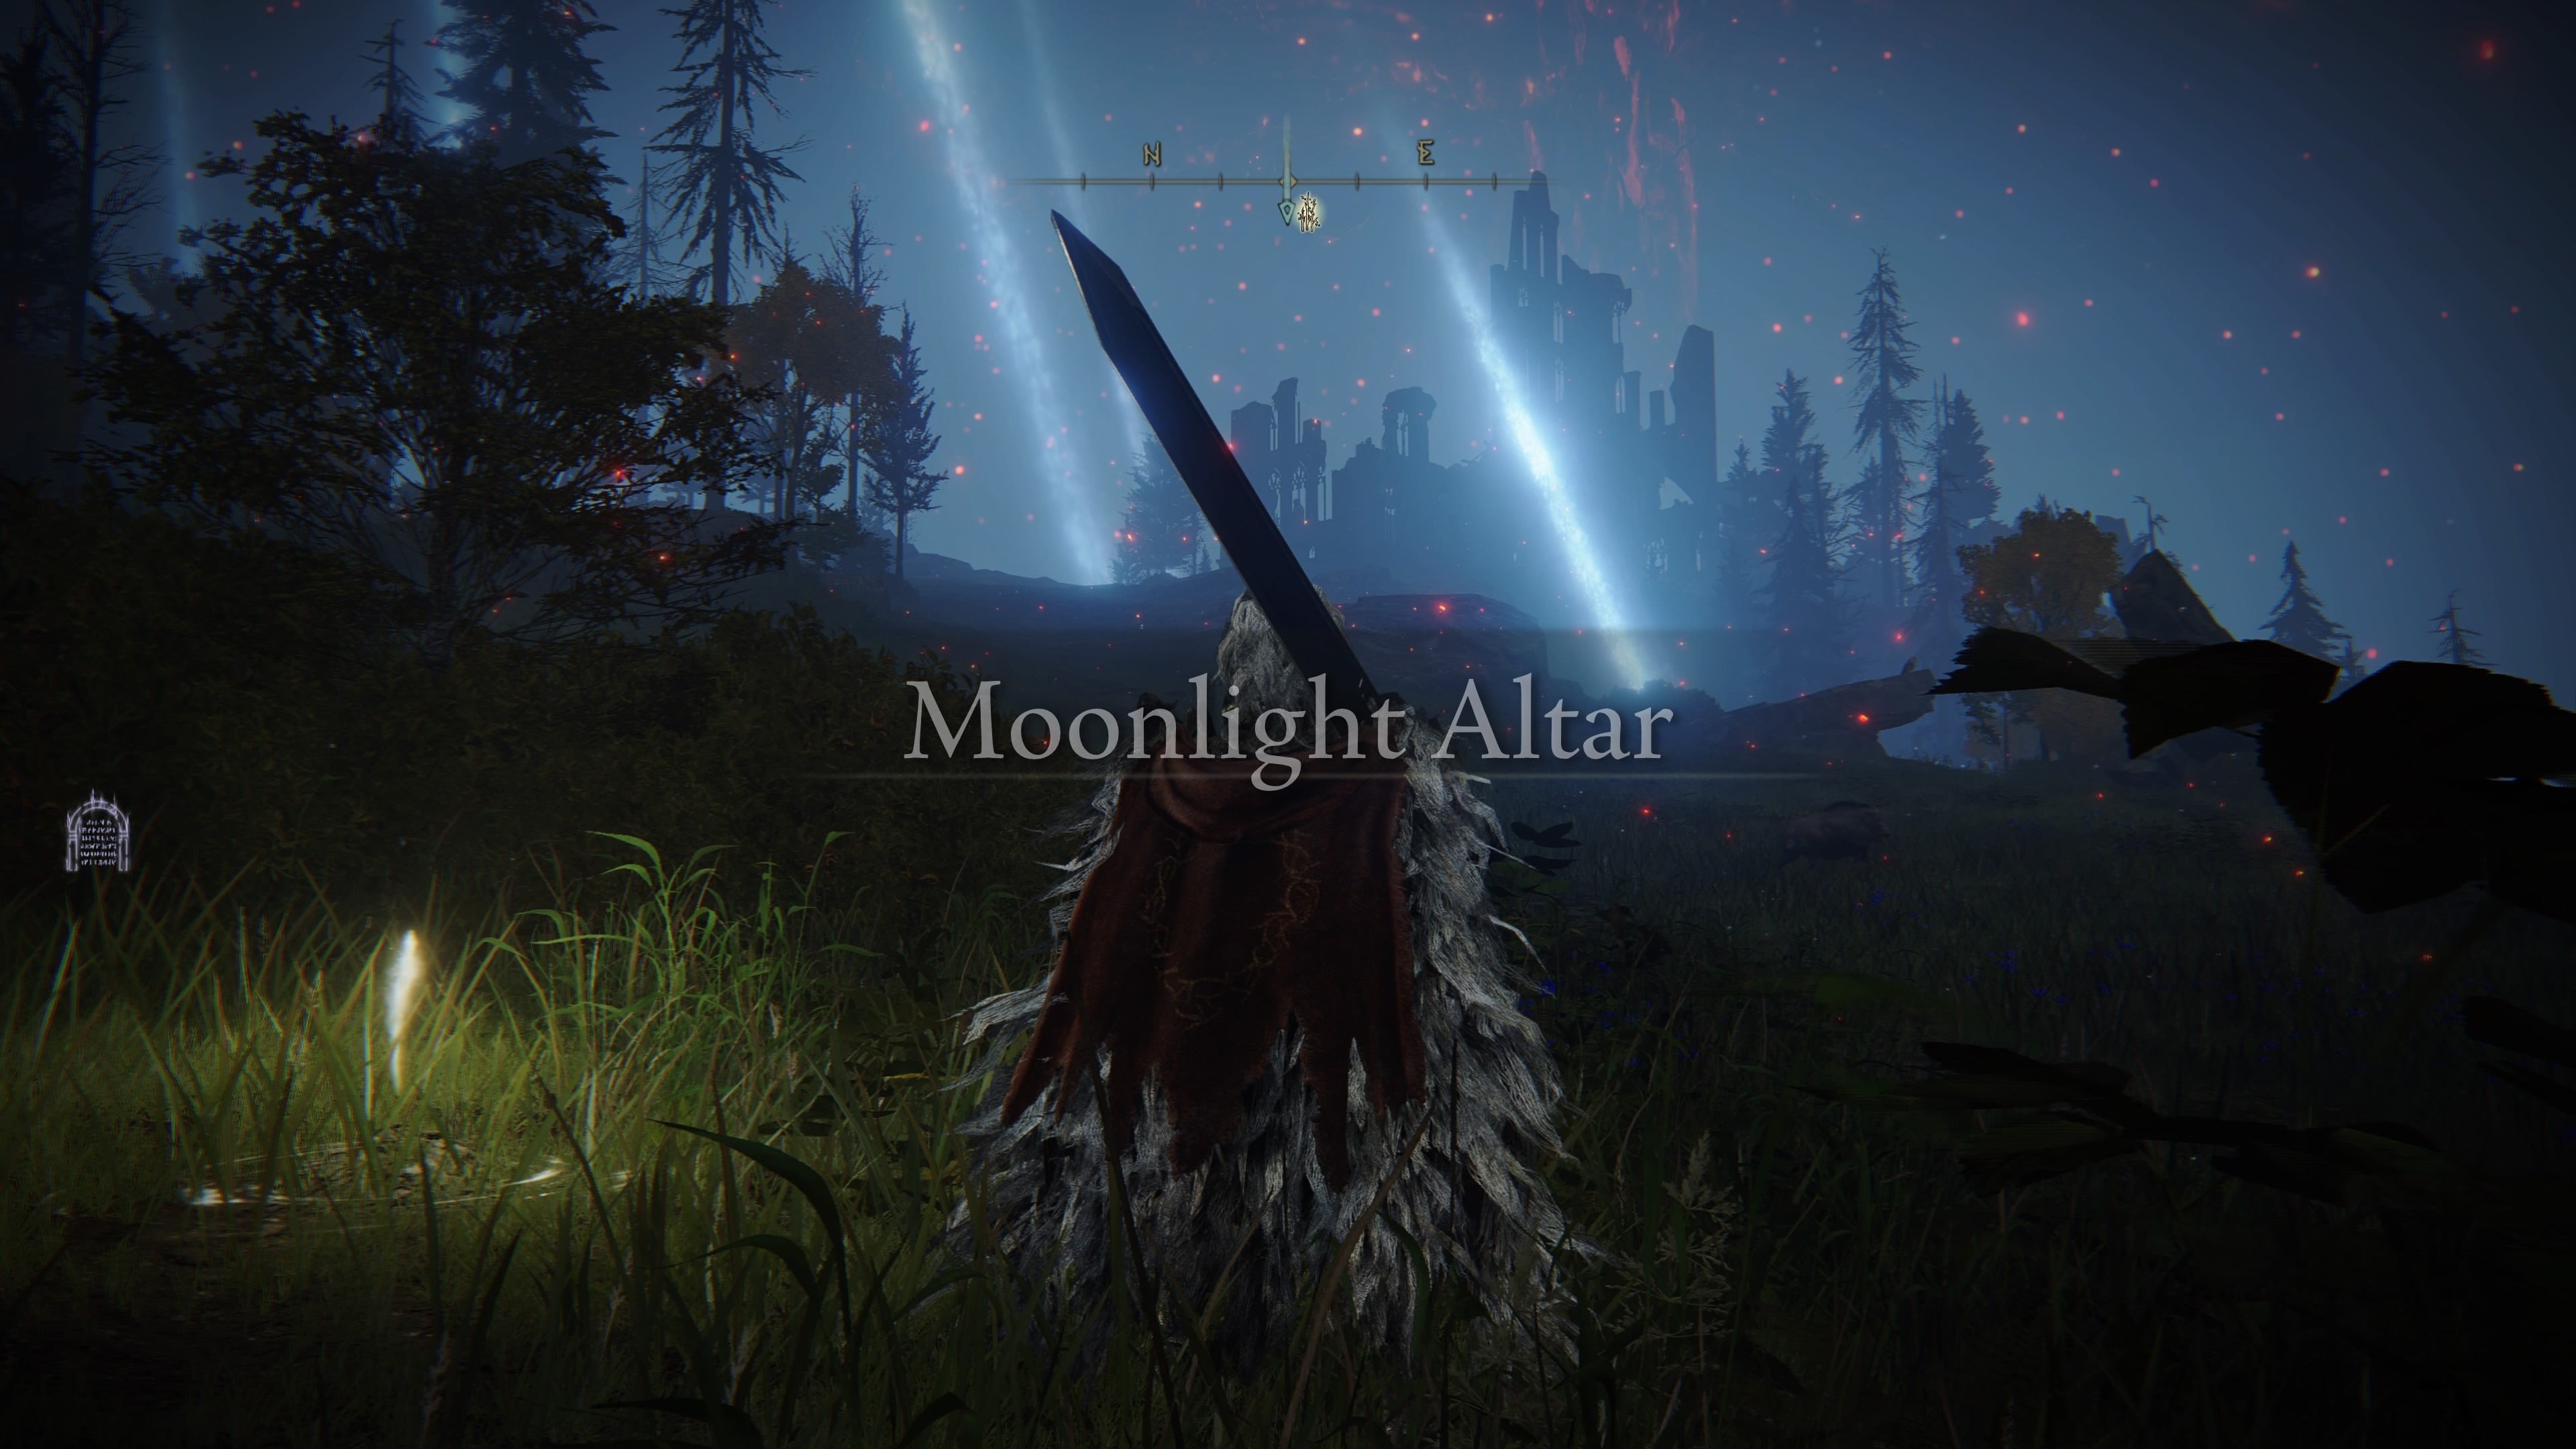
18. Moonlight Altar
Defeating Astel in the Lake of Rot grants you access to the Moonlight Altar, a secluded plateau south of Liurnia. This area is the culmination of Ranni’s questline. Completing Ranni’s quest here unlocks one of Elden Ring’s multiple endings and rewards you with powerful items, including the Moonlight Greatsword.
Image credit: Eurogamer/FromSoftware
19-20. Mt Gelmir and Volcano Manor
With our extensive underground journey concluded, we now ascend to the heights of Mt. Gelmir, located in the western part of Altus Plateau. Mt. Gelmir is a volcanic region with unique environments and challenging enemies. Explore its slopes, dungeons, and fortifications as you make your way towards Volcano Manor.
Volcano Manor is a legacy dungeon located on Mt. Gelmir. It’s associated with a group of Tarnished who oppose the Erdtree and offers a unique questline involving assassinating other Tarnished. Volcano Manor culminates in a boss fight against the shardbearer Rykard, Lord of Blasphemy. Rykard is a memorable boss with a unique gimmick fight, and defeating him grants you another Great Rune.
21. Dragonbarrow
Before progressing to the capital city, it’s time to revisit Dragonbarrow, the northern region of Caelid that we advised avoiding earlier. By now, you should be sufficiently leveled and equipped to handle Dragonbarrow’s significantly higher difficulty.
Dragonbarrow is a land of dragons and powerful enemies. It’s worth exploring for its valuable runes, upgrade materials, and challenging optional content, including the Divine Tower of Caelid and Fort Faroth (if you haven’t already acquired the Dectus Medallion half from there). Defeating the various dragons in Dragonbarrow can yield substantial rune rewards.
Dragonbarrow is the north area of Caelid, and even more punishing than the rest of the region. We’d wait before venturing into the realm of dragons! | Image credit: Eurogamer/FromSoftware
22. Leyndell, Royal Capital
Return to Altus Plateau and head towards the magnificent Leyndell, Royal Capital. This is one of the largest and most important locations in Elden Ring, a sprawling city filled with intricate pathways, secrets, and challenging enemies.
By this point in your Elden Ring progression, you should have acquired far more than the two Great Runes required to enter Leyndell’s legacy dungeon. Within the capital, you’ll face Morgott the Omen King, another shardbearer boss. Defeating Morgott opens the path to the Forbidden Lands and the Mountaintops of the Giants.
23-24. Forbidden Lands and Mountaintops of the Giants
Passing through the Forbidden Lands, a linear and challenging snowy path, leads you to the Mountaintops of the Giants. Be prepared for a harsh and unforgiving environment with powerful frost-based enemies.
The Mountaintops of the Giants is a vast, snowy region with several distinct areas to explore. Progressing through this region culminates in a boss fight against the Fire Giant. Defeating the Fire Giant opens the path to the Forge of the Giants, a crucial location for progressing towards the game’s final stages. However, before proceeding to the Forge, we recommend exploring some important side areas.
25. Consecrated Snowfield
The first of these crucial side areas is the Consecrated Snowfield. Accessing this hidden area requires finding the two halves of the Haligtree Secret Medallion, scattered across the Lands Between, and using the combined medallion at the Grand Lift of Rold.
The Consecrated Snowfield is a blizzard-ridden area with reduced visibility and challenging enemies. It’s home to several dungeons and bosses, and most importantly, it serves as the gateway to two of Elden Ring’s most challenging and rewarding late-game side areas: Mohgwyn Palace and Miquella’s Haligtree. Furthermore, accessing the Consecrated Snowfield and Mohgwyn Palace is a prerequisite for starting the Shadow of the Erdtree DLC.
Image credit: Eurogamer/FromSoftware
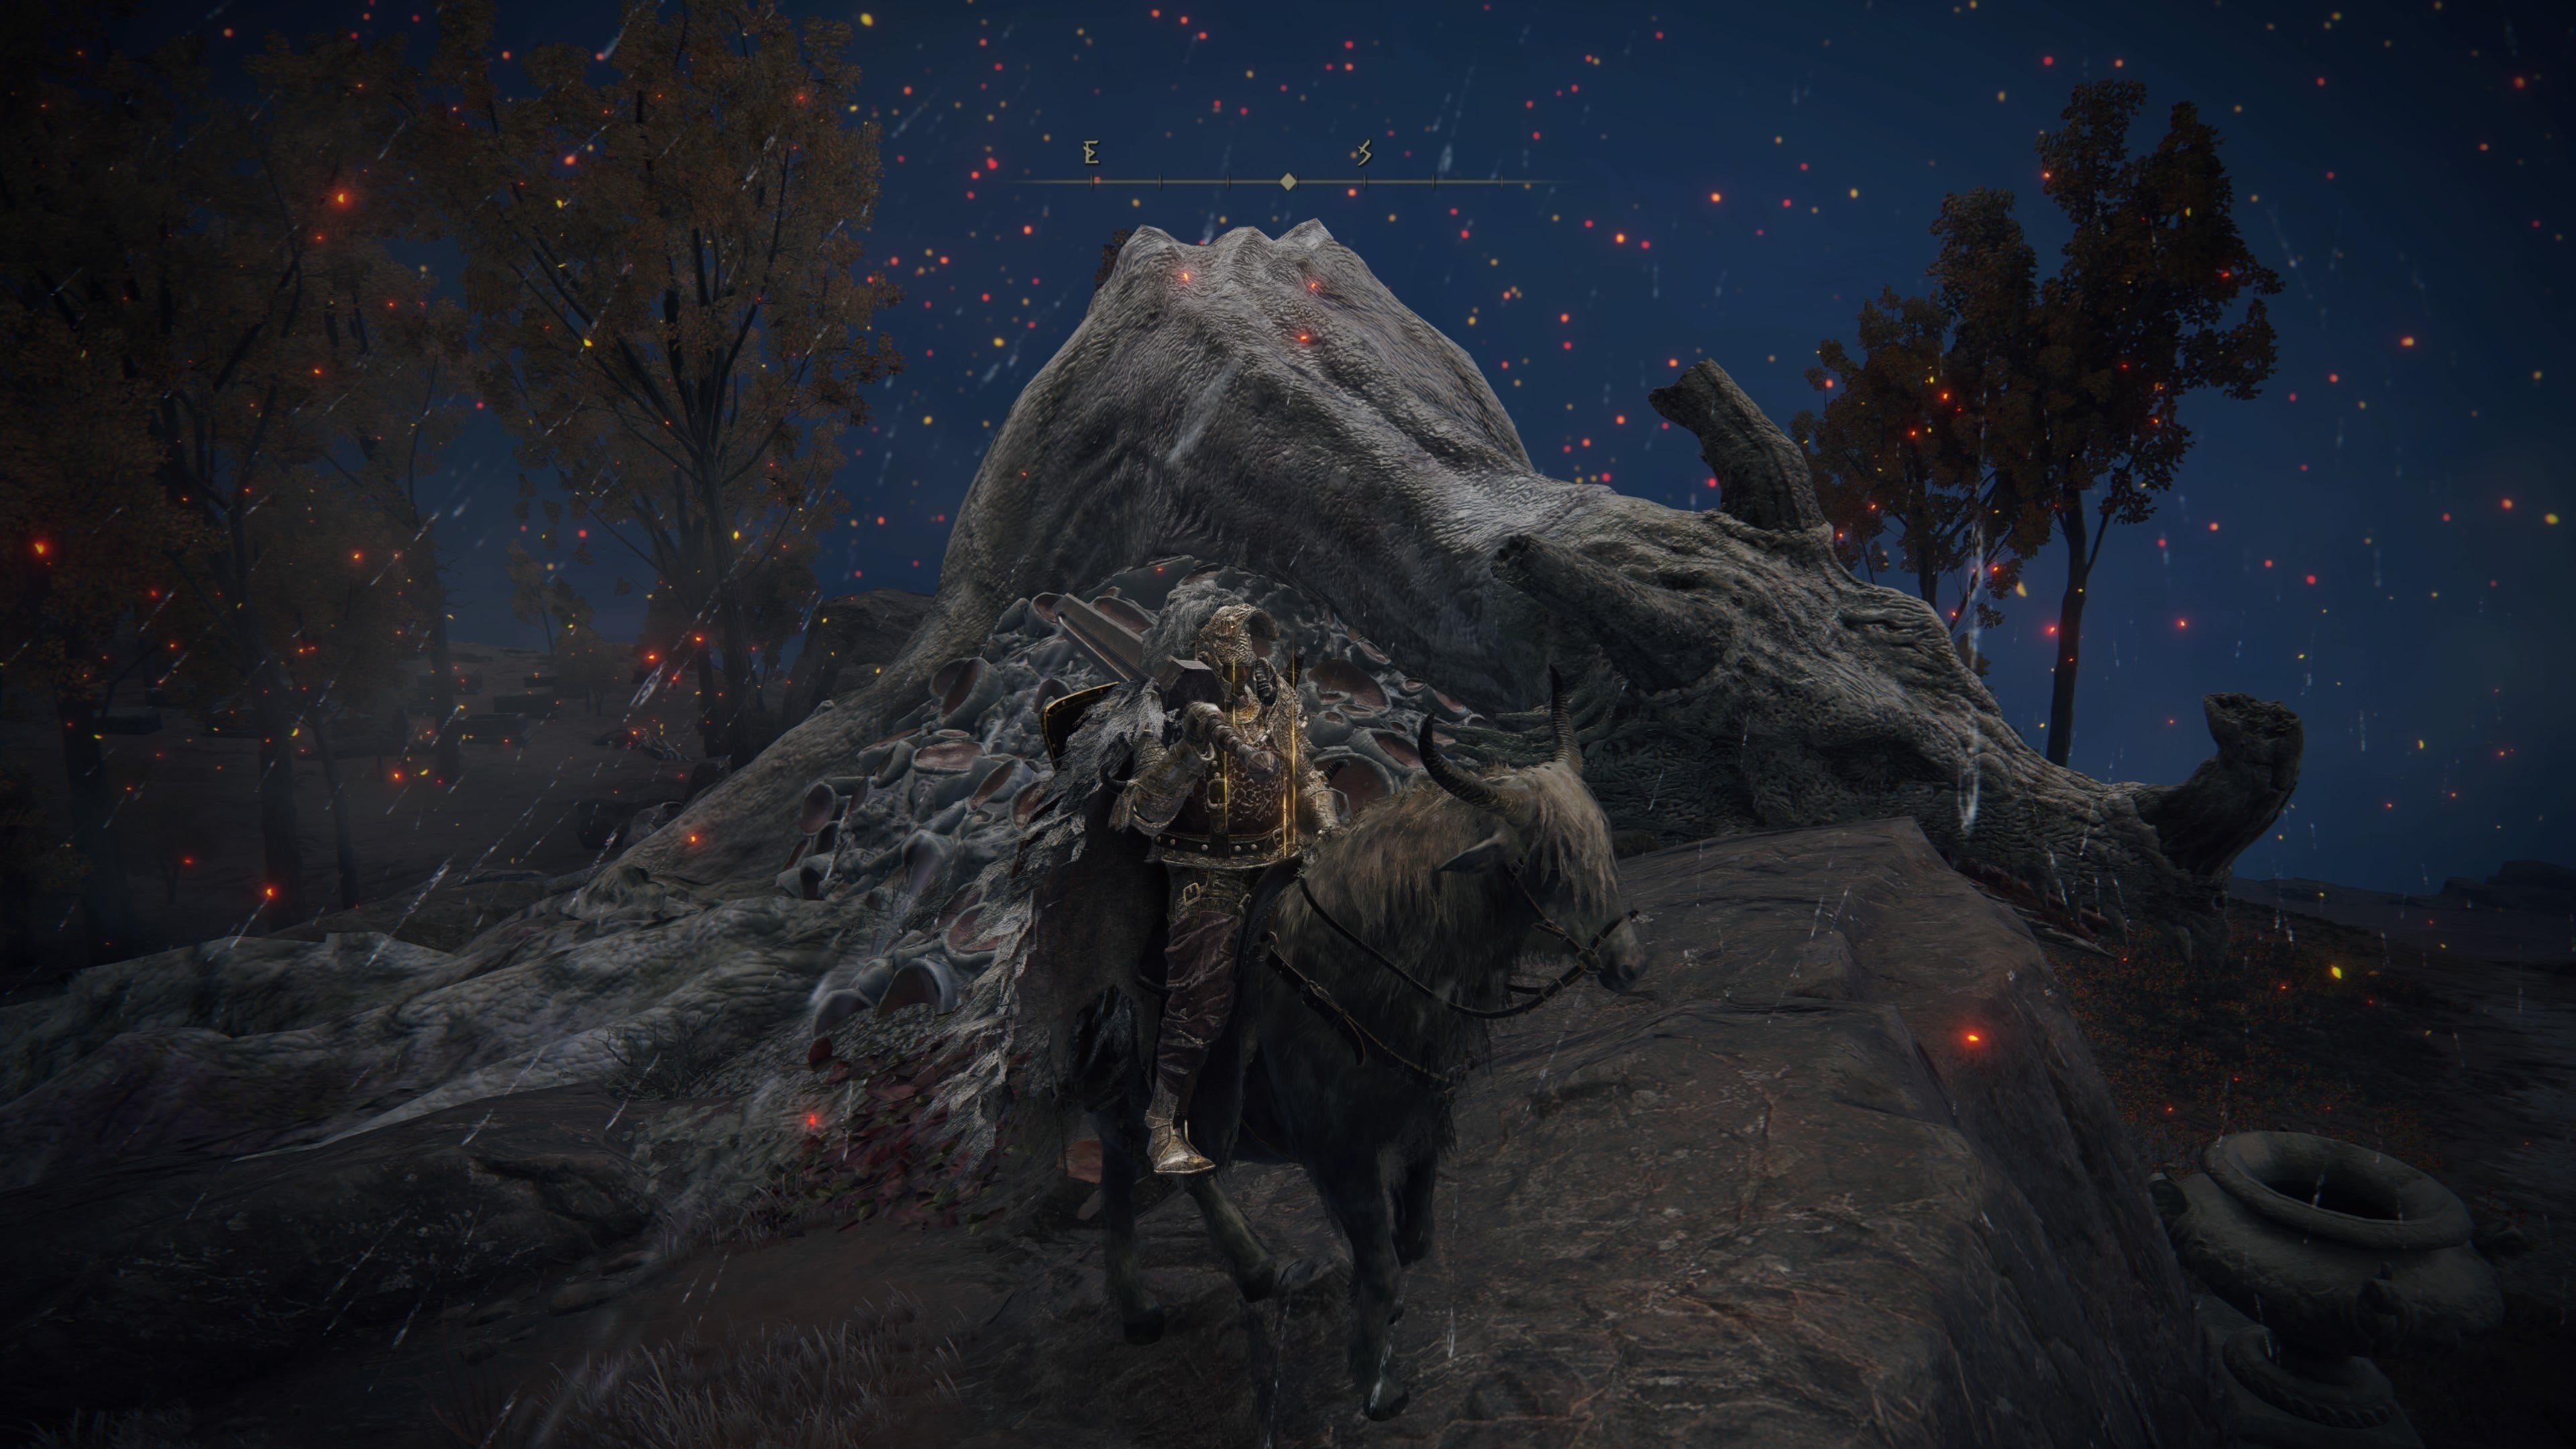
26. Mohgwyn Palace
Mohgwyn Palace is accessed via a teleporter in the Consecrated Snowfield, activated by defeating the Sanguine Noble invader. Mohgwyn Palace is the domain of Mohg, Lord of Blood, and is another challenging late-game area.
Mohgwyn Palace is centered around the boss fight against Mohg, Lord of Blood. Mohg is an extremely powerful boss, considered optional but highly rewarding to defeat. Defeating Mohg not only grants you another Great Rune but also fulfills the requirement to access the Shadow of the Erdtree DLC via the cocoon in Mohg’s boss arena (if you own the DLC).
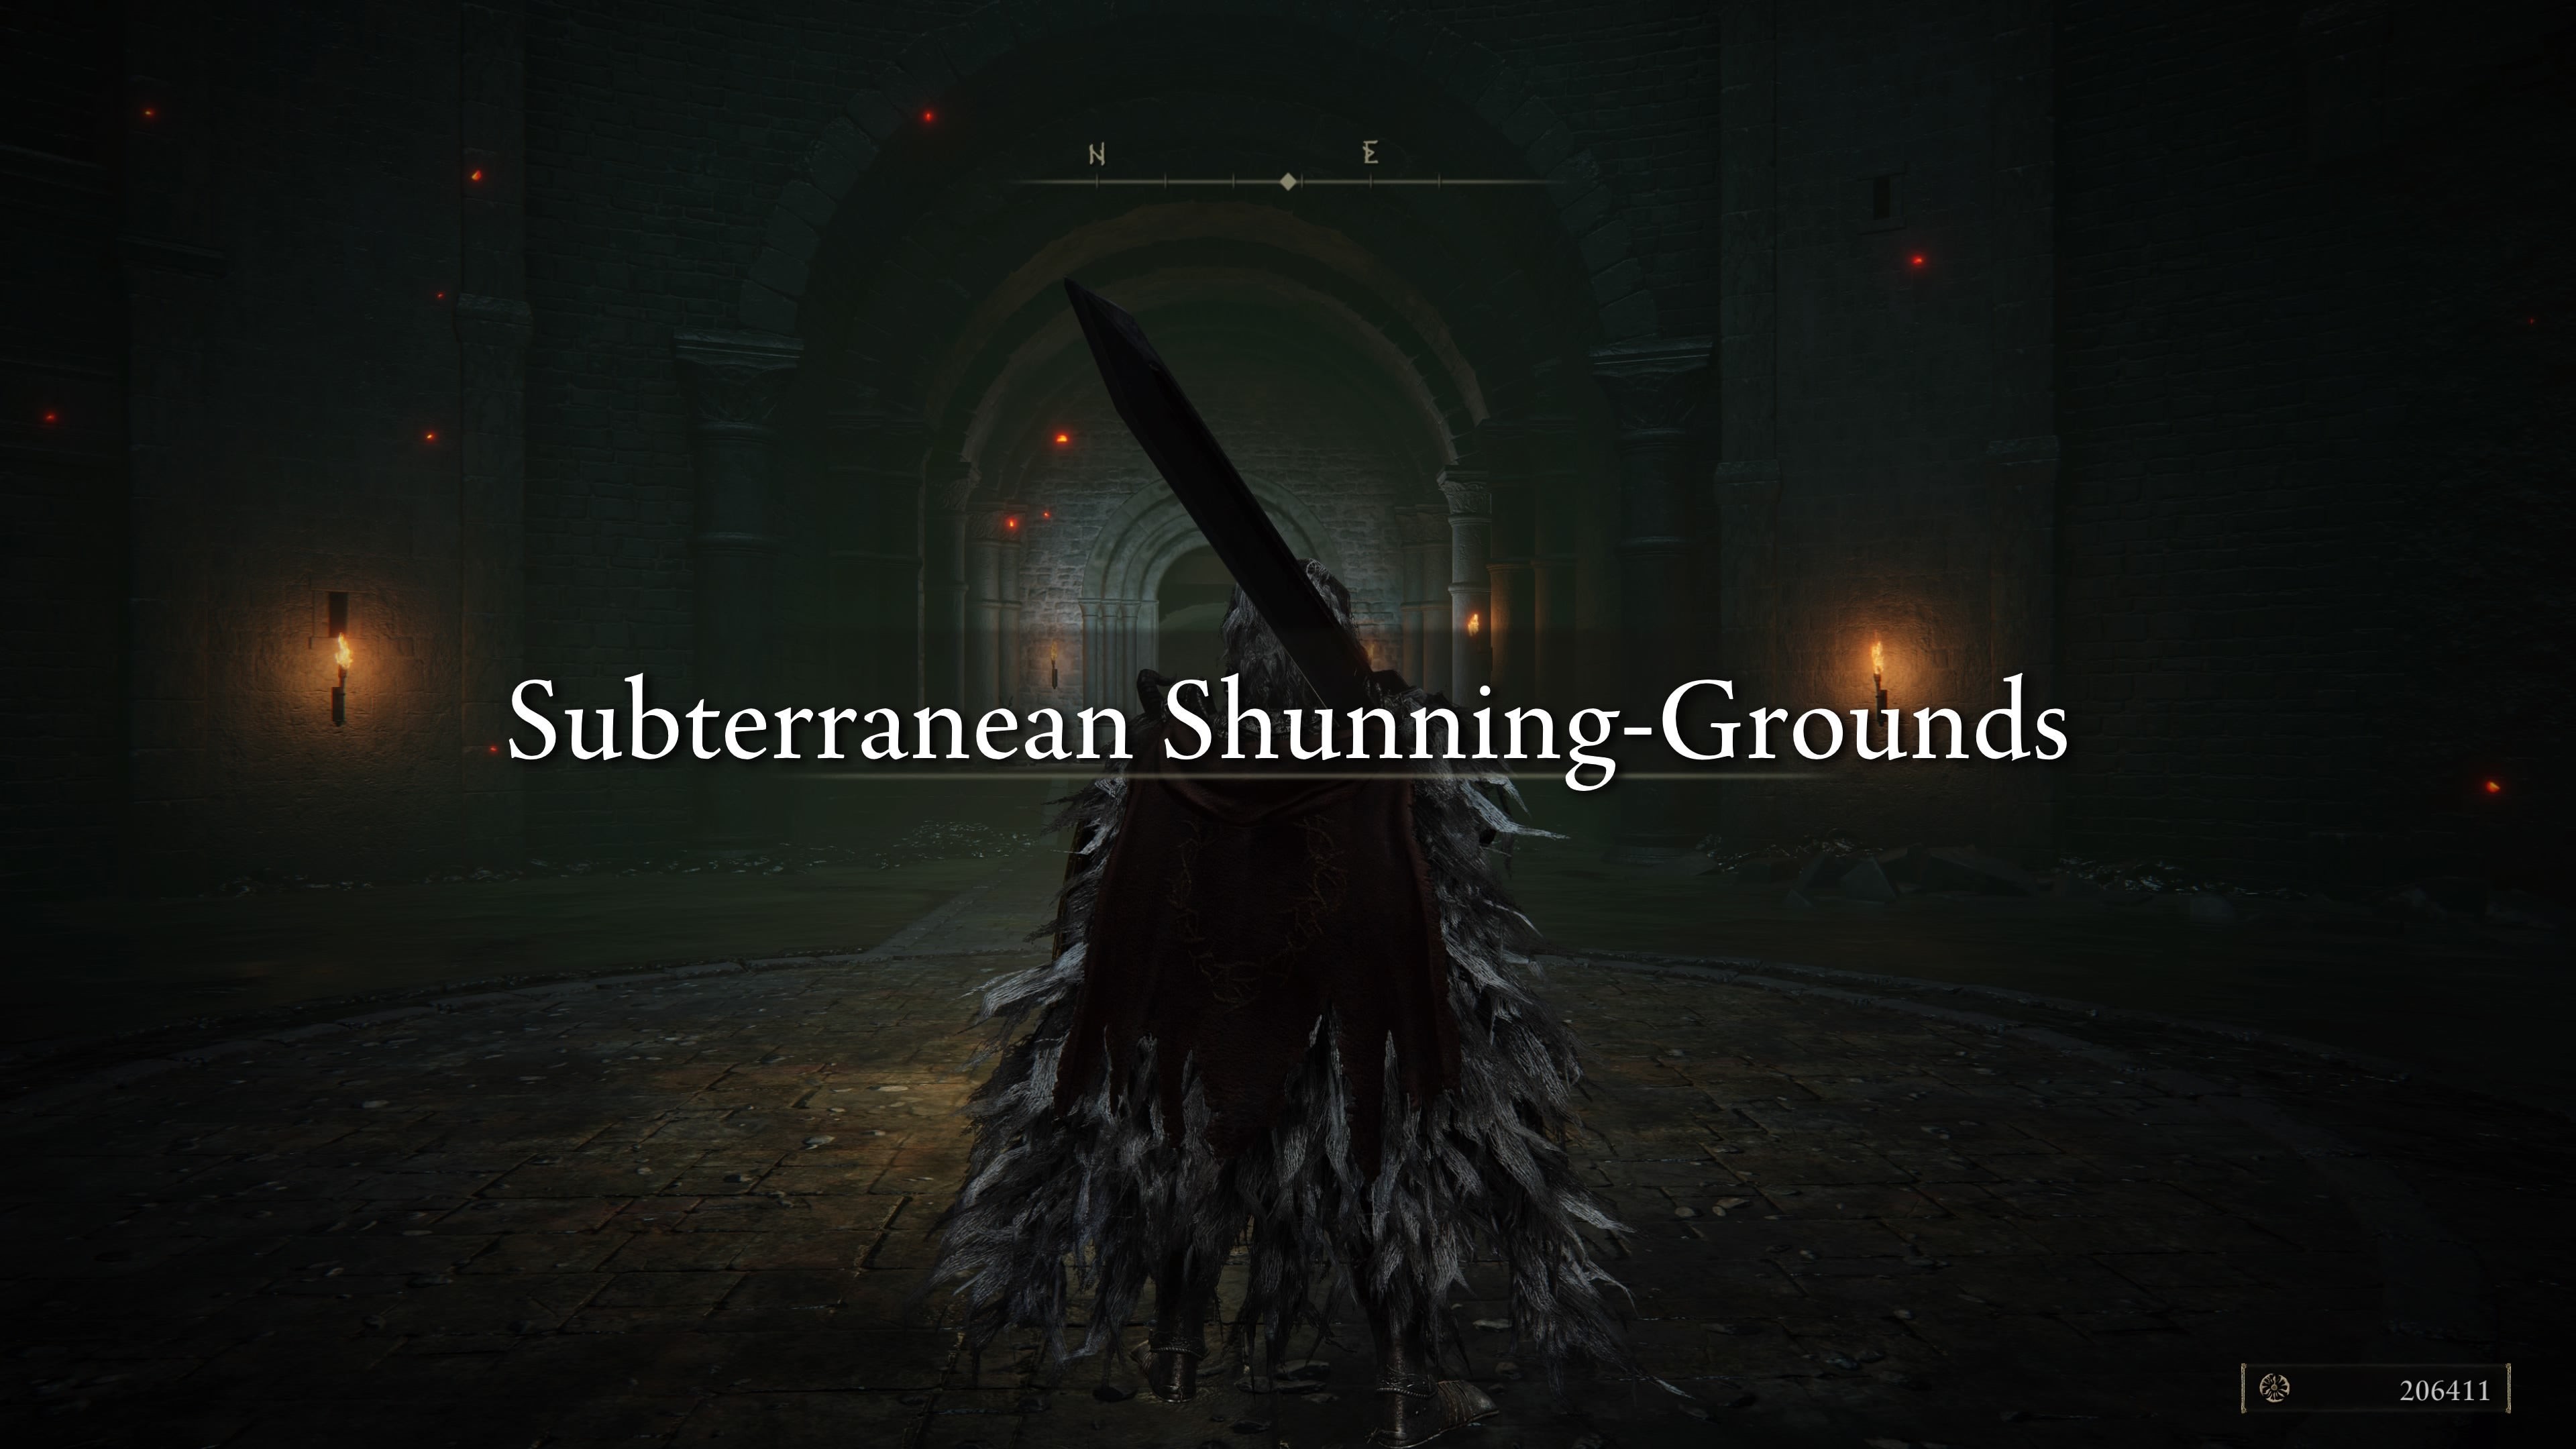
27. Subterranean Shunning-Grounds
As you approach Elden Ring’s endgame, it’s a good time to revisit Leyndell, Royal Capital, and explore the Subterranean Shunning-Grounds beneath the city. This sewer system is accessible from Leyndell and is a sprawling, labyrinthine dungeon.
The Subterranean Shunning-Grounds is filled with challenging enemies and culminates in a boss fight against Mohg, The Omen (a different encounter from Mohg, Lord of Blood). While accessible earlier, tackling this area at this stage of your Elden Ring progression is recommended due to its difficulty.
Image credit: Eurogamer/FromSoftware
28. Miquella’s Haligtree
Miquella’s Haligtree is the final and arguably most challenging side area in Elden Ring. Accessible from the Consecrated Snowfield by solving the puzzle in Ordina, Liturgical Town, the Haligtree is a testament to late-game difficulty.
Gaining entry to the Haligtree is a challenge in itself, requiring you to navigate Ordina’s puzzle while facing invisible enemies. The Haligtree itself is filled with incredibly tough foes, leading to Malenia, Blade of Miquella, widely regarded as the most difficult boss in Elden Ring. Miquella’s Haligtree is intended to be tackled at the very end of your journey, requiring maxed-out equipment and a high character level.
29. Crumbling Farum Azula
Now, return to the Forge of the Giants in the Mountaintops of the Giants and interact with the Site of Grace to be transported to Crumbling Farum Azula. This is Elden Ring’s penultimate area, a visually stunning and intensely challenging floating dungeon.
Crumbling Farum Azula is home to some of the most difficult boss fights in the game, including the Godskin Duo and Maliketh, the Black Blade. Defeating Maliketh is crucial for progressing the main story and triggers a significant change in Leyndell. Exploring Farum Azula thoroughly will also lead you to an optional boss fight against Dragonlord Placidusax, another incredibly powerful dragon.
Defeating Maliketh in Crumbling Farum Azula permanently changes the city of Leyndell, so make sure you’ve explored throughly before unlocking Elden Ring’s final area. | Image credit: Eurogamer/FromSoftware
30. Leyndell, Ashen Capital
After defeating Maliketh in Crumbling Farum Azula, you’ll find yourself back in Leyndell, Ashen Capital. The city has undergone a dramatic transformation, reflecting the progression of the story.
Leyndell, Ashen Capital is the final area of Elden Ring. Here, you’ll face a gauntlet of endgame bosses: Sir Gideon Ofnir, the All-Knowing, Hoarah Loux, Warrior, Radagon of the Golden Order, and finally, the Elden Beast. Defeating these bosses back-to-back concludes the main storyline of Elden Ring.
Depending on the side quests you’ve completed and the choices you’ve made throughout your journey, you’ll be presented with different ending options after defeating the Elden Beast. Congratulations on completing Elden Ring!
Back to walkthrough: Elden Ring walkthrough