Factorio is a game about building and automating factories, but getting started and optimizing your production can be daunting. Whether you’re a newcomer or looking to refine your factory, this guide provides essential tips and tricks to enhance your gameplay and efficiency.
Early Game Foundation: Laying Concrete and Planning
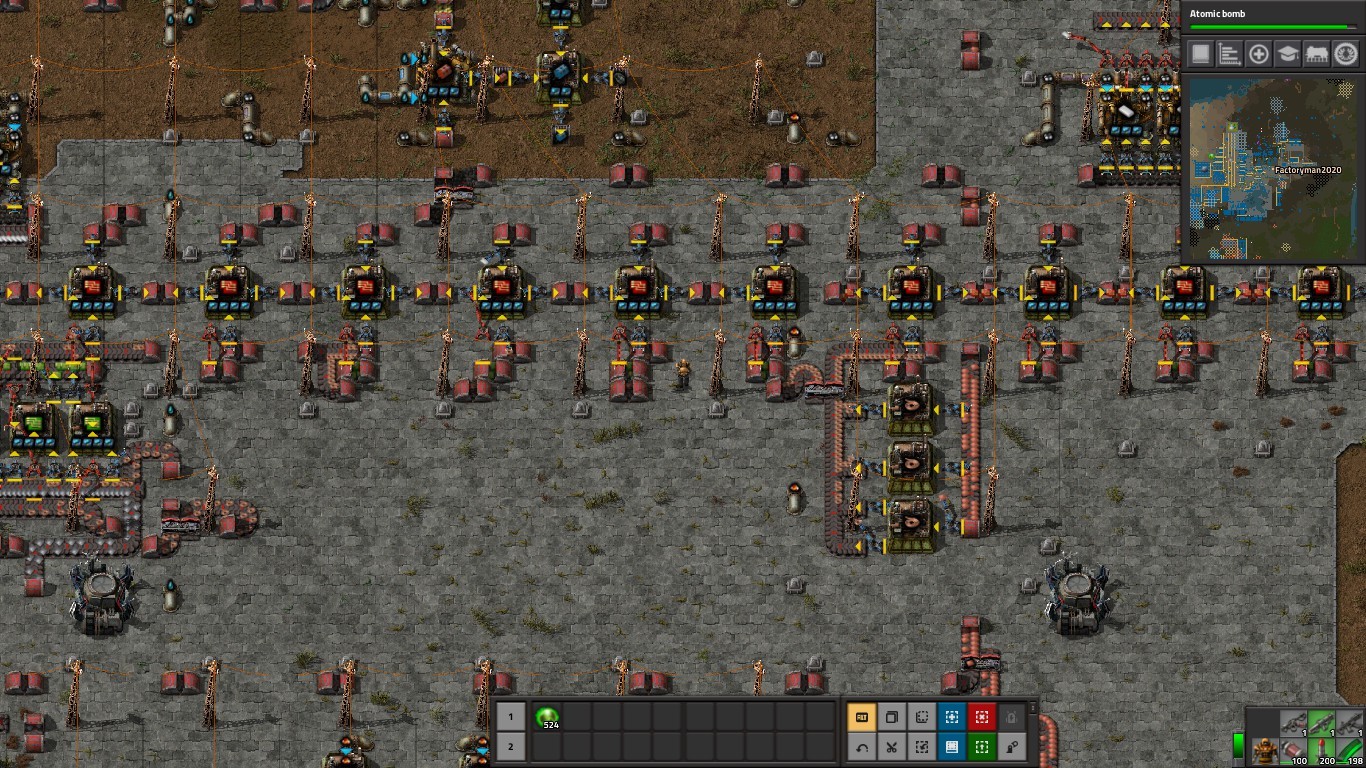
One of the first things to consider in Factorio is laying concrete. It might seem like a late-game luxury, but researching and producing concrete early on offers significant advantages. Concrete enhances your factory aesthetically, increases your movement speed, and prevents trees and rocks from respawning within your base. Since concrete production can be time-consuming initially, starting early and gradually paving your factory floor as it expands is a wise strategy. This proactive approach saves you from the tedious task of paving a massive factory later.
 Factorio early concrete placement for base foundation and aesthetics
Base Defense: Pollution and Enemy Management
Dealing with enemy attacks is a constant concern in Factorio. Biters are attracted to pollution, so monitoring your pollution cloud is crucial for effective base defense. Press ‘M’ and toggle the pollution overlay (red square icon) to visualize pollution levels and coverage. This allows you to identify pollution hotspots and anticipate where enemy attacks might originate.
To proactively manage biters, eliminate their nests at the source. Exploring and destroying nearby biter nests reduces attack frequency and intensity. Combine pollution monitoring with nest clearing to maintain a safer and more manageable factory environment.
Exploration and Mapping: Utilizing Radars Efficiently
Exploration is vital for resource discovery and map awareness. Radars are invaluable for quickly mapping your surroundings. Even though radars explore randomly within their range, placing multiple radars early in your base significantly accelerates map reveal. This rapid mapping helps you locate resource patches and plan your factory expansion without venturing into uncharted territories.
However, be mindful of radar power consumption. Radars are energy-intensive, especially in the early game. Consider the trade-off between rapid mapping and power drain. You can temporarily deploy multiple radars for initial exploration and then reduce their number or deactivate them once the area is sufficiently mapped to conserve power.
Maintaining Infrastructure: The Importance of Repair Packs
Maintaining your factory’s infrastructure is essential for uninterrupted production. Researching and carrying repair packs is a must for base maintenance. Keep a stack of repair packs on your person, in your vehicle, or strategically placed in chests near vulnerable areas like perimeter walls, turrets, and nuclear power plants. Repair packs allow for quick repairs of damaged structures, ensuring your defenses and critical production areas remain operational during attacks or accidents.
Efficient Research and Expansion: Balancing Automation and Exploration
Waiting for research to complete can feel unproductive, but it’s an opportune time to engage in exploration and expansion. If your factory is automated and running smoothly, venture out to scout for new ore patches and clear out biter nests further away from your base. Discovering new resource locations early allows you to plan future outposts and expansions proactively. You can even begin setting up mining outposts while research progresses, maximizing your overall efficiency.
Terrain Management: The Versatility of Landfill
Stone, often considered a byproduct, has a crucial application in terrain modification. Excess stone is invaluable for crafting landfill, enabling you to traverse and reshape water bodies. Landfill requires a significant amount of stone (10 stone per landfill), so starting landfill production early is beneficial.
Landfill allows you to create land bridges across lakes and ponds, providing direct pathways and eliminating detours. Strategic landfill placement can also create narrow, defensible chokepoints, funneling enemies and simplifying base defense. Furthermore, landfill can reclaim land from water, providing valuable building space within your factory perimeter.
Core Production: Prioritizing Essential Resources
In Factorio, some resources are more critical than others for overall production. Iron plates, copper plates, stone, green circuits, red circuits, blue circuits, and transport belts are the backbone of your factory. Focus on maximizing the production of these core resources. Upgrading belts from yellow to red and eventually to blue as soon as possible dramatically increases throughput and overall factory efficiency. Prioritizing these resources ensures smooth production across all factory sectors.
Research Optimization: Scaling Labs and Science Pack Production
Research speed is directly tied to the number of labs you have and their science pack supply. More labs mean faster research, but simply adding labs without sufficient science packs is inefficient. Ensure your science pack production keeps pace with your lab capacity. If you have many labs but limited science pack production, research will be bottlenecked. Balance lab expansion with increased science pack production to maximize research efficiency and accelerate tech progression.
Smart Storage and Logistics: Chests and Logistic Networks
Overproduction and resource wastage can hinder factory efficiency. If you find items accumulating excessively on belts, implement smart storage solutions using chests. Placing chests at the end of production lines for items like science packs can prevent belt congestion and resource overflow.
For advanced logistics, utilize logistic chests, especially requester chests, in conjunction with logistic robots (drones). Leave at least two tiles of space around assemblers and production units to accommodate requester chests. These chests, when integrated into a logistic network, can automatically request and supply materials, optimizing resource distribution and production flow throughout your factory.
Underground Belt and Pipe Management: Avoiding Connection Issues
Underground belts and pipes are essential for efficient routing, but placement requires careful attention. Be mindful of underground belt and pipe placement to avoid unintended connections or disconnections. When running parallel underground lines for different fluids or items (e.g., oil and sulfur pipes), ensure sufficient spacing to prevent accidental merging. Overlapping or misaligned underground segments can disrupt flow and require troubleshooting and repositioning.
Continuous Improvement: Upgrades and Modules for Enhanced Efficiency
Factorio is about constant optimization. Embrace upgrades across your factory infrastructure whenever possible. Upgrade belts, splitters, underground belts, assemblers, and fuel sources as soon as you research the better versions. While upgrades may have an initial cost, the long-term gains in production and efficiency are substantial.
Modules are a game-changer for factory optimization. Production, speed, and efficiency modules offer distinct benefits:
- Production Modules: Increase item output per cycle without consuming extra materials, ideal for labs and bottlenecked resources, but reduce speed and increase power consumption.
- Speed Modules: Accelerate production speed, crucial for mining drills and resource processing, but increase power consumption.
- Efficiency Modules: Reduce power consumption and pollution (up to 80%), valuable for mitigating pollution spread and conserving energy, especially in early to mid-game before nuclear power.
Strategic module deployment in machines and buildings with module slots significantly enhances factory performance and resource utilization.
By implementing these tips and tricks, you can build more efficient, robust, and enjoyable Factorio factories. Mastering these fundamentals will set you on the path to conquering automation and achieving megabase status.