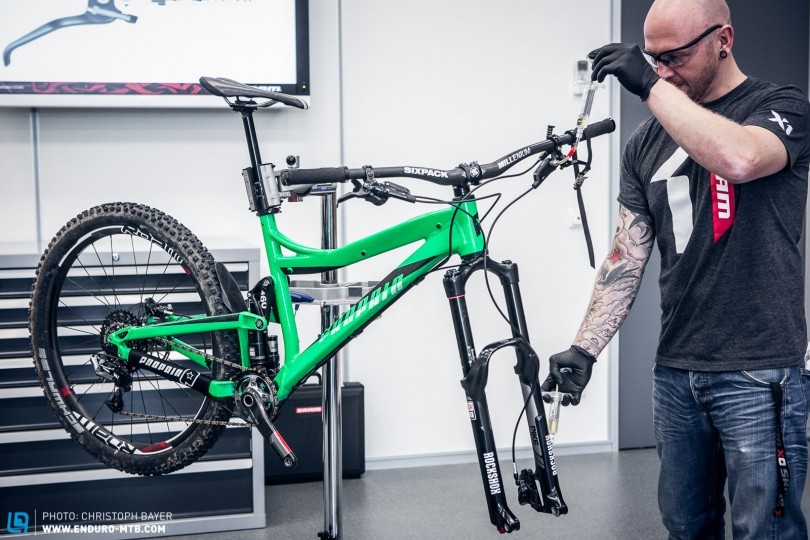
If you’re experiencing a spongy brake lever, inconsistent bite point, or your SRAM Guide brakes are over a year old, it’s time for a brake bleed. This guide will walk you through the process of bleeding your SRAM Guide brakes, ensuring optimal performance and removing air from the system.
For brakes that use DOT fluid, it’s recommended to bleed them annually to maintain peak performance. This process ensures your brakes remain responsive and reliable on the trails.
Skill Level
Medium
Required Tools and Materials
- SRAM/Avid bleed kit
- Gloves
- Protective eyewear
- Zip ties or straps
Step-by-Step Bleeding Guide
-
Preparation: Begin by removing the wheel from your bike. Then, prepare your bleed syringes. Fill one syringe halfway with brake fluid and the other approximately one-third full.
-
Prepare Syringes: After filling the syringes with brake fluid, close them off.
-
Remove Air from Syringes: With the syringes sealed, pull back on the plunger to create a vacuum. This will help release trapped air bubbles from the fluid. Repeat this process until no more air bubbles are visible.
-
Purge Air: Holding the syringe with the opening facing upward, gently push the plunger to expel any remaining air.
-
Adjust Bite Point: Locate the bite point adjuster on your brake lever. Turn it counter-clockwise, away from the arrow, to set it to the maximum position. This allows for a full bleed without interference.
-
Secure the Lever: Rotate the brake lever downward. Then, secure the lever to the handlebar using a zip tie or strap. This will hold the lever in a compressed position during the bleeding process.
-
Prepare Brake Caliper: Depending on the condition of your brake pads, either install the transport guard (for new pads) or remove the worn pads. Install a bleed block in the caliper.
-
Attach Syringe to Caliper: Remove the lower bleed screw on the brake caliper. Then, attach the half-filled syringe to the bleed port.
-
Attach Syringe to Lever: Remove the upper bleed screw on the brake lever. Attach the remaining syringe to this port.
-
Push Fluid Through System: Gently push approximately 5-10 ml of fluid from the lower syringe, up through the system, into the upper syringe. Ensure that the syringe is free of air.
-
Bleed the Caliper: With the lever still compressed, carefully create a vacuum using the lower syringe. This will draw air bubbles out of the caliper.
-
Release Lever and Apply Pressure: Release the zip tie or strap holding the brake lever. Allow the lever to slowly return to its normal position while simultaneously applying gentle pressure to the lower syringe.
-
Close Upper Syringe: Close off the upper syringe to prevent air from re-entering the system.
-
Remove Lower Syringe: Detach the lower syringe from the caliper and re-install the bleed screw, tightening it to the manufacturer’s specified torque.
-
Bleed the Lever: On the upper syringe, create a slight vacuum to bleed the lever, removing any air that may have accumulated.
-
Finalize and Clean: Remove the syringe from the lever, re-install the bleed screw, and clean the lever area with clean water to remove any spilled brake fluid.
-
Reassemble: Return the brake lever to its original position. Reinstall the brake pads (if removed) and put the wheel back on your bike.
Conclusion
By following these steps, you can effectively bleed your SRAM Guide brakes and restore their performance. Regular maintenance, including bleeding, will ensure your brakes remain reliable and responsive for a safer and more enjoyable riding experience.
