Is your SRAM Guide RS brake lever feeling spongy, or is the bite point inconsistent? It might be time for a brake bleed. This guide will walk you through the process of how to bleed your SRAM Guide RS brakes effectively, ensuring optimal performance and safety on the trails. Keeping your brakes in top condition is essential for confident riding.
Why Bleed Your Brakes?
Over time, air can enter your hydraulic brake system. This can happen due to several factors, including:
- Normal use and wear
- Improper installation
- Damage to the brake lines or seals
Air bubbles compress much more easily than brake fluid. This reduces the hydraulic pressure transmitted from the lever to the caliper, resulting in:
- A soft or spongy lever feel
- Reduced braking power
- Inconsistent brake performance
Bleeding your brakes removes these air bubbles, restoring optimal performance. SRAM recommends bleeding your brakes at least once a year, or more frequently if you notice any of the symptoms mentioned above. This is crucial preventative maintenance.
Skill Level: Intermediate
Tools and Materials Needed:
Before you begin, gather the necessary tools and materials:
- SRAM/Avid bleed kit (essential for proper connection and fluid management)
- Specifically, ensure the bleed kit is compatible with SRAM brakes.
- DOT 5.1 brake fluid (use only DOT 5.1 fluid as recommended by SRAM)
- Gloves (to protect your skin from brake fluid)
- Protective glasses (to prevent brake fluid from splashing into your eyes)
- Zip ties or a strap (to secure the brake lever)
- Torx wrenches (typically T10 and T25, check your brake model)
- Clean rags or paper towels
- Isopropyl alcohol (for cleaning any spills)
- Brake pad spacer or bleed block (to prevent accidental pad closure)
Step-by-Step Guide: How To Bleed Sram Guide Rs Brakes
Follow these steps carefully to ensure a successful brake bleed:
-
Preparation:
- Remove the wheel from the bike.
- Clean the brake calipers and levers with isopropyl alcohol and a clean rag.
- Locate and remove the bleed port screws on both the lever and the caliper. These are typically small Torx screws.
-
Prepare the Syringes:
- Take two syringes from the bleed kit.
- Fill one syringe about half full with fresh DOT 5.1 brake fluid. This will be used for pushing fluid through the system.
- Fill the other syringe about one-third full with fresh DOT 5.1 brake fluid. This will be used for drawing fluid and air out of the system.
-
Remove Air from Syringes:
- With the syringe opening pointing upwards, gently flick the syringe to encourage any air bubbles to rise to the top.
- Slowly depress the plunger to expel the air. Repeat this process until there are no more air bubbles in the syringe. This step is crucial for an effective bleed.
-
Adjust Brake Lever:
- Locate the reach adjust and contact point adjust (if applicable) on your SRAM Guide RS lever.
- Adjust the reach adjust lever so it is in the furthest position away from the handlebar.
- Turn the bite point adjuster away from the arrow to the maximum position.
- Use a zip tie or strap to hold the brake lever fully depressed against the handlebar. This helps to seal the master cylinder and prevent air from entering the system.
-
Install Bleed Block:
- Remove the brake pads from the caliper.
- Install the brake pad spacer or bleed block in place of the brake pads. This will prevent the pistons from closing completely during the bleed process.
- If the brake pads are worn, it is essential to use a bleed block.
-
Attach Syringes:
- Attach one syringe to the bleed port on the brake caliper. Ensure a secure connection to prevent leaks.
- Attach the other syringe to the bleed port on the brake lever.
- Make sure the syringes are screwed in properly and are not cross-threaded.
-
Push Fluid Through the System:
- Slowly and gently push fluid from the syringe at the caliper up towards the lever.
- Watch for air bubbles entering the syringe at the lever.
- Continue pushing fluid until no more air bubbles are visible.
-
Create a Vacuum:
- At the lever, gently pull back on the syringe plunger to create a vacuum. This will help to draw any remaining air bubbles out of the system.
- Tap the brake lines and caliper with a wrench or screwdriver handle to dislodge any stubborn air bubbles.
- Release the vacuum slowly.
-
Repeat and Refine:
- Repeat steps 7 and 8 several times, alternating between pushing fluid and creating a vacuum.
- This ensures that all air bubbles are removed from the system.
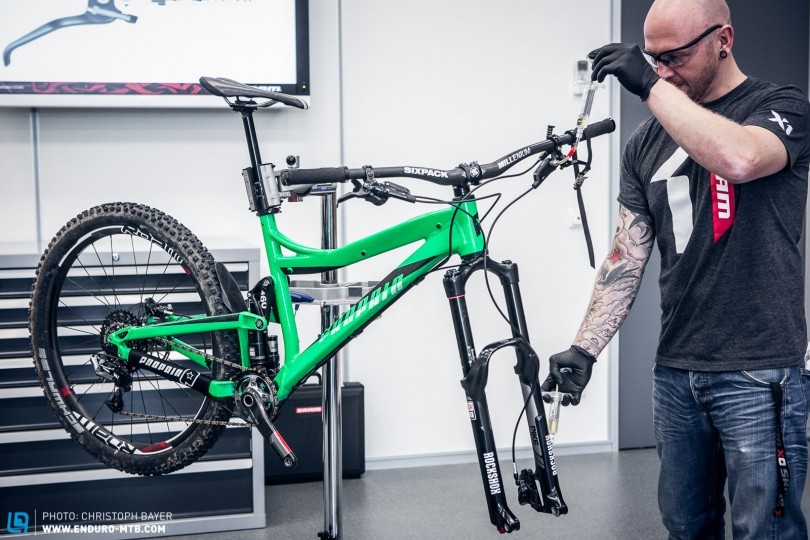
- Make sure the syringe is really air free, unlike in the picture.
-
Finalize the Bleed:
- Once you are confident that all air bubbles have been removed, disconnect the syringe at the caliper first and re-install the bleed screw.
- Then disconnect the syringe at the lever and re-install the bleed screw.
- Tighten the bleed port screws to the manufacturer’s specified torque.
-
Clean Up:
- Clean any spilled brake fluid with isopropyl alcohol. Brake fluid can damage paint and other surfaces.
- Reinstall the brake pads and wheel.
-
Test and Adjust:
- Pump the brake lever several times to ensure that the brakes are working properly.
- Adjust the lever reach and contact point to your preference.
- Take a short test ride to confirm that the brakes are functioning correctly.
Troubleshooting:
- Spongy lever feel: Repeat the bleeding process. Pay close attention to removing all air bubbles from the syringes and the brake lines.
- Leaking bleed ports: Ensure that the bleed port screws are tightened to the correct torque specification. Check the O-rings on the screws for damage and replace if necessary.
- Contaminated brake pads: If brake fluid has contaminated the brake pads, they may need to be replaced.
Conclusion:
Bleeding your SRAM Guide RS brakes is a crucial maintenance task that ensures optimal braking performance and safety. By following these steps, you can effectively remove air bubbles from the system and restore your brakes to their original condition. Regular brake maintenance is essential for confident and enjoyable riding. Always prioritize safety when working on your bike’s brakes. If you’re not comfortable performing this task yourself, take your bike to a qualified mechanic. Remember to always use DOT 5.1 brake fluid as specified by SRAM.