Valve guides play a critical role in engine performance by ensuring proper valve seating and heat dissipation. Keeping them clean is essential for maintaining optimal engine function and preventing premature wear. This article outlines the process of cleaning valve guides, inspecting valve stems, and lapping valves for a comprehensive valve job.
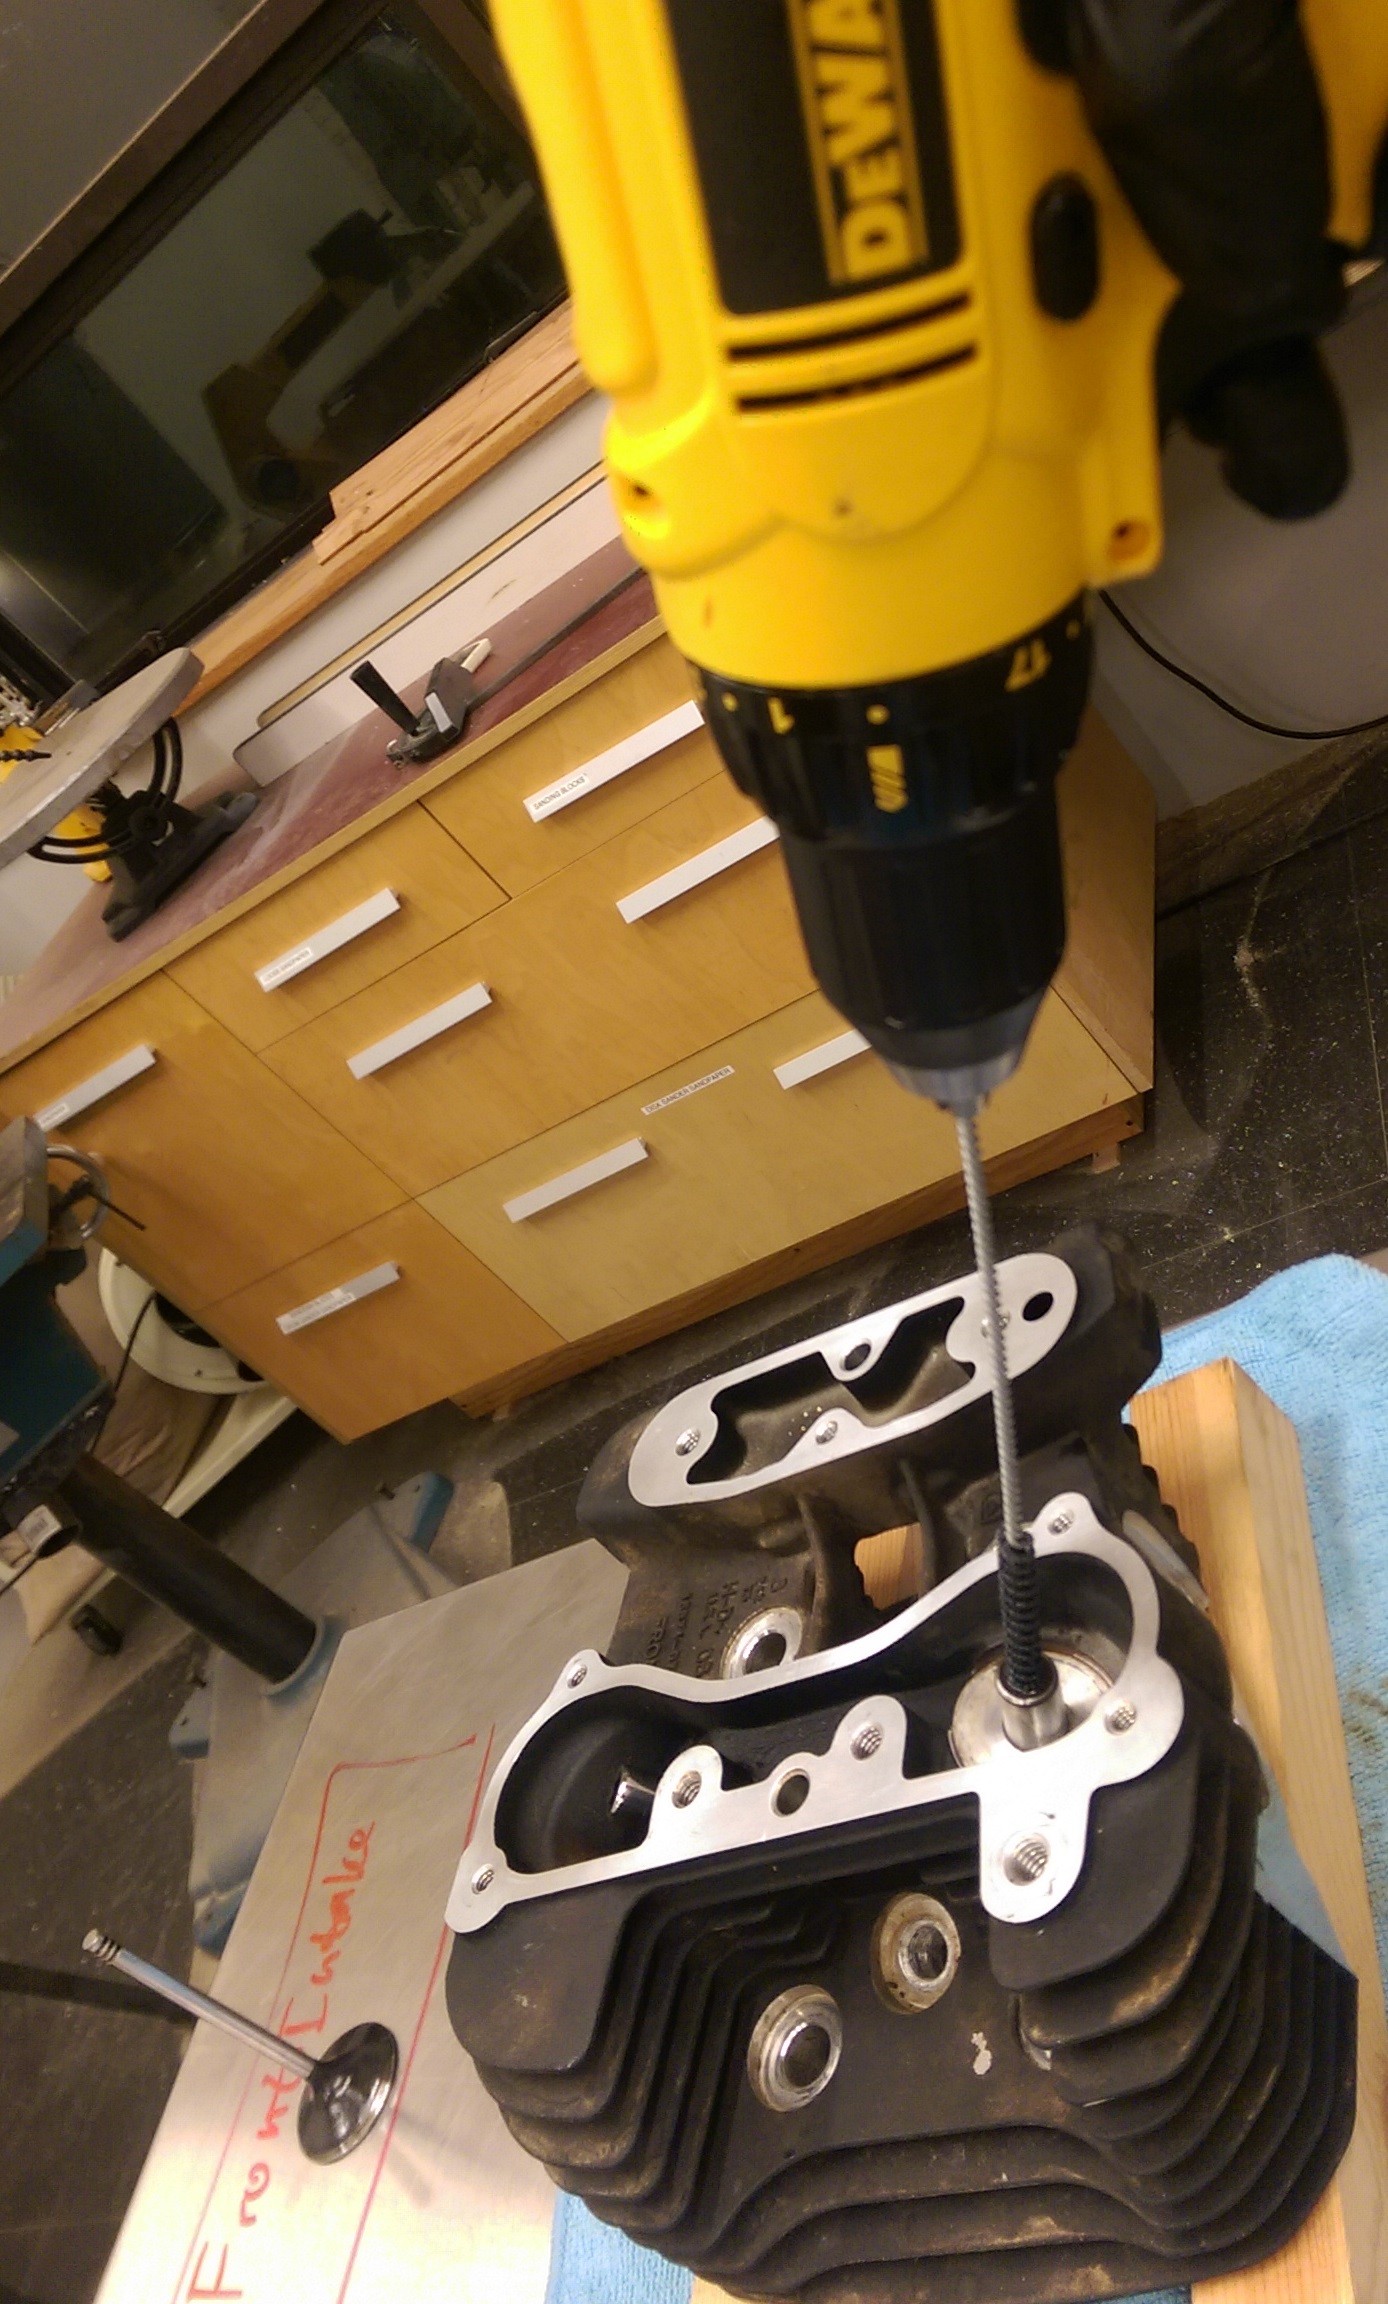
After honing the valve guides with 240 and 320 grit 7 mm hones, the next crucial step is thorough cleaning.
A meticulously cleaned valve guide is crucial for accurate valve stem clearance measurement.
Inspecting Valve Stems and Valve Guides Clearance
Following the cleaning process, it’s imperative to inspect the clearance between the valve stems and valve guides. This measurement ensures proper valve movement and prevents excessive oil consumption. Accurate valve stem to valve guide clearance is critical for proper engine operation.
Measuring valve stem to valve guide clearance is a critical step in engine rebuilding.
Ensure the measurements are within the specified limits. Refer to the engine’s service manual for the correct valve clearance specifications. The image below provides a sample of such specs:
Valve Lapping Procedure
If the valve chamfer appears to be in good condition, lapping the valves is the next step. Valve lapping ensures a proper seal between the valve and the valve seat. Although specialized tools exist for reconditioning the valve chamfer, they can be costly. If the valves are in reasonable condition, lapping provides an effective alternative.
Valve lapping refines the contact surface between the valve and seat, improving sealing.
Interestingly, pit holes may appear differently on intake and exhaust valves. It’s common to find pit holes on the intake valve seat while the intake valve chamfer is clean, and vice versa for the exhaust valve.
Addressing Pit Holes and Valve Seat Condition
After grinding, some pit holes may persist on the intake valve seat surface. Excessive grinding should be avoided, especially if the valve seat sealing face is already wider than recommended by the manufacturer. The goal is to remove most, but not necessarily all, of the pit holes while maintaining the correct dimensions.
Avoid over-grinding; maintain the valve seat within factory specifications.
Checking the Valve Seat with Prussian Blue
Using Prussian Blue or layout fluid to inspect the valve seat is a critical step. This allows you to visualize the contact pattern between the valve and the seat, ensuring proper sealing.
The Prussian blue test helps visualize valve seat contact for optimal sealing.
Correcting Sealing Face Width
If the sealing faces are wider than the factory specifications, especially closer to the outside edge of the valve, narrowing the seal face width and reducing the seal face diameter on the valve seats may be necessary. Specialized tools such as 31-degree and 60-degree valve seat chamfer cutters can be used.
Final Seal Test
Even without these specialized tools, a properly lapped valve should create a perfect seal. Testing the valve seal by filling the combustion chamber with liquid and observing for leaks is an excellent way to confirm the quality of the valve job.
By following these steps, you can effectively clean valve guides, inspect valve stems, lap valves, and ensure optimal engine performance. Proper maintenance and attention to detail during this process will contribute to a reliable and efficient engine.

