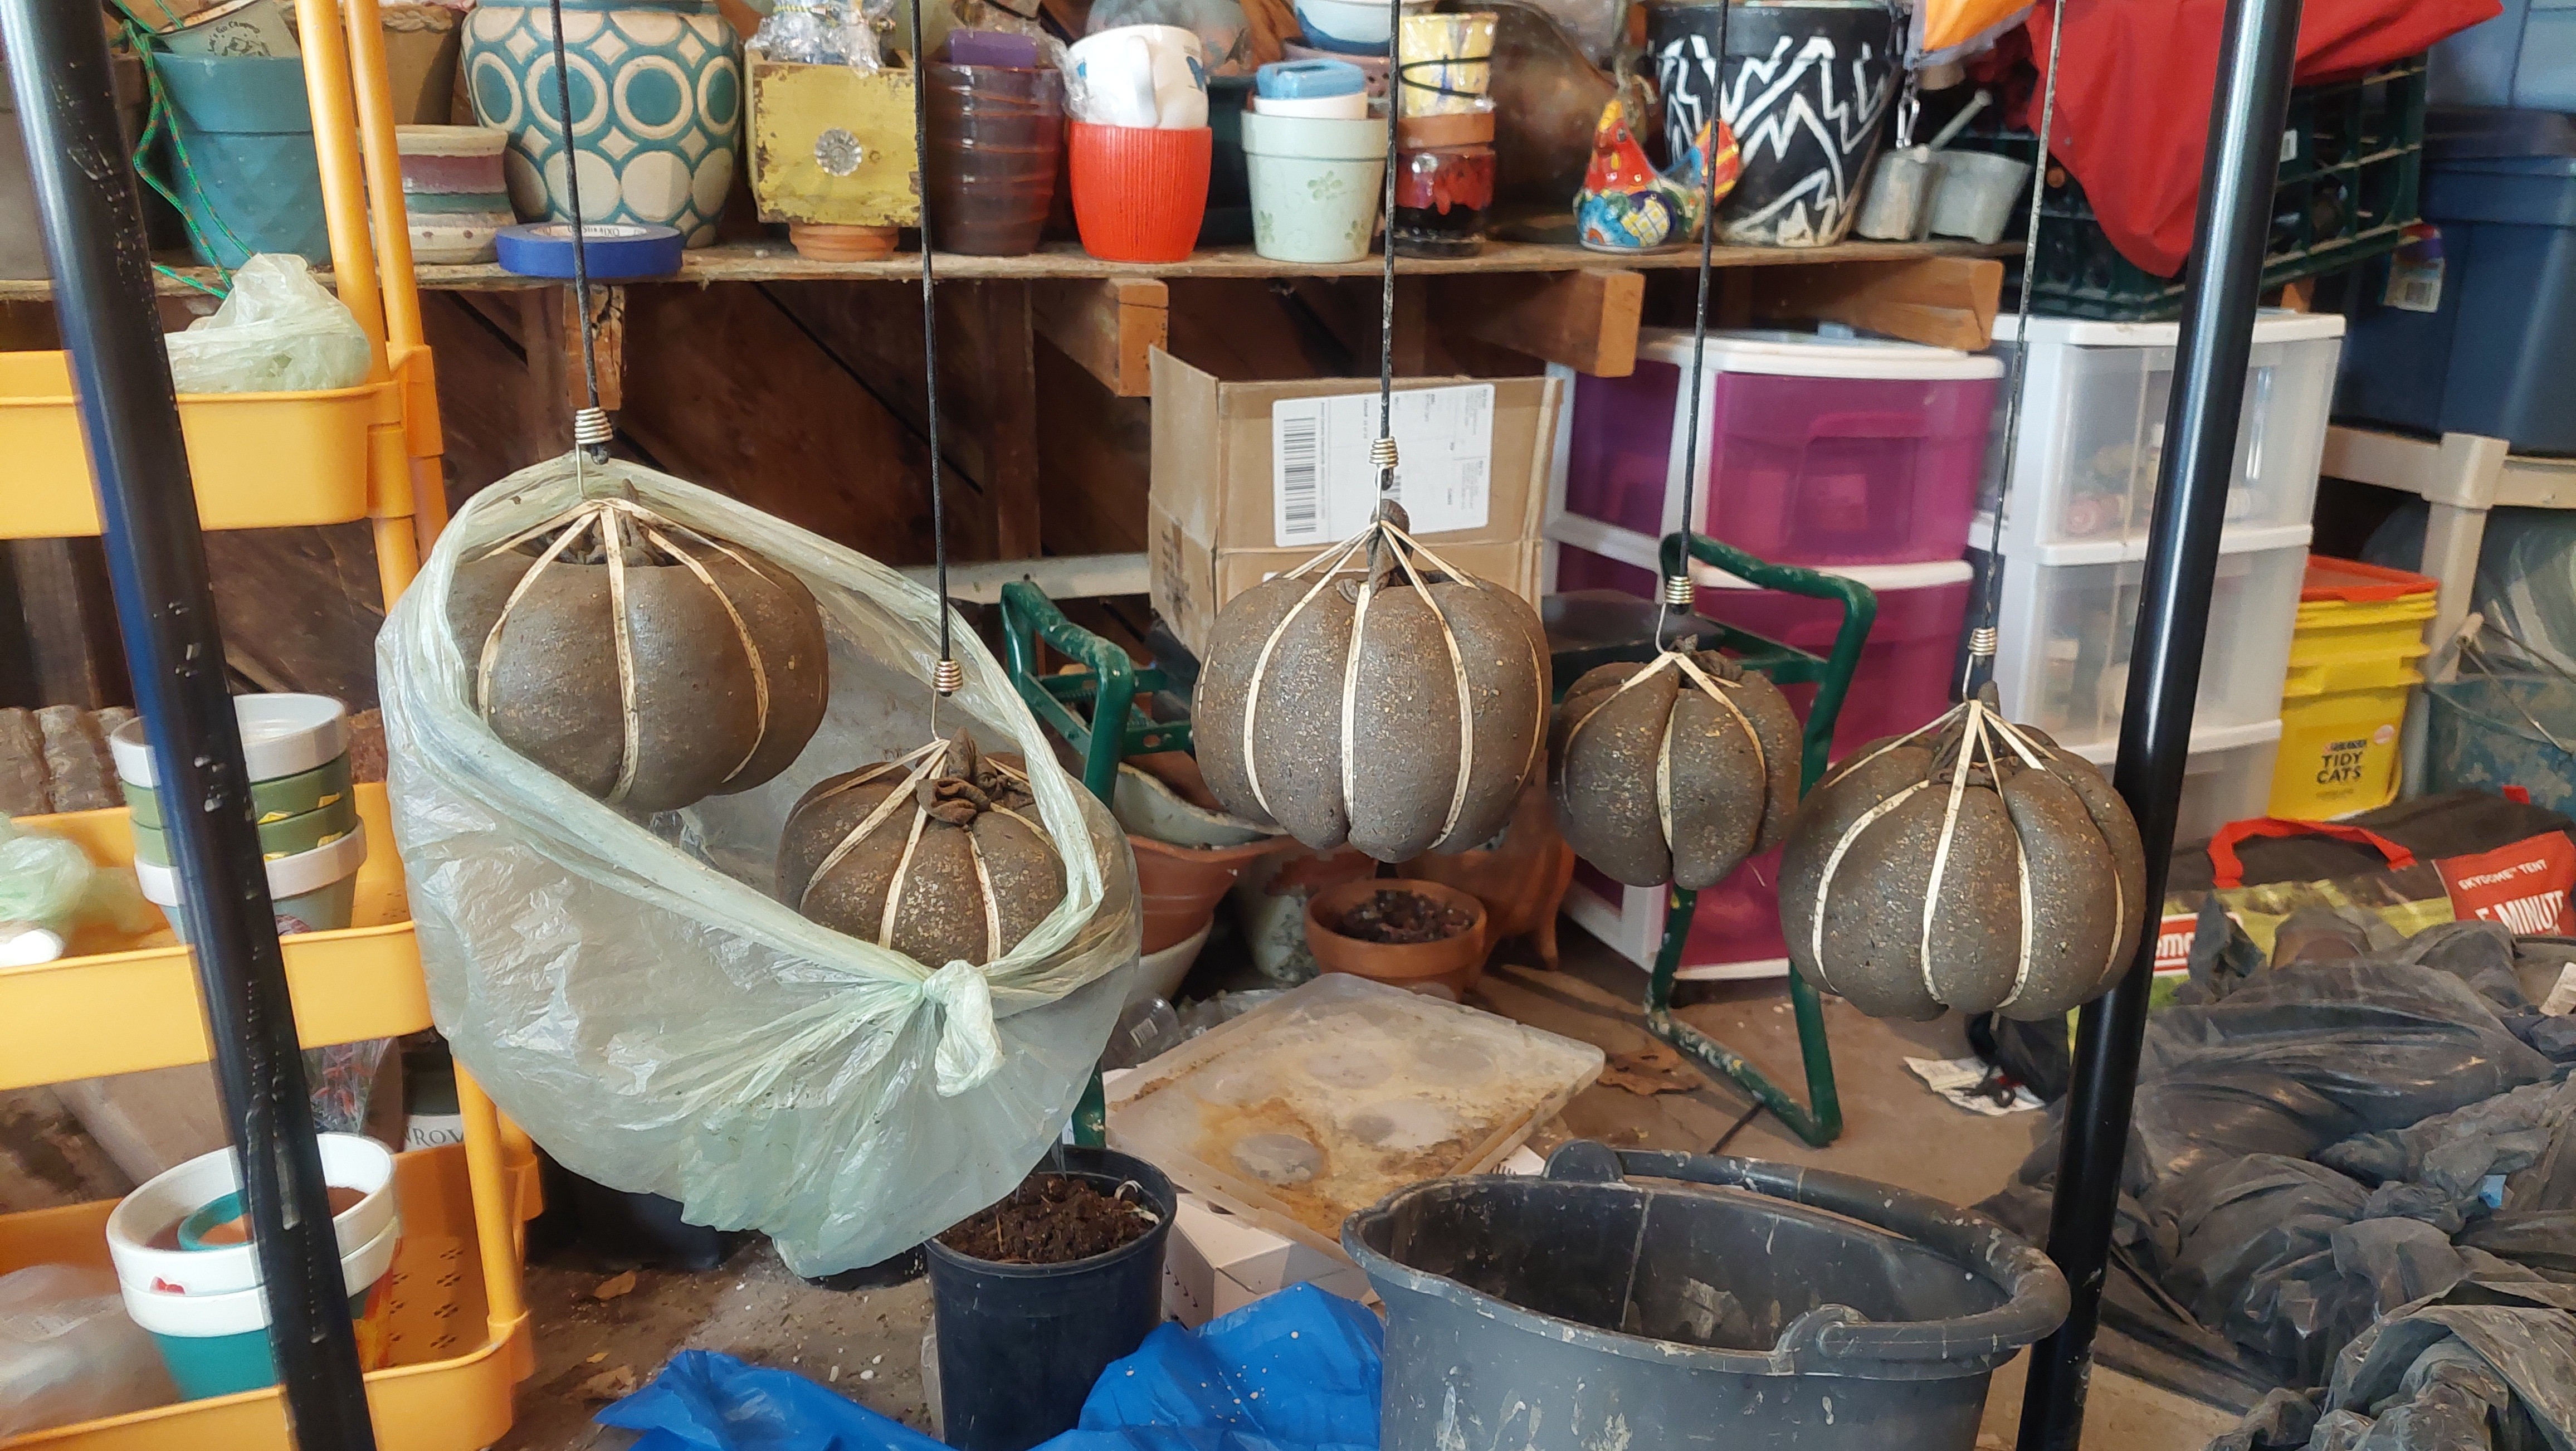
Creating your own cement pots can be a rewarding DIY project, allowing for custom designs and a personal touch in your garden or home décor. However, it’s crucial to properly cure your cement pots to ensure their strength, durability, and longevity. This step-by-step guide will walk you through the process of how to cure cement pots effectively.
Understanding Cement Curing
Curing is the process of keeping concrete or cement moist for a period of time after it has been poured, allowing it to hydrate properly and gain strength. Without proper curing, cement can dry out too quickly, leading to cracks and a weaker final product. This is especially important for cement pots, as they are often exposed to the elements and need to withstand varying temperatures and moisture levels.
Materials You’ll Need
- Newly made cement pot
- Plastic sheeting or large plastic bags
- Spray bottle or hose with a fine mist setting
- Water
- Optional: Curing compound
Step-by-Step Guide to Curing Cement Pots
-
Demold Your Pot (If Applicable): If your cement pot was created using a mold, carefully remove it from the mold after the initial setting period (usually 24-48 hours, but refer to your cement mix instructions).
-
Initial Moistening: Once demolded, or if you used a method that doesn’t require a mold, thoroughly moisten the entire surface of the cement pot with water. Use a spray bottle or a hose with a fine mist to avoid damaging the fresh cement.
-
Cover the Pot: Immediately after moistening, cover the cement pot with plastic sheeting or a large plastic bag. Ensure the plastic completely covers the pot, trapping moisture inside. This creates a humid environment that promotes proper hydration.
-
Maintain Moisture: For the next 7-10 days, it’s crucial to keep the cement pot consistently moist. At least once a day, lift the plastic covering and re-moisten the pot with water. Ensure all surfaces are damp, then replace the plastic covering. In hot or dry climates, you may need to moisten the pot more frequently (2-3 times per day) to prevent it from drying out.
-
Optional: Use a Curing Compound: Curing compounds are liquid coatings that can be applied to the surface of the cement to seal in moisture. If you choose to use a curing compound, follow the manufacturer’s instructions carefully. Apply the compound after the initial moistening and before covering the pot with plastic. This can reduce the need for frequent re-moistening.
-
Consistent Temperature: Try to maintain a consistent temperature during the curing process. Avoid exposing the cement pot to extreme temperature fluctuations, as this can cause cracking. If possible, cure the pot in a shaded area or indoors.
-
Allow Adequate Curing Time: The ideal curing time for cement pots is 7-10 days. While the cement may feel hard after a few days, it’s important to allow the full curing period for it to gain maximum strength and durability.
-
Slow Drying (After Curing): After the curing period, gradually remove the plastic covering to allow the cement pot to dry slowly. Avoid exposing it to direct sunlight or strong winds immediately, as this can still cause cracking. Allow the pot to air dry in a shaded area for another few days.
Troubleshooting Common Curing Issues
-
Cracking: Cracking is often caused by improper curing, either drying out too quickly or exposure to extreme temperature changes. If you notice cracks, you can try applying a cement patching compound, but prevention is key.
-
Efflorescence: This is a white, powdery substance that can appear on the surface of cement. It’s caused by mineral salts leaching out of the cement. While it’s usually harmless, it can be unsightly. You can remove efflorescence with a stiff brush and a solution of water and vinegar. Proper curing can help minimize efflorescence.
-
Weak Cement: If your cement pot feels weak or crumbly, it’s likely due to insufficient curing or an incorrect cement mix. Ensure you follow the instructions on your cement mix carefully and allow adequate curing time.
Tips for Success
-
Use the Right Cement Mix: Choose a cement mix specifically designed for crafting or outdoor use. These mixes often contain additives that improve strength and durability. Consider using a mix of Portland cement, sphagnum moss and vermiculite like the original author.
-
Work in a Shaded Area: Direct sunlight can cause the cement to dry out too quickly.
-
Be Patient: Curing is a process that requires time and attention. Don’t rush it!
Conclusion
Properly curing your cement pots is essential for ensuring their strength, durability, and longevity. By following these step-by-step instructions and troubleshooting tips, you can create beautiful and functional cement pots that will last for years to come. Now that you know how to cure cement pots, get creative and start crafting! Whether you’re creating planters for your garden or decorative pieces for your home, the curing process is the key to a successful project.

