Is your sliding shower door sticking, wobbling, or generally refusing to glide smoothly? A common culprit is the bottom guide. Fortunately, you can often fix a sliding shower door bottom guide without resorting to a complete door replacement. This guide will walk you through understanding the bottom guide, troubleshooting common issues, and providing effective solutions.
Understanding the Sliding Shower Door Bottom Guide
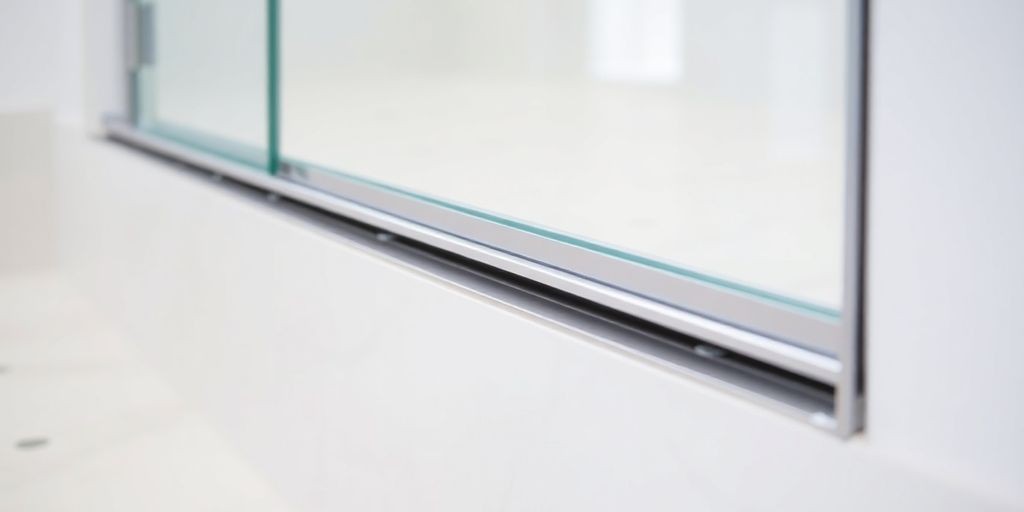
The bottom guide plays a vital role in the smooth operation of your sliding shower door. It’s a small piece, often made of plastic or metal, that sits in the track and keeps the door aligned as it slides.
Why is the Bottom Guide Important?
- Alignment: Prevents the door from swaying or coming off the track.
- Smooth Movement: Ensures the door glides easily, reducing friction and wear.
- Stability: Provides a stable base, preventing the door from vibrating or making noise.
Common Problems with Shower Door Bottom Guides
- Wear and Tear: Over time, the guide can wear down from constant use.
- Debris Buildup: Soap scum, hair, and other debris can accumulate in the track, hindering the guide’s movement.
- Misalignment: The guide itself might become misaligned, causing the door to stick or bind.
- Damage: The guide could crack or break, especially if made of plastic.
Tools and Materials You Might Need
Before you begin, gather the necessary tools and materials:
- Screwdriver Set: Both Phillips head and flathead screwdrivers will be useful.
- Cleaning Supplies: Soap, water, a stiff brush, and rags.
- Silicone Lubricant: Specifically formulated for shower doors and safe for plastic parts.
- Putty Knife or Scraper: For removing stubborn debris.
- Replacement Bottom Guide (Optional): If the existing guide is damaged beyond repair, have a replacement ready.
- Safety Glasses: To protect your eyes from debris.
Step-by-Step Guide: Fixing the Bottom Guide Without Replacement (If Possible)
This section focuses on fixing the existing bottom guide without necessarily replacing it. Replacement steps are included later in the article.
1. Remove the Shower Door (Carefully!)
- Most sliding shower doors can be lifted slightly and tilted out of the track.
- Have a helper assist if the door is heavy.
- Place a towel or blanket on the floor to protect the door from scratches.
2. Thoroughly Clean the Tracks and Rollers
- Use a stiff brush and soapy water to scrub the inside of the tracks.
- A putty knife can help remove stubborn soap scum.
- Rinse thoroughly with clean water and dry with a rag.
- Clean the rollers with a damp cloth. If they’re not turning smoothly, try applying a small amount of silicone lubricant.
3. Inspect the Bottom Guide
- Look for signs of wear, damage, or misalignment.
- Is the guide cracked or broken?
- Is it properly seated in the track?
- Is there any debris trapped around it?
4. Adjust the Bottom Guide (If Possible)
- Some bottom guides have adjustment screws. Loosen these screws and reposition the guide so that it’s properly aligned with the door.
- Tighten the screws once the guide is in the correct position.
5. Lubricate the Track and Bottom Guide
- Apply a thin layer of silicone lubricant to the track and the bottom guide.
- This will help the door slide smoothly and prevent future sticking.
- Wipe away any excess lubricant with a clean rag.
6. Reinstall the Shower Door
- Carefully lift the door back into the track, making sure the bottom guide is properly seated.
- Test the door to see if it slides smoothly.
What if the Bottom Guide is Damaged? Replacement Steps
If cleaning, adjusting, and lubricating doesn’t solve the problem, or if the bottom guide is visibly damaged, you’ll need to replace it.
1. Identify the Correct Replacement
- Take the old bottom guide to a hardware store or home center to find a matching replacement.
- Alternatively, search online using the make and model of your shower door.
2. Remove the Old Bottom Guide
- Most bottom guides are held in place with screws or clips.
- Remove the fasteners and carefully detach the old guide.
3. Install the New Bottom Guide
- Position the new guide in the track.
- Secure it with the screws or clips that came with the replacement.
4. Lubricate and Reinstall the Door (as described above)
Maintaining Your Sliding Shower Door for Smooth Operation
Preventive maintenance is key to avoiding future problems with your sliding shower door. Here are some tips:
- Regular Cleaning: Clean the tracks and rollers at least once a month to remove soap scum and debris.
- Lubrication: Apply silicone lubricant every few months to keep the door sliding smoothly.
- Gentle Use: Avoid slamming the door, as this can damage the bottom guide and other components.
- Inspect Regularly: Check the bottom guide and rollers periodically for signs of wear or damage.
Troubleshooting: Common Sliding Shower Door Problems
- Door Still Sticks After Cleaning and Lubricating: The rollers may be worn out and need replacement.
- Door Jumps Off Track: The track may be damaged or misaligned, or the bottom guide may be missing or broken.
- Door is Difficult to Open or Close: The door may be misaligned. Try adjusting the rollers or the bottom guide.
When to Call a Professional
While many sliding shower door problems can be fixed with DIY methods, there are times when it’s best to call a professional:
- Damaged Glass: If the glass is cracked or broken, do not attempt to repair it yourself.
- Complex Repairs: If you’re not comfortable working with tools or if the problem is beyond your skill level, hire a qualified handyman or plumber.
- Persistent Issues: If you’ve tried everything and the door still doesn’t slide smoothly, there may be a more serious underlying problem.
Conclusion
Fixing a sliding shower door bottom guide without replacing the entire door is often a straightforward process. By understanding the role of the bottom guide, troubleshooting common issues, and following these steps, you can restore smooth operation to your shower door and avoid the expense of a full replacement. Remember to prioritize safety and seek professional help when needed.