Procreate’s Drawing Guides feature has been a favorite among artists since its debut in Procreate 3. With Procreate 4.1, this functionality expanded to include three powerful new modes, all accessible within Drawing Guides. This article provides a detailed “How To Get Drawing Guide On Procreate” tutorial, perfect for both beginners and experienced users looking to maximize their creative potential.
1. Enabling Drawing Guides
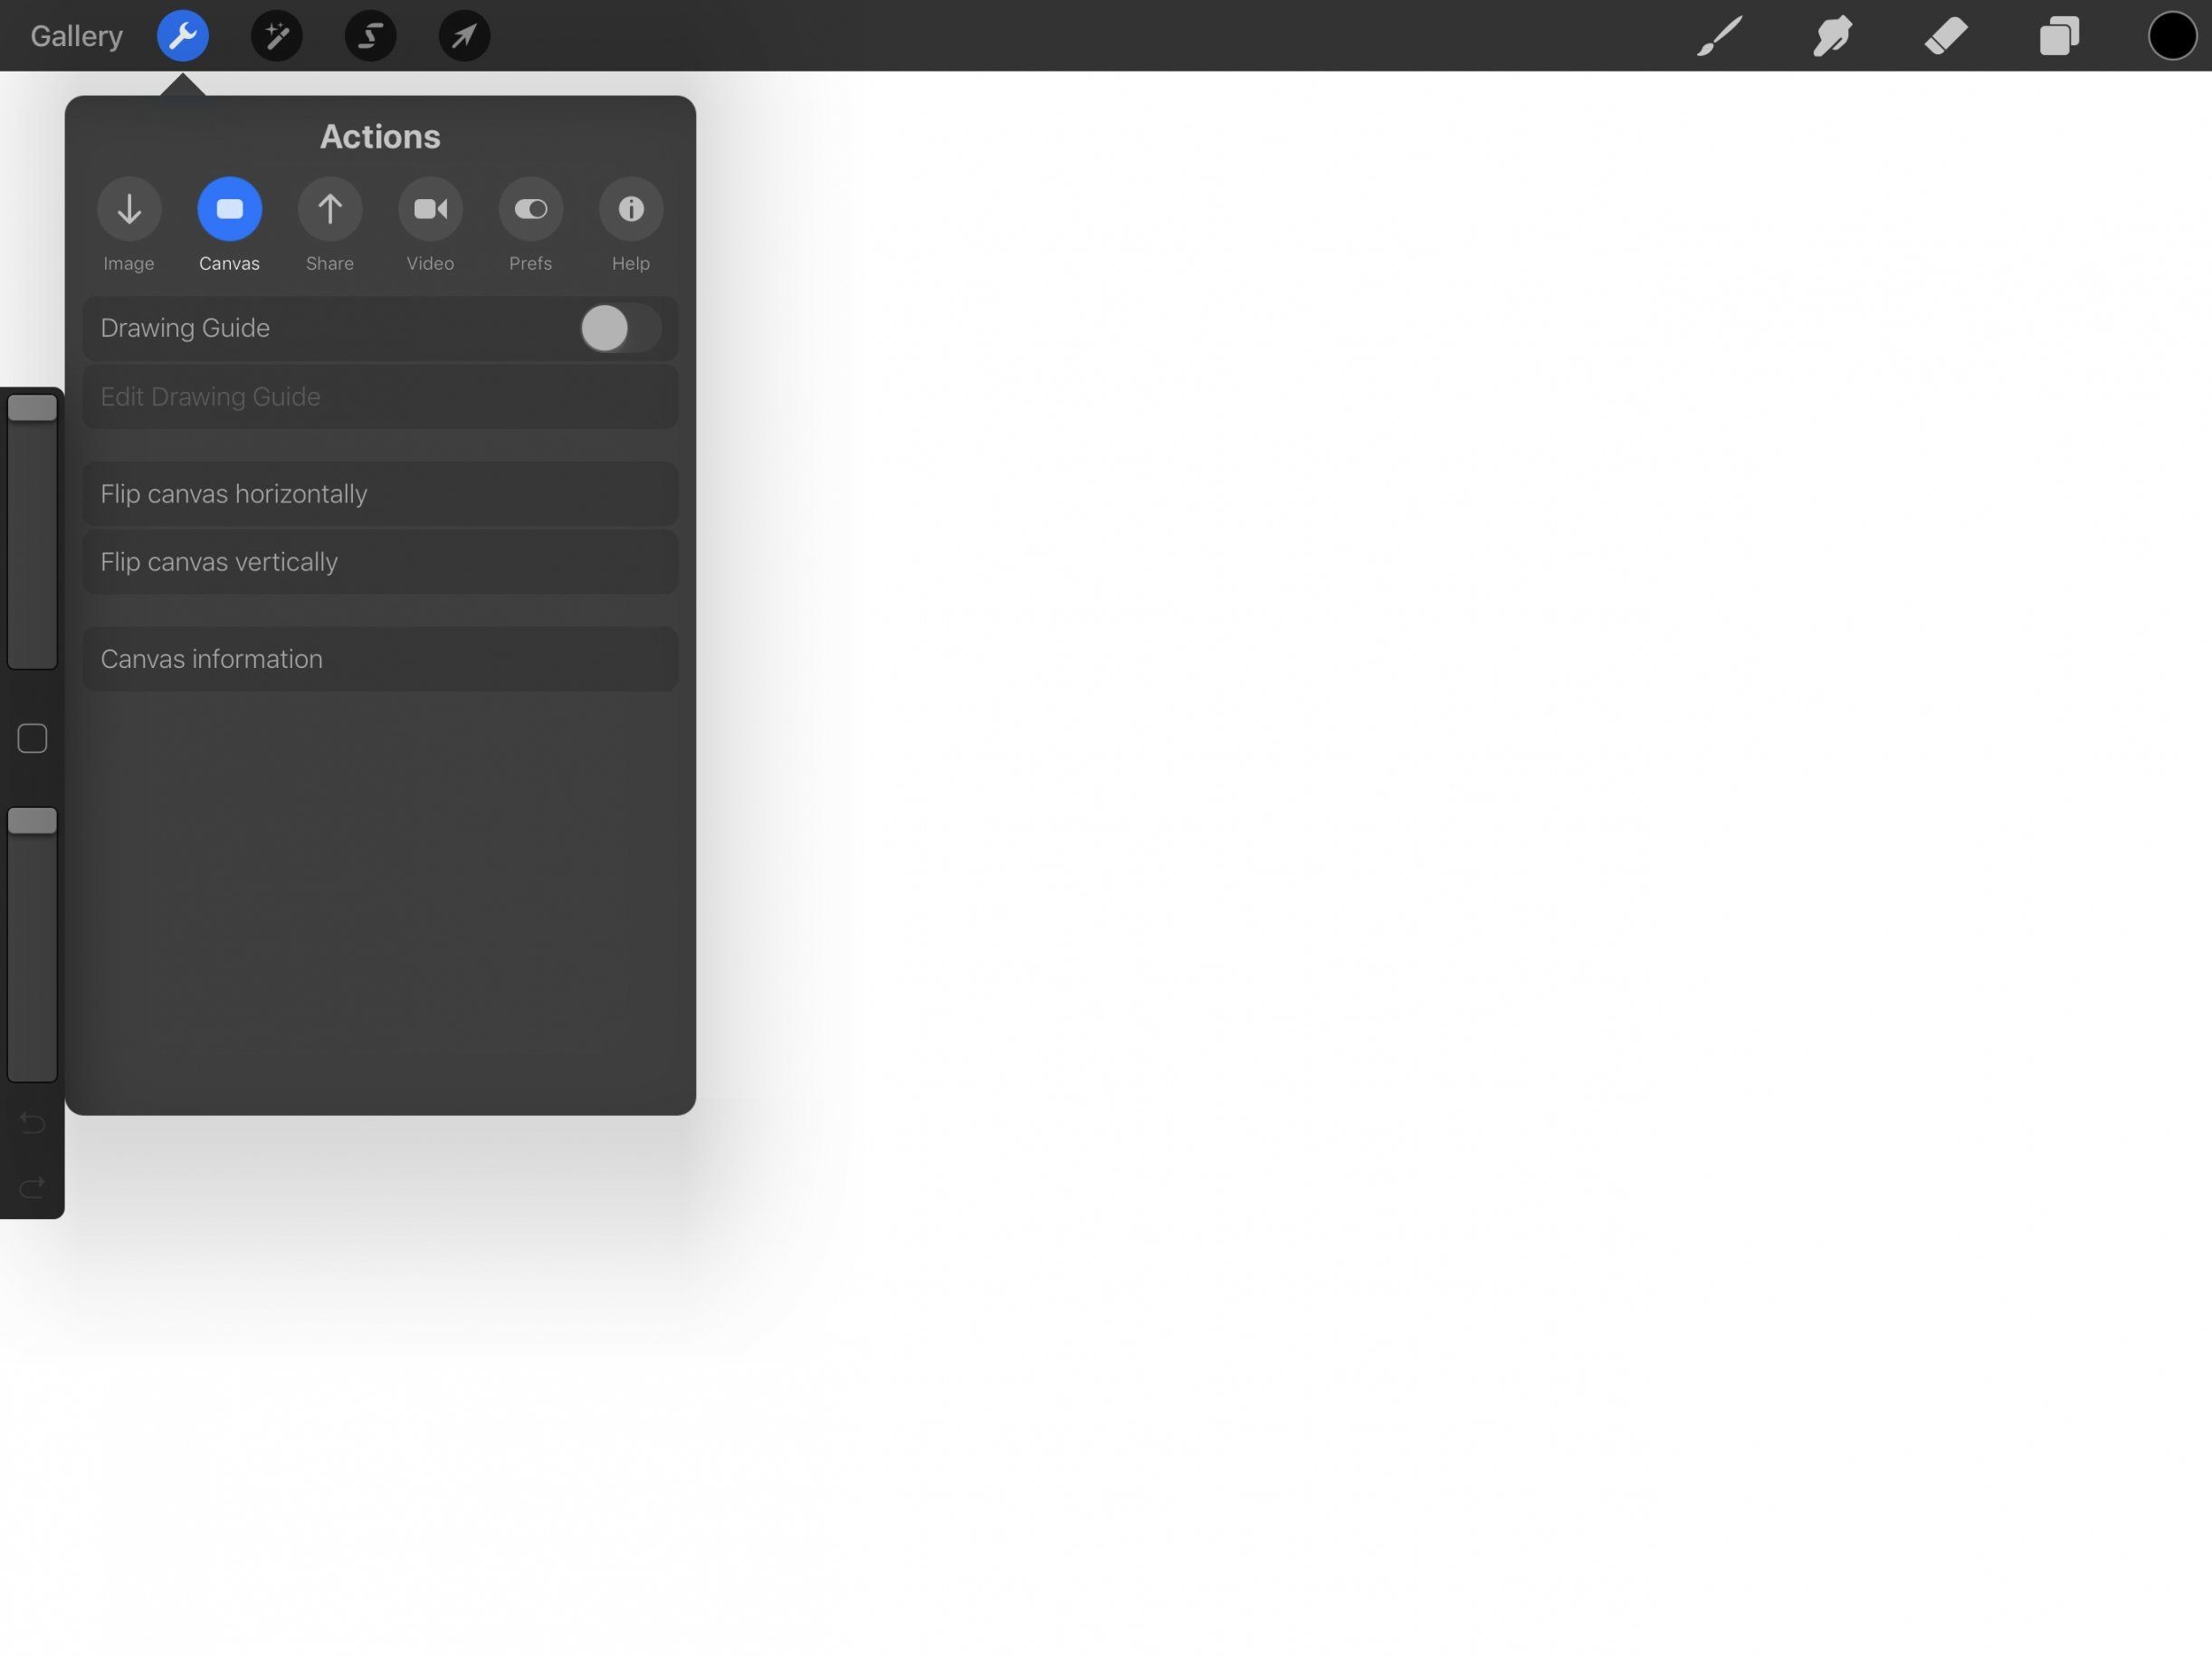
To begin, navigate to the Actions menu in Procreate. Under the Canvas tab, you’ll find the options to toggle and customize your Drawing Guide for your current artwork.
If you haven’t used a Drawing Guide on the canvas before, first enable Drawing Guides by toggling the switch. Then, tap Edit Drawing Guide.
2. Selecting Your Drawing Guide
Procreate offers four distinct Drawing Guide modes: 2D Grid, Isometric, Perspective, and Symmetry. Switch between these guides by tapping the corresponding buttons in the top toolbar. The bottom toolbar provides options to customize your guidelines further.
Upon selecting a mode, default guidelines will appear, ready for customization. If you opt for Perspective mode, simply tap to create up to three vanishing points, enabling realistic depth in your drawings.
3. Adjusting Grid Size for Precision
The 2D Grid and Isometric Drawing Guides provide significant control through grid customization. Achieve the perfect grid size for your artwork by adjusting the Grid Size slider.
For precise measurements, tap the readout to input an exact value in pixels, inches, centimeters, or millimeters. Combine these settings with custom canvas creation to produce pixel-perfect designs suitable for printing.
4. Customizing Your Guidelines
Personalize the appearance of your guidelines using the Thickness and Opacity sliders in the bottom toolbar. Fine-tune the color using the Hue slider in the top toolbar.
Reposition your guidelines by manipulating the blue node. Rotate them using the green node for accurate alignments and dynamic compositions.
5. Utilizing Drawing Assist for Guided Strokes
Each guide includes an Assisted Drawing toggle located on the lower toolbar. Enabling this feature activates Drawing Assist on your selected layer, indicated by the “Assisted” tag within the Layers menu.
Drawing Assist constrains your paint strokes to follow the guidelines, simplifying the creation of stunning perspective artworks. If you prefer to draw freely, simply toggle this option off.
For enhanced control over Drawing Assist, explore Gesture Controls within the Actions > Prefs menu.
6. Time to Draw!
Once you’re satisfied with your guide’s setup, tap Done in the upper right corner to return to your canvas. Your guidelines will appear as an overlay, ensuring they don’t affect layer content or the Time-lapse Replay. You can revisit the Drawing Guides menu at any time to adjust or create new guides.
The Drawing Guides feature in Procreate significantly streamlines the art creation process, allowing for precision and creativity. Whether you’re sketching architectural designs, creating isometric illustrations, or simply experimenting with perspective, understanding “how to get drawing guide on procreate” will greatly enhance your digital art workflow. Remember to explore Procreate’s free Handbook from their Support page for more details.