Drawers are a fantastic addition to any furniture piece or cabinet, providing much-needed storage and organization. If you’re embarking on a DIY project involving drawers, understanding How To Install Drawer Guides is crucial for smooth operation and longevity. This guide will walk you through the process, focusing on side-mount drawer slides, a popular and reliable choice for various applications.
Before we dive in, consider this guide as part three of a broader drawer-building series. Check out these helpful guides:
- How to Measure for Drawer Fronts and Drawer Boxes
- How to Build a Drawer Box
Let’s explore the world of drawer guide installation, focusing on simplicity and practicality.
Why Choose Side Mount Drawer Slides?
While various drawer slide options exist, including undermount, center mount, and even wooden alternatives, side mount drawer slides offer several compelling advantages:
- Easy Installation: Side mount slides attach directly to the cabinet or furniture side, often eliminating the need for extra bracing.
- Versatile Sizing: Available in common lengths from 10″ to 24″ (in 2″ increments), making it easy to find the right fit for your project.
- Affordable: Side mount slides are generally more budget-friendly than undermount options.
- Durable: These slides are known for their longevity and ability to withstand regular use.
- Weight Capacity: Most side mount drawer slides can support up to 100 lbs per pair, suitable for various furniture and workshop applications.
- Easy Removal: These slides typically have tabs for easy drawer removal.
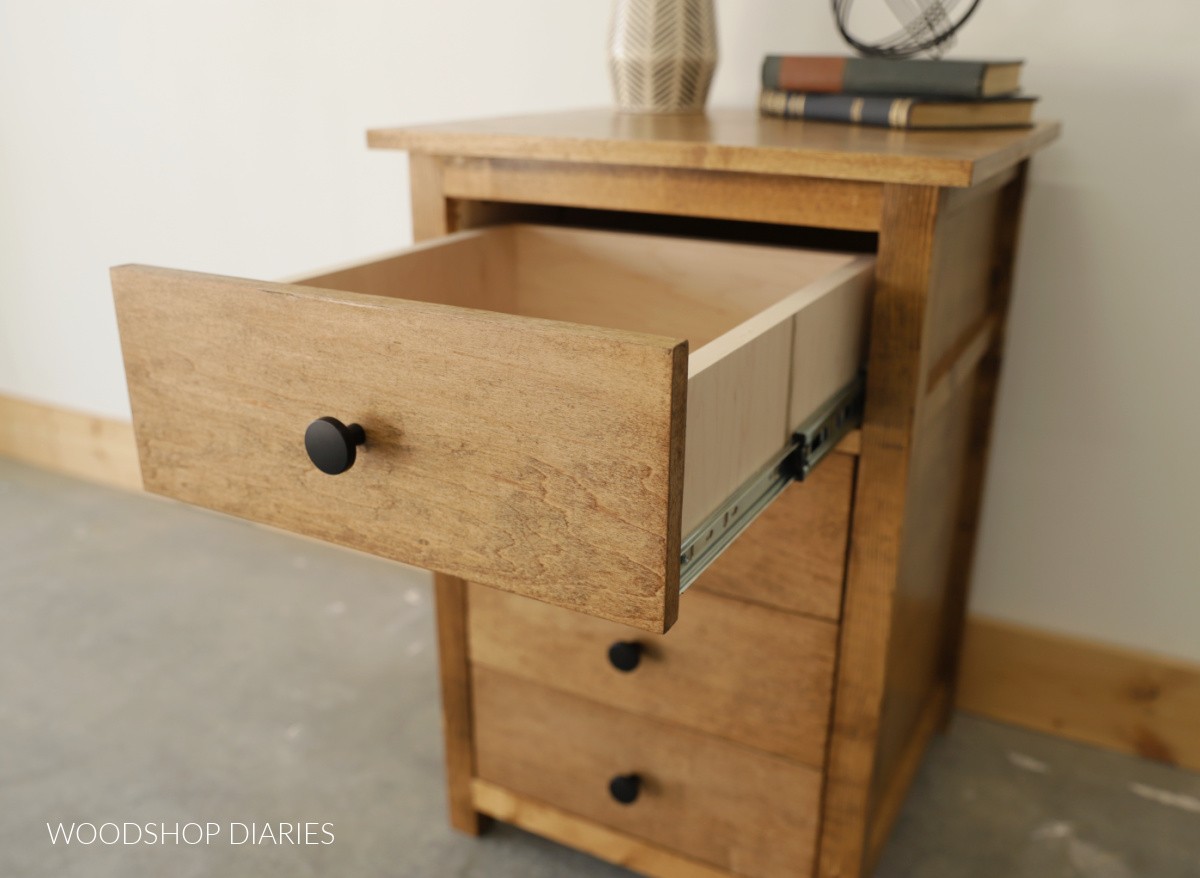
The slides consist of two sections: one for the cabinet and one for the drawer box. To separate, fully extend the slide, locate the tab (usually plastic), push it up or down, and pull the sections apart.
For cost-effectiveness, consider purchasing side mount slides in bulk.
Essential Tools for Drawer Installation
Installing drawer boxes with side mount slides doesn’t require specialized tools. Here’s what you’ll need:
- Drill/Driver: For driving screws.
- Measuring Tape: For accurate measurements.
- Square: To ensure slides are installed square.
- Scrap Wood Blocks: For spacing and alignment during installation.
How to Install Drawer Slides: A Step-by-Step Guide
Here’s how to install drawer slides effectively:
Inset vs. Overlay Considerations
Before installing, determine whether your drawer fronts will be inset or overlay:
- Inset Drawer Fronts: Set inside the frame.
- Overlay Drawer Fronts: Lay over the front of the frame.
For overlay drawer fronts, install the slides flush with the front edge of the cabinet frame. For inset drawer fronts, set the slides back by the thickness of the drawer front. For example, for 3/4″ drawer fronts, inset the slides 3/4″ from the front edge.
Drawer Slide Spacing Techniques
Accurate spacing is essential for smooth drawer operation. Here are two popular methods:
Method 1: Drawer Front Heights + 1″
Measure the height of the drawer fronts below the slide you’re installing and add 1″. This determines the bottom edge placement of the next drawer slide.
Method 2: Align Bottom of Slide with Bottom of Drawer Fronts
Align the bottom edge of your drawer slides with the intended bottom edge of the drawer fronts.
Securing the Slides
Once you’ve determined the correct spacing, the installation itself is straightforward.
Use #6 x 5/8″ wood screws for 3/4″ thick material. Position the slide, extend it, and secure it with screws in the slotted and round holes. Aim for one screw at the front, one in the middle, and one at the back. The slotted holes allow for slight wood movement.
Face Frames and Spacer Blocks
If you have a face frame or an uneven inner surface, you’ll need to install “spacer blocks” to create a flush surface for the slides. These blocks mount to the side panels and extend to the inside edge of the frame.
How to Install Drawer Boxes: Two Methods
With the slides in place, you can now install the drawer boxes.
Method 1: Using Spacer Blocks
Place 1/4″ plywood scrap strips across the bottom framing of the cabinet. Extend the slides on both sides. Position the drawer on the plywood strips, ensuring it extends slightly from the front. Align the slides flush with the drawer box’s front edge.
Secure the drawer using screws in the front, middle, and back of each slide. Use scrap blocks to space out the remaining drawers, repeating the installation process for each.
Method 2: Separating Slides
Separate the slides, attach the drawer sections to the drawer box, and then simply slide the drawer box onto the cabinet-mounted slides.
Completing Your Drawer Project
With the drawer boxes installed, it’s time to add the finishing touches. Learn how to install your drawer fronts to complete your project.
For more drawer-building inspiration, consider these projects:
- DIY Mid-Century Modern Dresser
- Hidden Drawer Bookshelf
Understanding how to install drawer guides is a fundamental skill for any woodworker. With this comprehensive guide, you’ll be able to confidently tackle any drawer installation project. Happy building!