Homeownership comes with its share of exciting projects, but often involves tackling smaller, yet essential repairs. One such task is fixing wobbly or misaligned shower doors. If your shower doors are swinging the wrong way or constantly falling off their tracks, chances are the shower door bottom guide is broken. Fortunately, replacing it is a quick and easy do-it-yourself project.
The shower door bottom guide is a small plastic piece located at the base of the shower door that prevents it from swinging freely. When this guide breaks, the doors become unstable and difficult to manage.
This guide will walk you through the process of How To Install Shower Door Bottom Guide replacements, so you can get your shower doors working smoothly again.
Step-by-Step Guide to Replacing Your Shower Door Bottom Guide
Replacing the shower door bottom guide is a straightforward task that requires minimal tools and effort. Here’s a detailed guide:
What You’ll Need:
- New Tub and Shower Door Bottom Guide (example on Amazon)
- Phillips head screwdriver
- Command Strips (or similar strong adhesive strips)
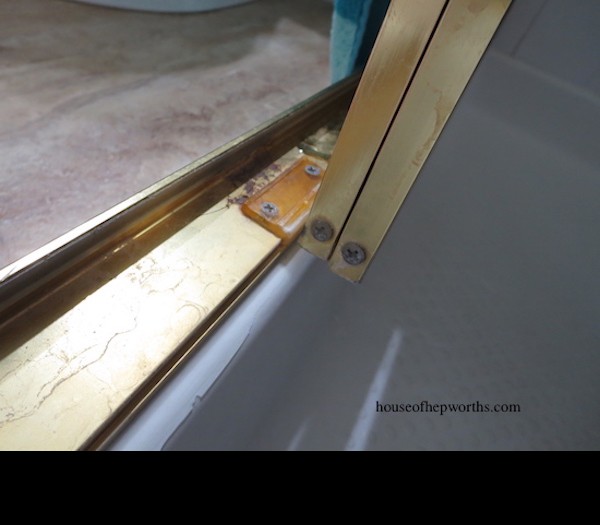
Step 1: Remove the Old, Broken Door Guide
The first step is to remove the existing, damaged shower door guide. In most cases, this is a simple process involving a Phillips head screwdriver. Locate the screws holding the guide in place and carefully unscrew them. Once the screws are removed, the old guide should easily detach.
Step 2: Prepare the New Shower Door Guide
The new shower door bottom guide typically comes with adhesive foam squares. However, these might not provide the strongest hold. A better alternative is to use Command Strips or a similar type of strong adhesive strip. Apply the Command Strips to the back of the new shower guides.
Once the strips are applied, cut off the pull tabs. They are unnecessary and will only get in the way.
Step 3: Install the New Shower Door Guide
Carefully position the new guides where the old one used to be. Many choose to use two guides side-by-side for extra stability. Ensure the area is clean and dry before sticking the new guides in place. Press firmly to ensure a strong bond with the shower door or frame.
From outside the shower, the guides are barely noticeable.
Why This Simple Fix Matters
Replacing a shower door bottom guide is a small repair that can make a big difference in the functionality and appearance of your bathroom. It prevents the doors from swinging erratically, keeps them on their tracks, and prevents potential damage to the doors and surrounding areas.
While a full bathroom renovation with custom tile and new shower doors might be the ultimate goal, addressing these smaller fixes is crucial for maintaining a smoothly running home. This simple task not only improves the functionality of your shower but also adds to the overall upkeep and value of your home. By following these steps on how to install shower door bottom guide replacements, you can avoid future issues and expensive repairs.