Creating accurate holes can be a challenge, especially when working on projects that demand precision. A drill guide, often referred to as a portable drill press, is an invaluable tool for achieving this accuracy. This guide will walk you through the process of constructing your own drill guide from readily available materials, saving you money and improving the quality of your drilling.
Determining the Drilling Axis
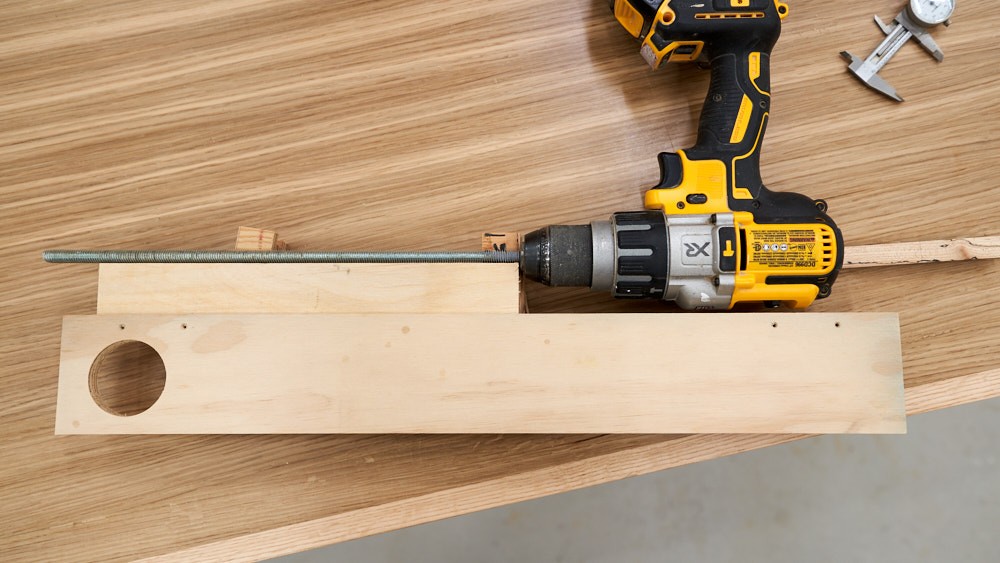
The first crucial step in learning How To Make A Drill Guide involves identifying the drilling axis of your particular drill. This axis is the central line around which the drill bit rotates. To find this, insert a straight rod into the drill chuck and use strips of wood to create an offset line extending to the end of the drill body.
This initial step provides essential information about the offset needed for the drill to fit within the carriage. Minimizing the size of the unit ensures ease of use and portability. Measure the offset distance to understand how much clearance is required.
Mark this offset measurement on the end of the drill.
Next, determine the center by measuring from side to side and marking the midpoint.
These markings define the drilling axis, which will guide the construction of the holder on the back of the drill, ensuring proper alignment.
Measure the distances from the edges to this drilling axis; in this example, it’s 1-1/2″ on one side and 1-1/8″ on the other.
While this process might seem intricate, taking measurements carefully and sketching the distances and offsets will prevent confusion. Remember, as drills vary, this process is unique to your specific drill model.
Constructing the Drill Carriage
Many drills feature a side handle collar area at the front, which can be used for mounting. Measure this collar with calipers and drill a hole to accommodate it.
Attach the front collar to the drill carriage backing plate, made from 1/4″ plywood. This plate should extend 1/4″ on each side to fit into slots in the guide rails.
Now, begin constructing the more complex holder for the end of the drill. Measure the width of the drill body.
Transfer this measurement to the filler piece that will be placed on top.
Measure the remaining space.
Divide that measurement by two to determine the size of each side piece.
Craft these side pieces from solid wood and connect them with a bar across the bottom.
With the drill secured in the carriage and the rod re-inserted, confirm that the alignment is correct.
Assembling the Drill Guide
The guide rails are constructed from 3/4″ plywood, with 1/4″ square slots cut into the sides to accommodate the carriage. After assembly, ensure the unit is square and make any necessary adjustments.
With the carriage in place:
The front bar should swing up to allow for easy drill removal.
The base is made from scrap plywood with a large cutout to provide clearance for the drill bit.
Plywood base with a cutout for drill bit clearance.
Secure the base using 2″ screws, ensuring the carriage remains in position.
To prevent the guide from shifting during drilling, add non-slip pads to the base.
Finally, add a counterbalance spring to offset the weight of the drill.
If necessary, cut a longer spring to the correct size.
Cutting a longer counterbalance spring to the appropriate size.
The completed drill guide, ready for use:
Conclusion
Learning how to make a drill guide is a worthwhile investment for any woodworker or DIY enthusiast. This homemade tool enhances drilling accuracy and consistency, leading to higher-quality projects. By following these steps and customizing the design to fit your specific drill, you can create a portable drill press that will serve you well for years to come.