When it comes to woodworking, having the right tools and jigs can make all the difference. While purchasing pre-made attachments is convenient, crafting your own often provides a more tailored and cost-effective solution. This guide will walk you through How To Make A Router Edge Guide, specifically designed for mortising, that can be adapted to almost any router with a removable base plate. This do-it-yourself (DIY) approach allows you to save money and customize the jig to your specific needs.
The following steps outline how to construct a simple yet effective router edge guide using readily available materials. This guide focuses on creating a mortising jig, but the principles can be applied to various woodworking tasks.
Materials and Tools
Before you start, gather the necessary materials and tools:
- 1/2″ plywood (approximately 12″ x 10-3/4″)
- Scrap oak (or hardwood) for the parallel guides
- Four 1/4-20 machine screws
- Four 1/4-20 wing nuts
- Four washers
- Router with removable base plate
- Bandsaw (or table saw/jigsaw)
- Drill press (optional, but recommended)
- Drill bits (including 7/32″ and 1-1/4″ Forstner bit)
- Miter saw
- Measuring tools (ruler, square)
- Awl
- Hacksaw
- Screws for attaching the base plate
Step-by-Step Instructions
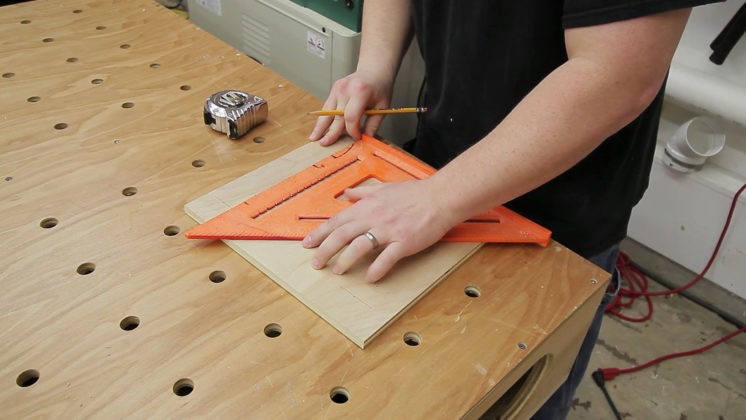
1. Preparing the Plywood Base
Begin by cutting the plywood to the desired dimensions (12″ x 10-3/4″). This will form the base of your router edge guide. Next, layout the slots for the adjustable parallel guides. These slots should be slightly wider than the 1/4-20 machine screws and positioned 1-1/2″ from the sides, extending from the front of the plywood to 1-3/4″ away from the back.
2. Cutting the Slots
Use a bandsaw, table saw, or jigsaw to cut the slots. If using a bandsaw, set the fence to cut one side of each slot, then flip the board and repeat. Move the fence slightly wider than the screw width and repeat the process for the other side of each slot.
3. Finishing the Slots
Use a drill bit to connect the bandsaw cuts and remove the interior slot material. Drilling after cutting ensures the holes are accurately aligned within the slots.
4. Creating the Parallel Guides
Cut two pieces of scrap oak (or other hardwood) to approximately 3/4″ x 5/8″ using a miter saw and table saw. These will serve as the adjustable guides.
5. Drilling Holes in the Parallel Guides
Align the parallel guides with the slots on the plywood base and mark the drilling points. Drill slightly undersized holes (7/32″ for 1/4″ screws) to allow the machine screws to thread directly into the wood, providing a secure hold. Using a drill press ensures perpendicular holes for better stability.
6. Securing the Machine Screws
Thread the machine screws into the undersized holes in the parallel guides. This will create a tight fit, locking the screws in place without the need for glue or lock nuts.
7. Shortening the Screws (Optional)
If the machine screws are too long, mark them and cut them to a shorter length using a hacksaw. This prevents interference with the workpiece or accidental contact during routing.
8. Mounting Hole Transfer
Remove the base plate from your router. Center the plywood base over the router bit’s intended center point, then use the base plate as a template to transfer the mounting hole locations to the plywood. Mark the holes with an awl.
9. Drilling Mounting and Router Bit Holes
Drill the marked mounting holes using a drill. Use a Forstner bit to create counterbores for the screw heads, ensuring they sit flush with the surface. Then, drill a 1-1/4″ hole in the center of the plywood for the router bit.
10. Attaching the Router
Attach the plywood base to the router using the original screws from the router’s base plate.
Using the Router Edge Guide
To use the edge guide, place the jig on the workpiece and position the router bit where you want to make the mortise. Adjust the parallel guides to the sides of the material and tighten the wing nuts. The jig will now track along the edge, ensuring a straight and accurate mortise.
Conclusion
Creating your own router edge guide is a simple and rewarding project that enhances the precision of your woodworking. This guide provides a cost-effective alternative to purchasing a commercial edge guide, allowing you to tailor the jig to your specific needs. This DIY mortising jig delivers accurate and parallel mortises. You now know how to make a router edge guide.