PowerPoint offers a variety of tools to help you precisely align objects on your slides, ensuring a professional and polished presentation. Among these, Smart Guides are a valuable feature that simplifies the process of object placement. This guide will walk you through how to effectively use Smart Guides, along with other alignment features, to move objects with precision in PowerPoint.
PowerPoint’s built-in alignment features can greatly enhance the visual appeal and clarity of your presentations. By learning how to leverage Smart Guides, grids, and other alignment tools, you can ensure that your objects are perfectly positioned, contributing to a more professional and impactful presentation.
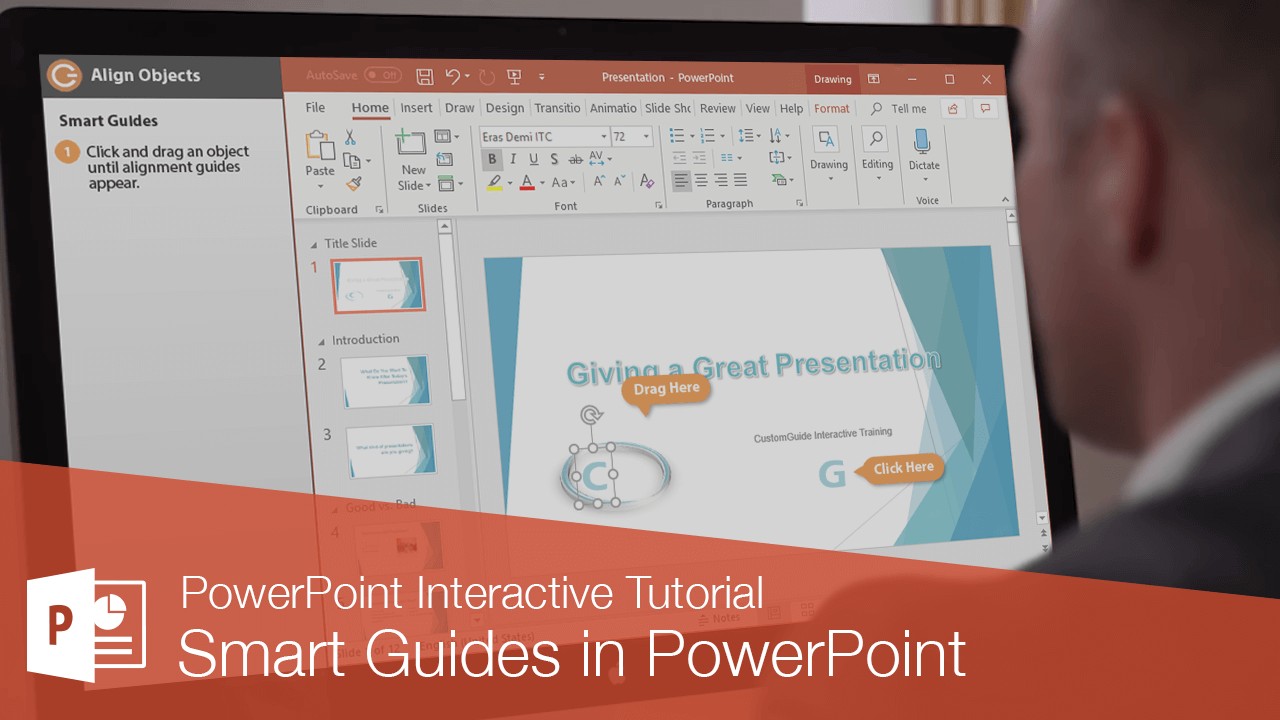
Understanding and Utilizing Smart Guides
Smart Guides are activated by default in PowerPoint. As you drag an object, these guides automatically appear when the object aligns with other elements on the slide. They provide visual cues to ensure accurate placement relative to existing objects.
-
Click and drag the object you wish to move. As you drag, pay attention to the appearance of the Smart Guides. These dashed lines indicate alignment with other objects or the slide’s center.
-
Continue dragging until the Smart Guides indicate the desired alignment. The guides will appear when the object’s edges, center, or other key points are in line with other objects or the slide’s boundaries.
Alternative Alignment Methods: Align and Distribute
Beyond Smart Guides, PowerPoint’s Align and Distribute options offer more structured control over object placement.
-
Select all the objects you want to align. You can do this by clicking on each object while holding down the Shift key.
-
Navigate to the Format tab on the PowerPoint ribbon. This tab becomes active when you have one or more objects selected.
-
Click the Align Objects button in the Arrange group. This opens a dropdown menu with various alignment options.
-
Choose an alignment option from the menu:
- Align Left: Aligns the selected objects along the left edge of the leftmost object.
- Align Center: Centers the selected objects horizontally.
- Align Right: Aligns the selected objects along the right edge of the rightmost object.
- Align Top: Aligns the selected objects along the top edge of the topmost object.
- Align Middle: Centers the selected objects vertically.
- Align Bottom: Aligns the selected objects along the bottom edge of the bottommost object.
Utilizing Gridlines for Precise Placement
Gridlines provide a visual grid overlay on your slide, similar to graph paper, to assist in drawing and positioning objects with greater precision.
-
Click the View tab on the PowerPoint ribbon.
-
In the Show group, check the Gridlines box. This will display a grid on your slide.
-
Select the object you want to move and align.
-
Click and drag the object, using the grid as a guide to position it accurately. The intersections of the gridlines can help you place objects at specific coordinates.
-
Once you’ve finished aligning the objects, uncheck the Gridlines box in the View tab to hide the grid.
Employing Guides for Flexible Alignment
Guides, unlike gridlines, are movable lines that you can position anywhere on the slide to help you align objects in a customized manner.
-
In the View tab, check the Guides box to display the default horizontal and vertical guides.
-
Click and drag the guides to reposition them according to your specific alignment needs. These guides serve as visual references for object placement.
-
Move the object you want to align, using the guides to position it correctly.
-
To create additional guides, hold the Ctrl key while clicking and dragging an existing guide. This will duplicate the guide, allowing you to set up multiple alignment points.
-
To hide the guides when you’re done, uncheck the Guides box in the View tab.
Fine-Tuning Movement with Arrow Keys
For small, incremental movements, the arrow keys provide a convenient method for nudging objects into place.
-
Select the object(s) you want to move.
-
Use the arrow keys on your keyboard to nudge the object(s) in the desired direction. Each tap of the arrow key moves the object a very small distance, allowing for precise adjustments.
Conclusion
Mastering object movement and alignment in PowerPoint is crucial for creating visually appealing and professional presentations. By understanding and utilizing Smart Guides, the Align and Distribute options, gridlines, guides, and arrow keys, you can ensure that your objects are precisely positioned, contributing to a polished and impactful presentation. Experiment with these techniques to find the methods that work best for your workflow and design preferences.