Guided Access is a handy feature on iPhones and iPads that lets you lock your device to a single app. This is useful for focus, accessibility, or limiting device usage. However, sometimes, your iPhone can get stuck in Guided Access, leaving you unable to use it normally. If you’re facing this issue, don’t panic! This guide provides several methods to restart your iPhone stuck on Guided Access and regain control of your device.
Understanding Guided Access
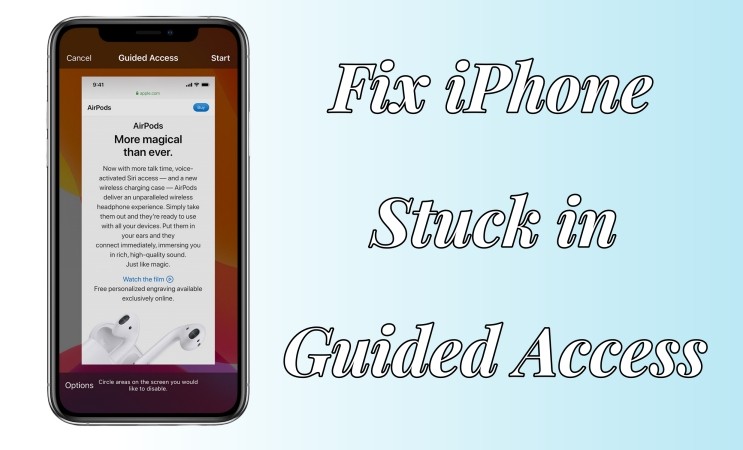
Guided Access restricts your iPhone or iPad to a single app, disabling the Home or Side button and even certain areas of the screen. It’s a great tool for focus and preventing accidental exits from an app. You typically activate it by triple-pressing the Side or Home button.
Why Your iPhone Might Be Stuck in Guided Access
Several factors can cause your iPhone to get stuck in Guided Access, including:
- Software Glitches: Temporary system errors can sometimes freeze the Guided Access mode.
- Outdated iOS: Running an older version of iOS can lead to compatibility issues and unexpected behavior.
- Accidental Activation: Unintentionally enabling and configuring Guided Access improperly can lead to a stuck state.
Methods to Restart iPhone Stuck on Guided Access
Here are several effective ways to restart your iPhone when it’s stuck in Guided Access:
1. Triple-Click the Side or Home Button
This is the most common and straightforward method to exit Guided Access.
Steps:
- Quickly triple-click the Side button (on iPhones without a Home button) or the Home button (on iPhones with a Home button).
- Enter your Guided Access passcode.
- Tap “End” in the top-left corner of the screen.
If you’ve enabled Touch ID or Face ID for Guided Access, you might be prompted to use those instead of a passcode.
2. Force Restart Your iPhone
A force restart can often resolve minor software glitches that are causing the issue. The process varies slightly depending on your iPhone model:
For iPhone 8 and later (including iPhone SE 2nd gen):
- Press and quickly release the Volume Up button.
- Press and quickly release the Volume Down button.
- Press and hold the Side button until you see the Apple logo.
For iPhone 7 and 7 Plus:
- Press and hold both the Side button and the Volume Down button simultaneously.
- Continue holding both buttons until you see the Apple logo.
For iPhone 6s and earlier (including iPhone SE 1st gen):
- Press and hold both the Home button and the Side button simultaneously.
- Continue holding both buttons until you see the Apple logo.
After the force restart, check if Guided Access is still active. If it is, try the triple-click method again.
3. Using an iOS System Repair Tool
If the above methods fail, a dedicated iOS system repair tool can often resolve more persistent issues. MagFone iOS System Recovery is a popular option known for fixing various iOS problems, including being stuck in Guided Access.
Note: While this article mentions MagFone iOS System Recovery, remember to research and choose a reputable and trustworthy system repair tool that suits your needs.
The general steps using a system repair tool typically involve:
- Downloading and installing the software on your computer.
- Connecting your iPhone to your computer via USB.
- Following the software’s instructions to put your iPhone into recovery mode.
- Downloading the appropriate firmware for your device.
- Initiating the repair process.
4. Restore Your iPhone with iTunes or Finder
Restoring your iPhone to its factory settings using iTunes (on older macOS versions) or Finder (on newer macOS versions) is a more drastic solution, but it can be effective if other methods fail. Important: This will erase all data on your iPhone, so ensure you have a recent backup before proceeding.
Steps:
- Connect your iPhone to your computer via USB.
- Open iTunes or Finder.
- Put your iPhone into recovery mode (the process varies by model, so search online for specific instructions for your device).
- iTunes or Finder will detect your iPhone in recovery mode and prompt you to restore it.
- Follow the on-screen instructions to restore your iPhone.
5. Erase iPhone Remotely via Find My
If you have Find My iPhone enabled, you can remotely erase your device, which will remove Guided Access.
Steps:
- On another Apple device or computer, go to iCloud.com and sign in with your Apple ID.
- Click on “Find iPhone” or “Find Devices.”
- Select your iPhone from the list of devices.
- Click “Erase iPhone.”
- Follow the on-screen instructions to erase your device.
Disabling Guided Access After Restarting
Once you’ve successfully restarted your iPhone and exited Guided Access, it’s a good idea to disable the feature (or adjust its settings) to prevent future issues.
Steps:
- Go to Settings > Accessibility.
- Scroll down and tap Guided Access.
- Toggle the Guided Access switch to the “Off” position.
Conclusion
Getting your iPhone stuck in Guided Access can be frustrating, but with the methods outlined in this guide, you should be able to successfully restart your device and regain control. Remember to back up your iPhone regularly to minimize data loss in case a more drastic solution is required. By understanding the causes and solutions, you can confidently troubleshoot this issue and continue enjoying your iPhone.