
Antique sash windows, with their divided lites and weighted sashes, add character and history to any building. However, they can also be an energy drain compared to modern replacements. If you’re committed to preserving these beautiful windows, this guide offers a detailed, step-by-step approach to restoring them, ensuring they last for generations.
Restoring a window sash, especially one that’s a century old, is a meticulous process. It involves removing old glazing putty and glass, stripping the frame to bare wood, making necessary repairs, priming, reinstalling the glass and glazing, and finally, applying protective coats of paint. While no single step is overly complex, the process requires patience and attention to detail, with significant downtime between stages.
Understanding the Timeline and Necessary Preparations
Before diving in, it’s important to understand the timeline involved. For instance, steaming to soften putty allows for easier glass removal, but it also softens the wood, requiring a 24-hour drying period before scraping. Epoxy repairs need another 24 hours to cure before sanding, and glazing putty requires approximately two weeks before it’s ready for painting. This extended timeframe necessitates a plan for temporarily closing window openings. A secure and convenient method involves using strips of 7/16-inch OSB fit into the parting-bead groove, along with a larger piece to fill the opening, secured with drywall screws.
Safety First: Lead Paint Considerations
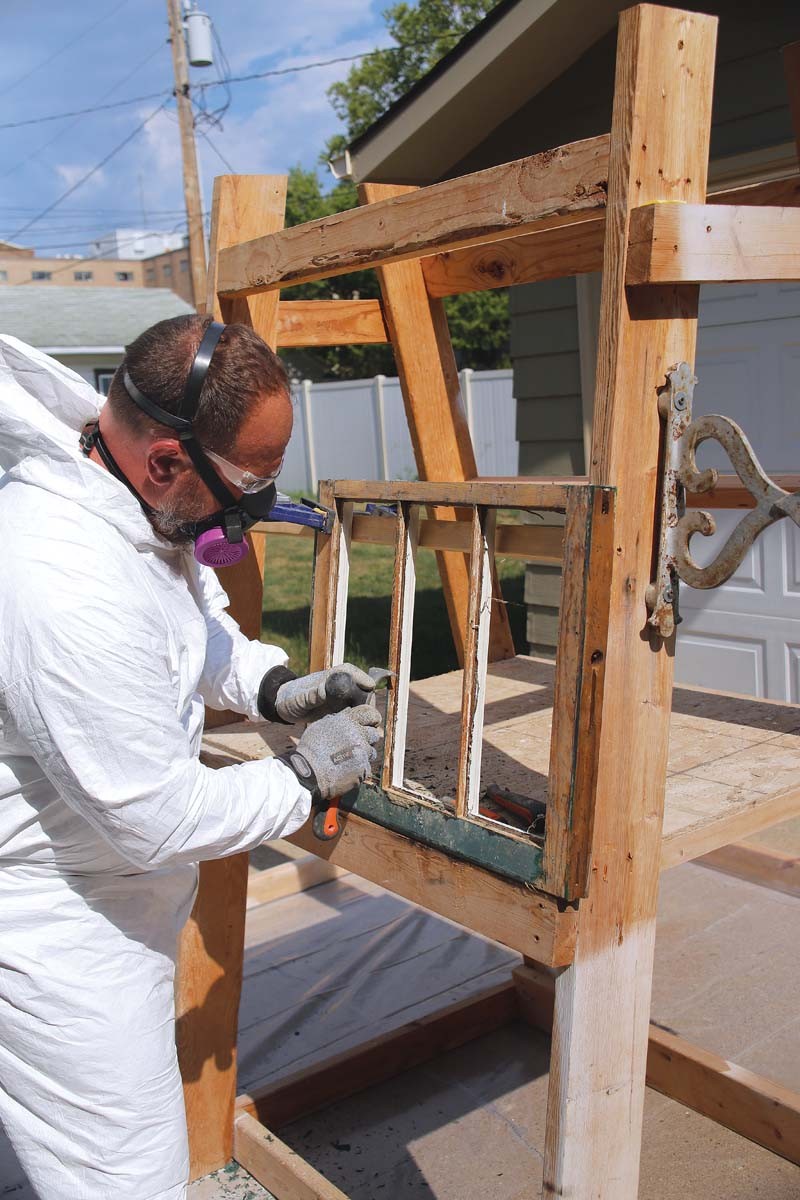
If your home was built before 1978, there’s a high probability of lead paint being present on the window sashes. It’s crucial to take appropriate safety measures. The EPA’s Renovation, Repair, and Painting (RRP) program provides detailed guidelines, which are mandatory when working on a client’s home. Even for personal projects, testing for lead paint is recommended. When working with lead paint, always use precautions such as closing off the work area, using a HEPA-filtered shop vacuum, wearing a Tyvek suit, gloves, and a respirator, and misting the sashes to minimize dust. And always prime the sashes with an oil-based primer safely, in a well-ventilated area and with a proper respirator.
Not every old window is salvageable. Sometimes, replacement is the most sensible option. However, if you decide to restore yours, do it right.
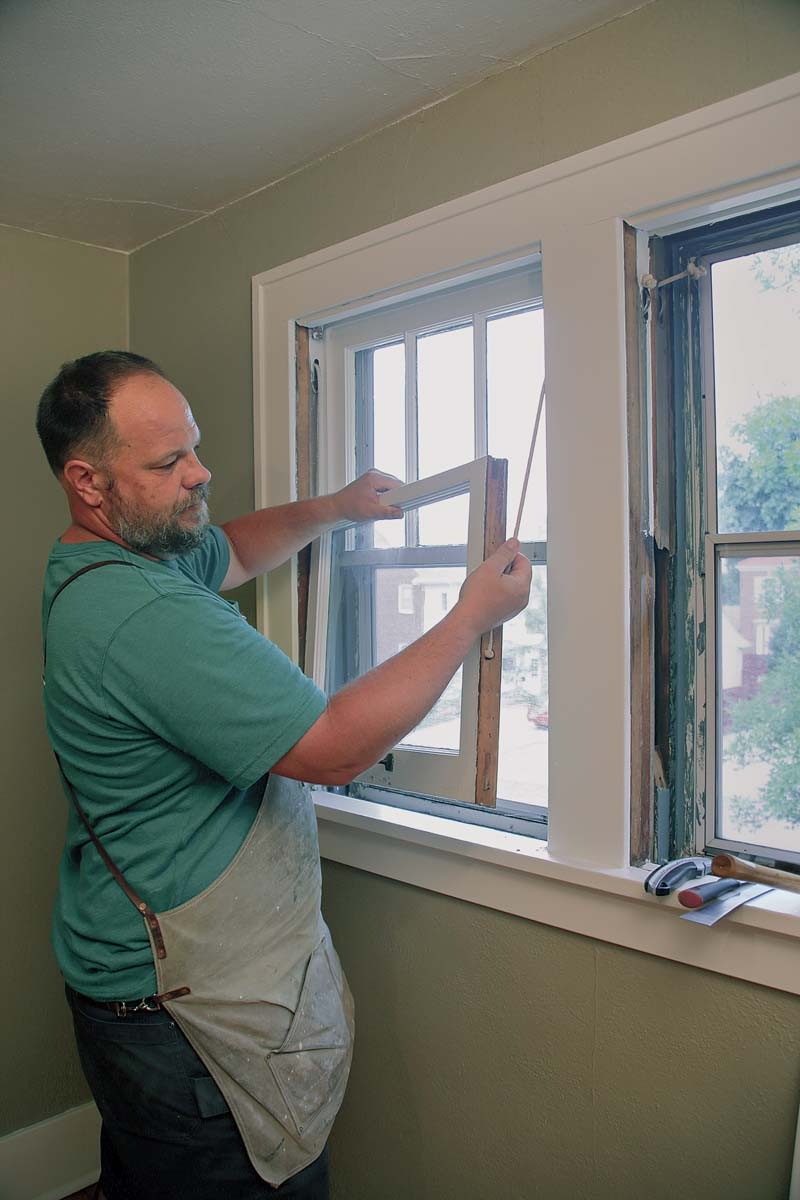
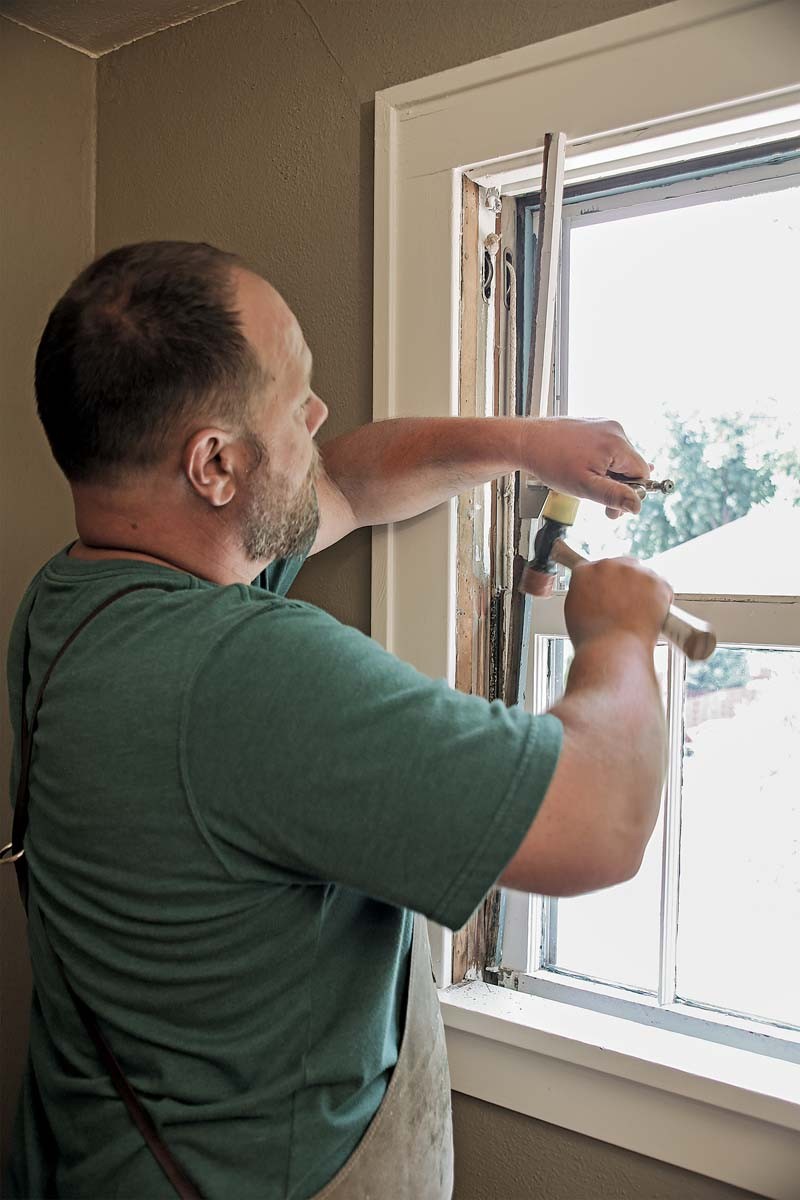
Step 1: Removing the Sash with Care
Old weighted-sash wood windows were designed for disassembly and repair. Understanding their construction is crucial. However, avoid assuming parts are interchangeable between windows. Label every piece as you remove it to ensure correct reinstallation.


Step 2: Steaming the Sash for Glass Removal
A steam box softens the old glazing putty, making glass removal safer.
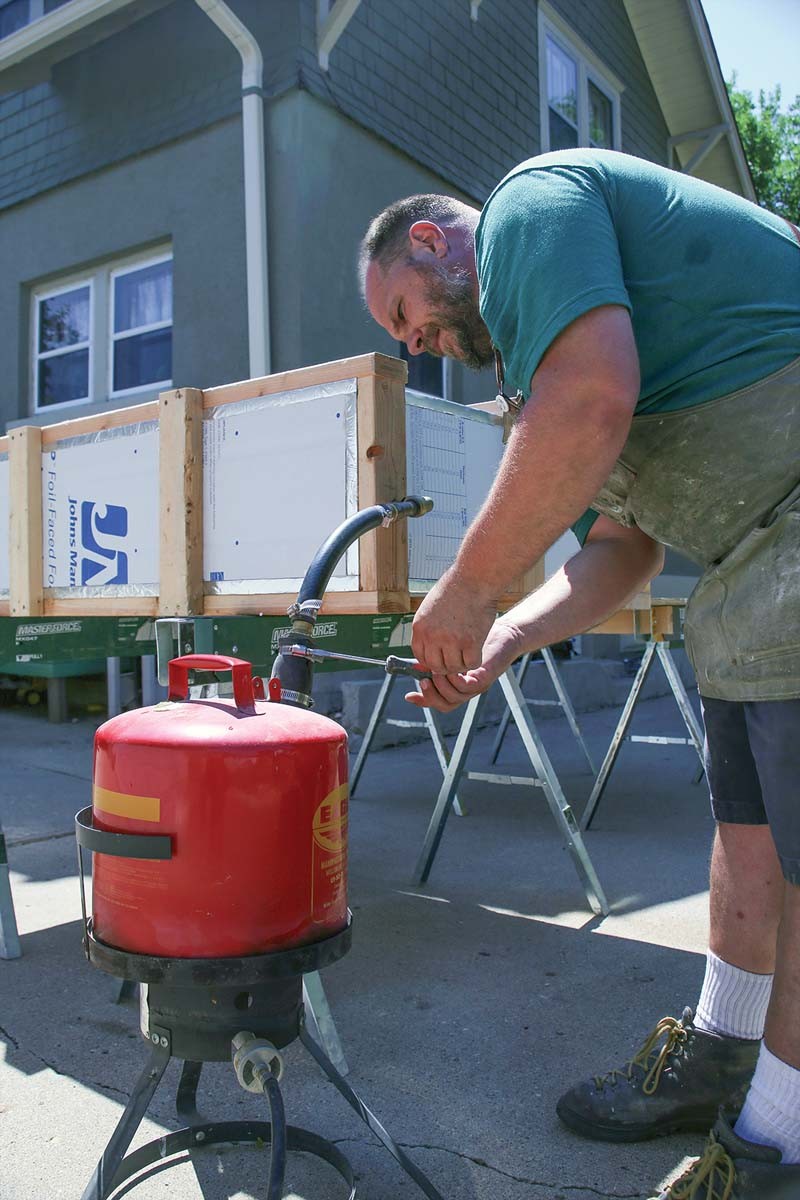
- Build a Simple Steam Box: A steam box is a helpful tool. The design creates steam by heating water in a metal gas can (that has never held gasoline!) set on a propane-fired turkey fryer. Steam enters the box through a common rubber hose and is distributed evenly inside through copper pipe drilled with holes. The box itself is foil-faced rigid foam seams caulked with fire-rated silicone with a wood frame for durability.
- To prevent thermal shock, either place the sash in the steam box before turning it on, or leave the door ajar for a few minutes to preheat the sash. Place the sash with the outside facing up to prevent the glass from falling out as the putty softens (typically 45 minutes to an hour).
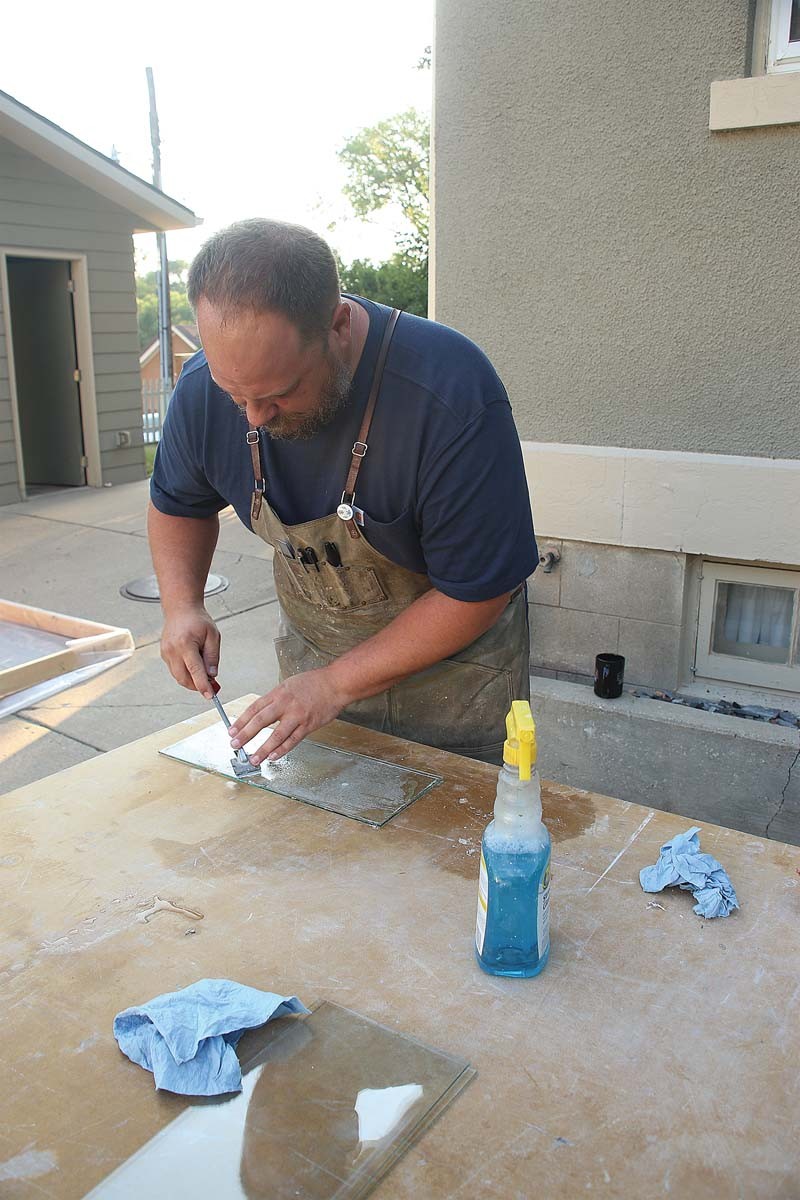
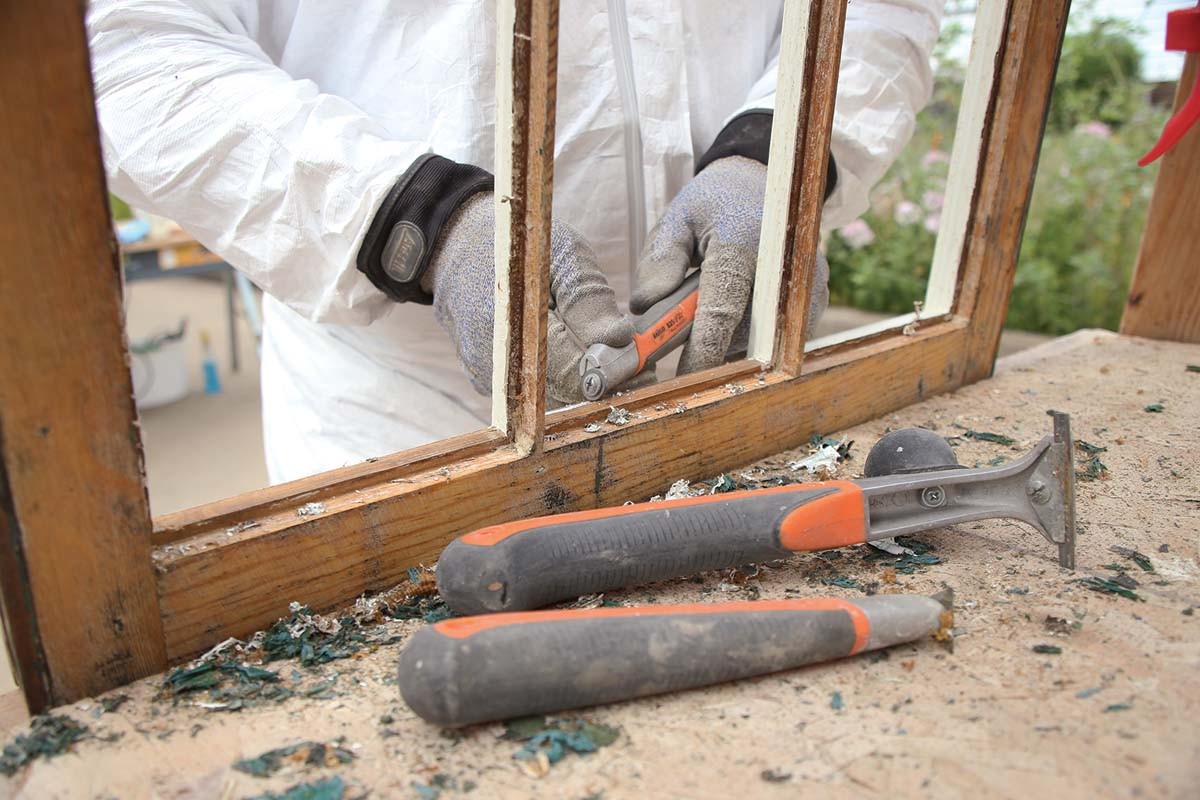
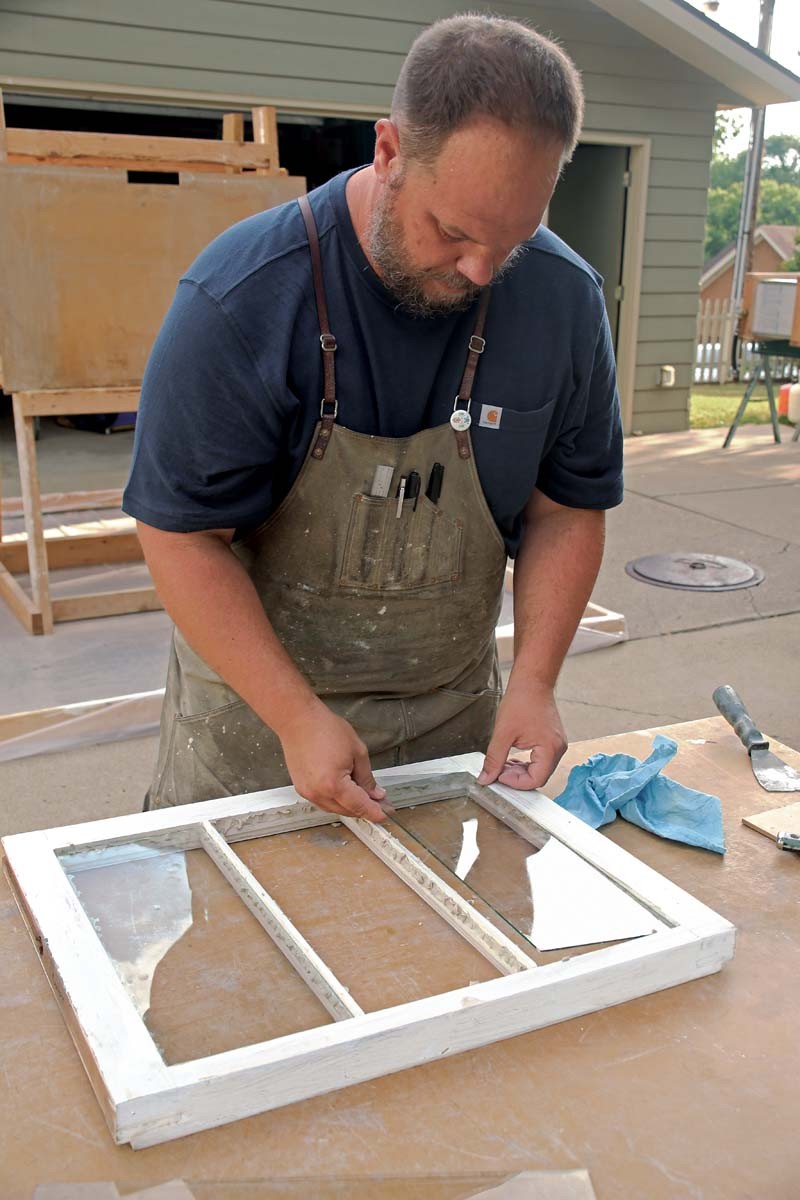
- Clean the Glass: Use glass cleaner and new razor blades. Label each pane of glass, as they are often irregular and will only fit their original openings properly.
| 4. Clean The Glass With the glass removed, you have access to its edges and corners. So, now is a good time to clean it up. Use glass cleaner and new razor blades. Old or jagged blades can scrape the glass, so change blades often. Once clean, label the glass with a piece of tape. The panes tend to be irregular and will likely only properly fit the opening they came from. | |
Step 3: Scraping, Repairing, and Priming the Sash
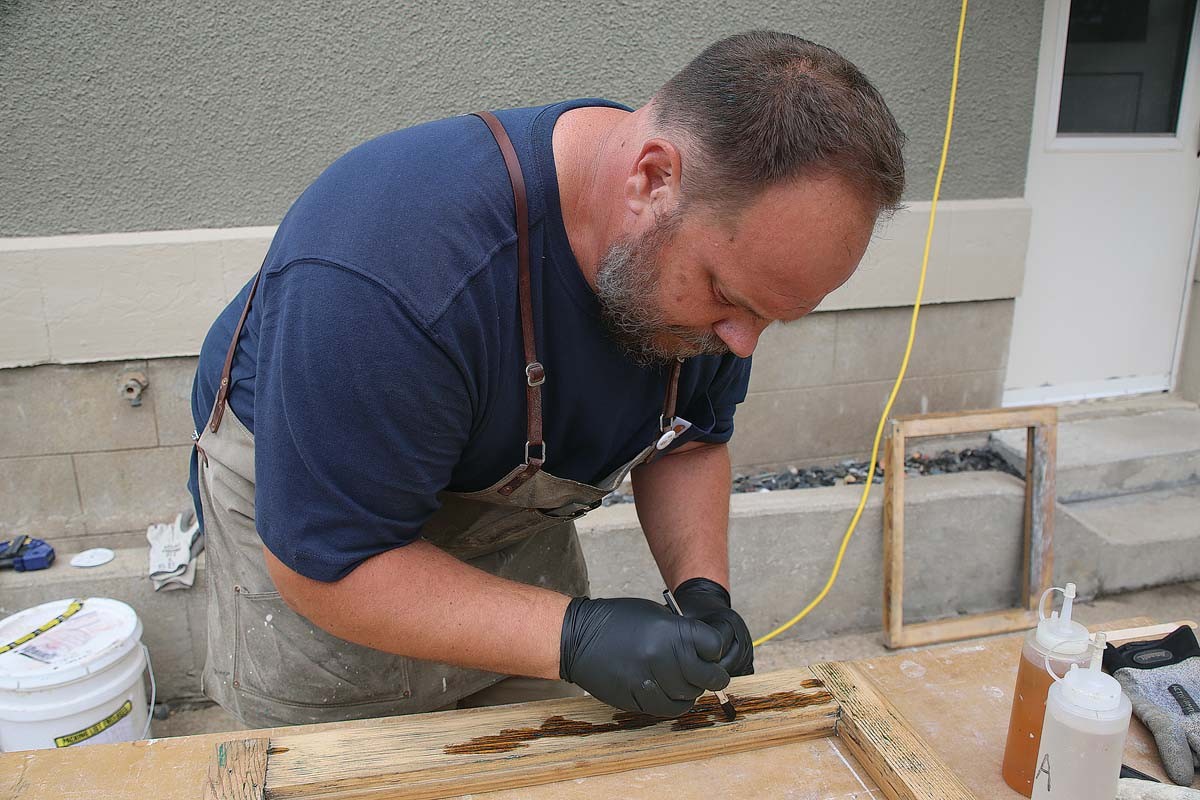
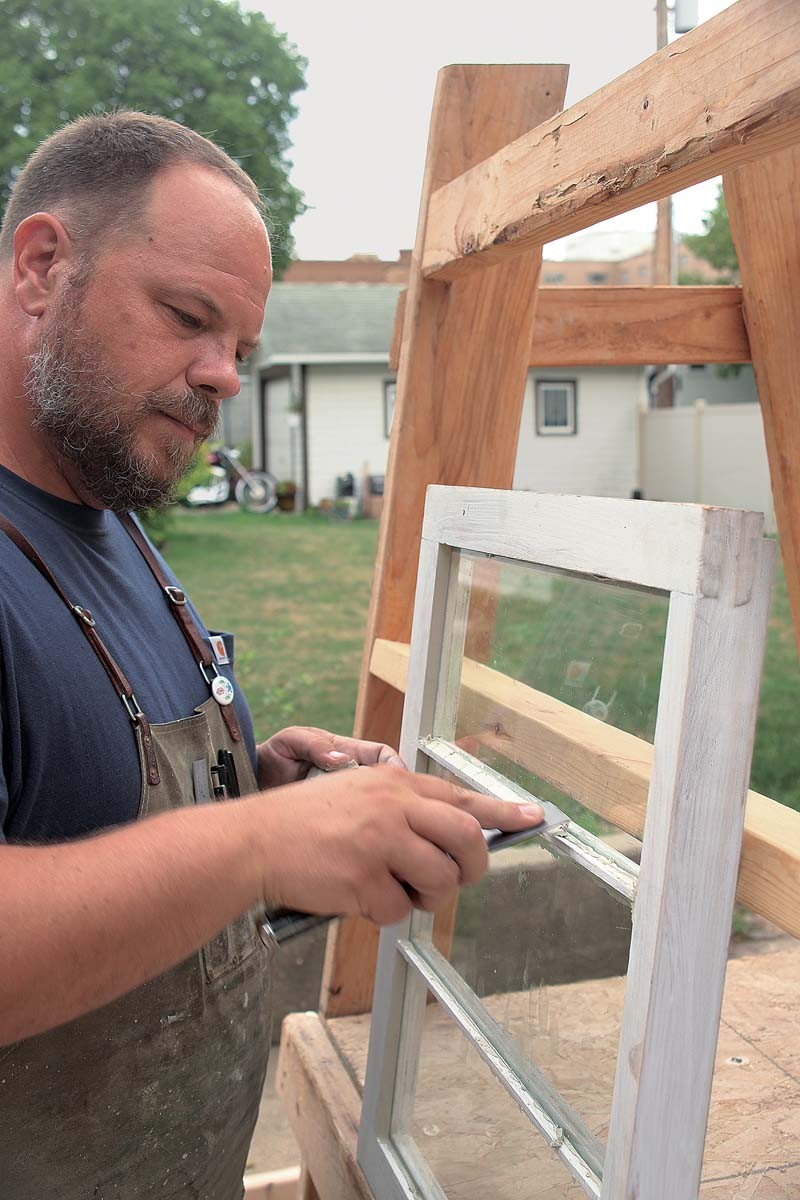
After steaming, let the sash dry for about 24 hours. Scrape the wood down to bare wood to prepare it for repairs.
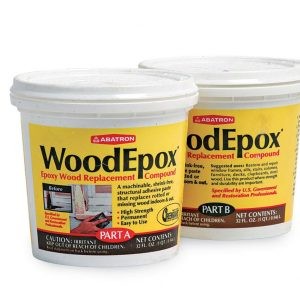
- Clean out any rot, paint, dust, or debris from the areas to be repaired. Apply LiquidWood epoxy liberally to the damaged areas, allowing it to penetrate the wood.
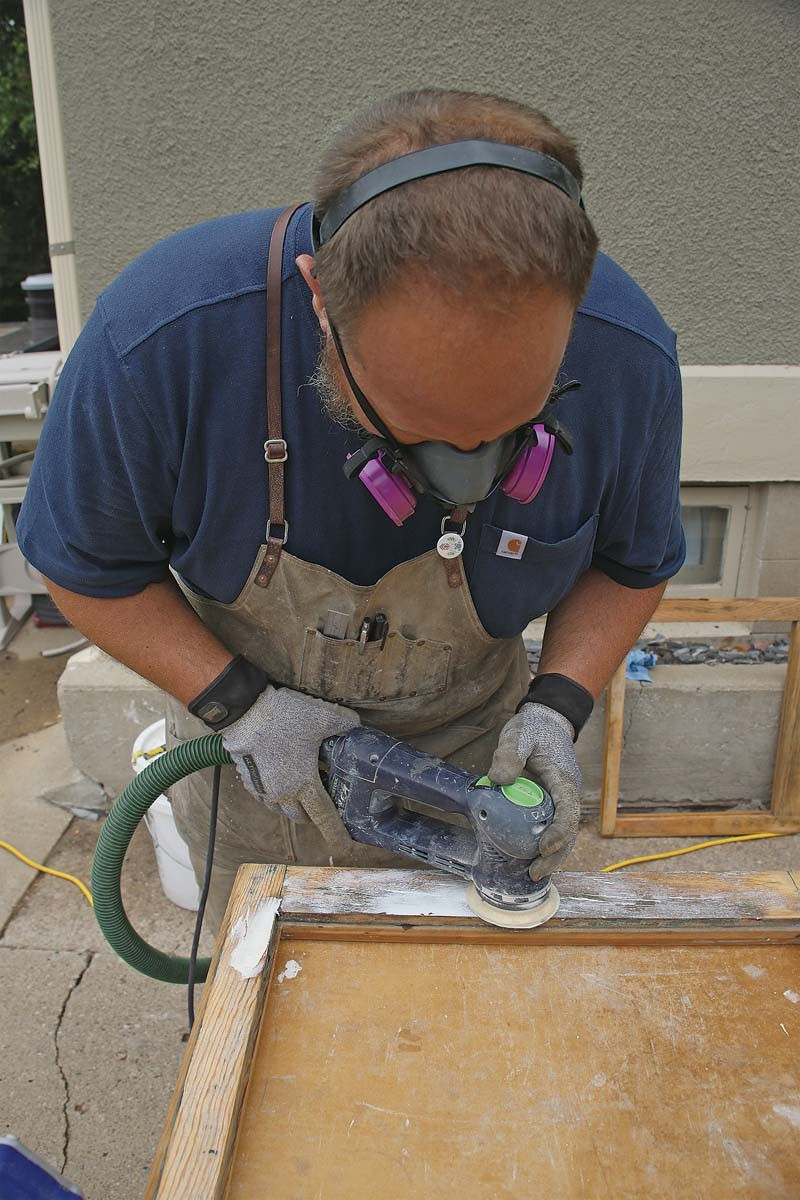
- Fill the damaged areas with WoodEpox, and let the epoxy set for about 24 hours. Sand it smooth with an orbital sander to prepare it for primer.
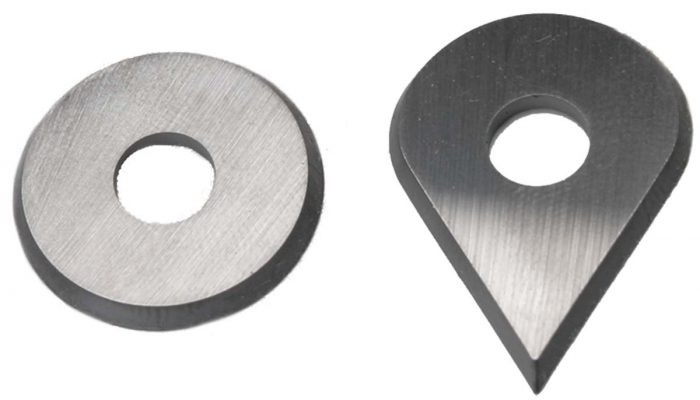
Using the right tools, such as an easel, Bahco scrapers, and Abatron epoxy products, will help get the job done quickly and efficiently.
| 1-in. Bahco Ergonomic Carbide Scraper |
|—|—|
| Drop-Shaped Replacement Blades |
|---|
| Abatron Epoxy Products |
|—|—|
Step 4: Reinstalling the Glass
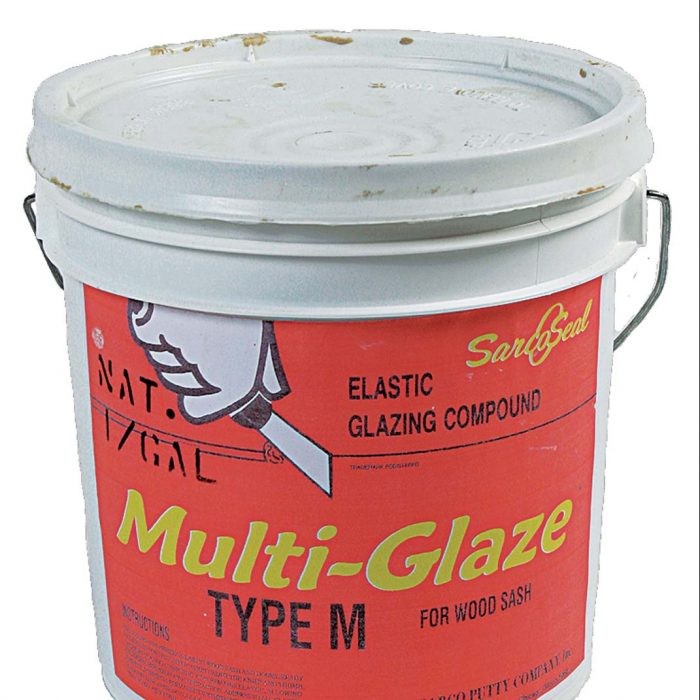
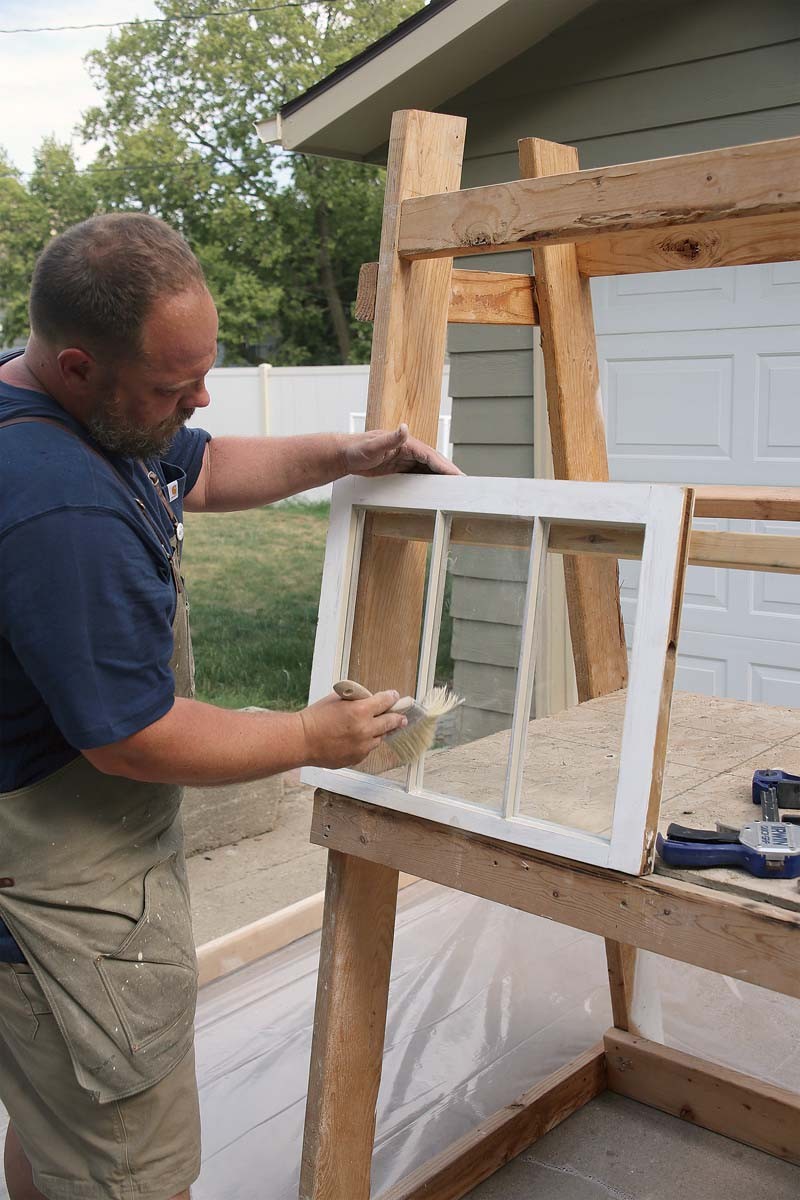
After coating the sash with oil-based primer, it’s time to reinstall the glass, bedding it in glazing putty.
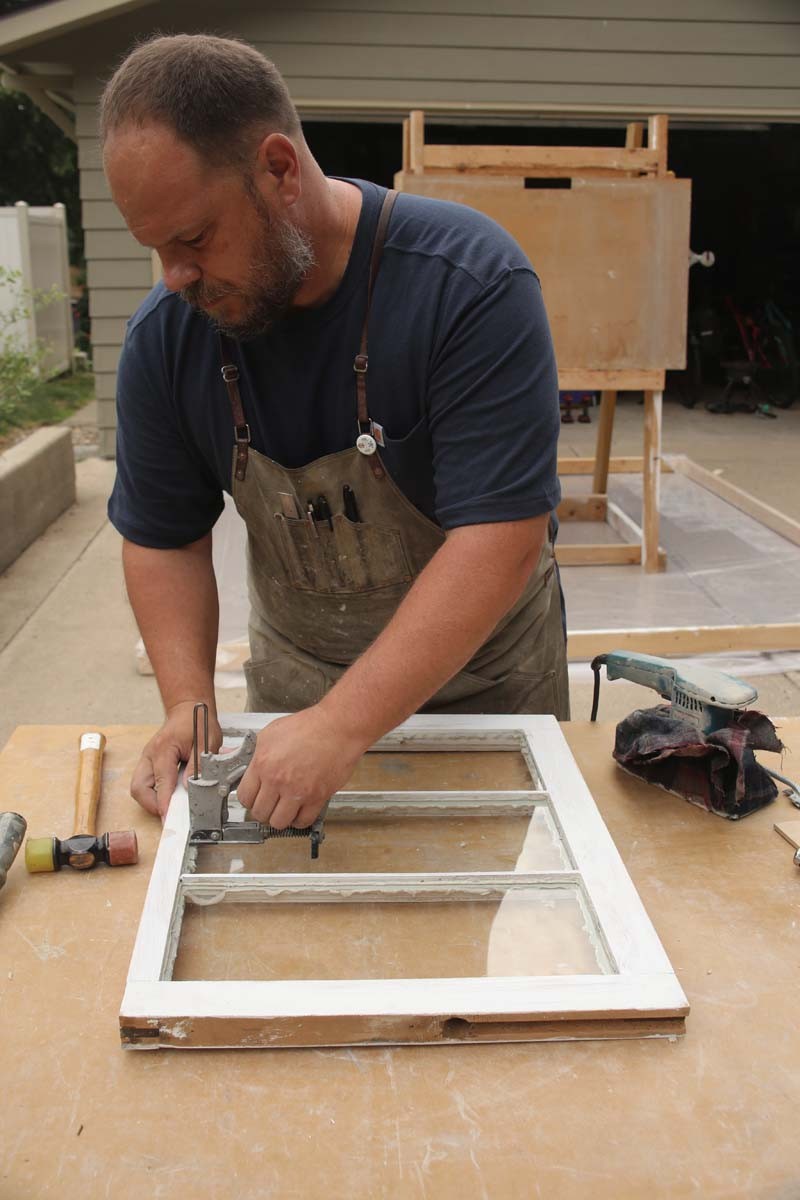
- Knead the putty to an even consistency, mixing in extra chalk as needed to achieve a tacky but workable texture. Apply a thin layer of glazing putty into the glazing rabbet before inserting the glass. Use a palm sander with a soft cloth wrapping the base to vibrate the glass into place. Flip the sash over and scrape away any squeeze-out with a putty knife.
- Secure the glass using glazing points. If they don’t fully penetrate, tap them in by hand.
Step 5: Glazing and Finishing
Tool the glazing to slope away from the glass, matching the size of the rabbet.
- Glaze the top of each pane, then both sides, and finally the bottom. Brush the glass with chalk to remove any oil residue from the glazing putty.
| 1. Upside Down First, glaze the top of each pane. | 2. Sideways Next, glaze both sides of each pane. |
|---|---|
| 3. Right-Side Up Finally, glaze the bottom of each pane. | 4. Clean The Glass Again Brush the glass with chalk to remove any oil residue from the glazing putty. |
|---|---|
Allow the glazing to set for two weeks before painting, and wax the sides of the sash before reinstalling.
Restoring antique sash windows is a time-consuming but rewarding endeavor. By following these steps, you can preserve the beauty and history of your windows while improving their functionality for years to come.