Ever wondered how to create custom guides in Adobe Illustrator from intricate shapes? It’s simpler than you might think! This guide will walk you through the process of transforming any vector shape into a guide, enhancing your design workflow and precision.
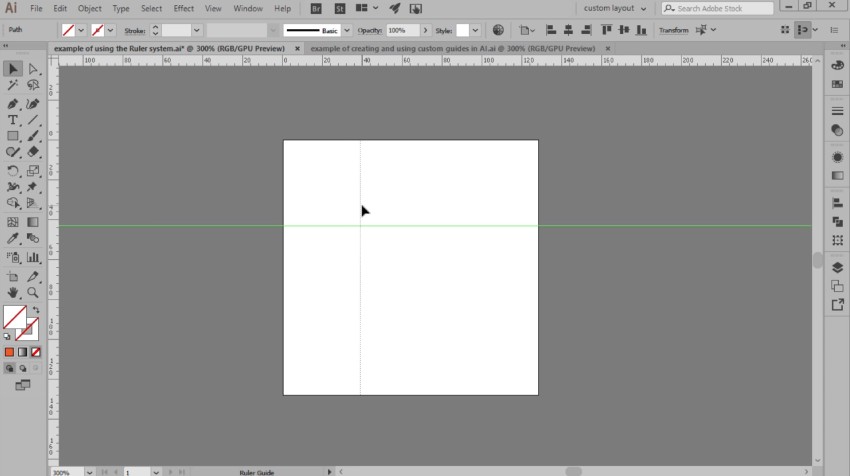
By default, Illustrator offers a built-in Ruler system, easily accessible using the Control-R keyboard shortcut. This feature allows you to create horizontal and vertical guidelines by clicking and dragging from the rulers, providing snapping points for your shapes.
However, the real power lies in Illustrator’s ability to convert any vector shape into a guide. This opens up a world of possibilities, allowing you to create complex guide systems tailored to your specific design needs. Whether you’re working on intricate patterns, isometric grids, or unique layouts, custom guides can significantly improve your accuracy and efficiency.
Transforming Shapes into Guides: A Step-by-Step Approach
Let’s delve into the process of converting shapes into guides. Imagine you’ve designed a custom grid system using basic geometric shapes and strokes, intended for creating a set of custom icons.
Here’s how to turn those shapes into a usable guide:
-
Select the Shapes: Begin by selecting all the shapes you want to convert into guides. You can use the Selection Tool (V) to click and drag a selection box around the shapes, or hold down the Shift key while clicking on each individual shape.
-
Access the “Make Guides” Option: There are two main ways to access the “Make Guides” command:
- Using the Menu: Navigate to the View menu, then select Guides, and finally click on Make Guides. (View > Guides > Make Guides)
- Using the Right-Click Menu: Right-click directly on the selected shapes. In the context menu that appears, choose Make Guides.
-
Confirmation: Upon selecting “Make Guides,” your selected shapes will instantly transform into non-printing guide lines. They’ll adopt the default guide color (light blue, unless customized in Preferences) and become part of your document’s guide system.
Locking and Utilizing Your Custom Guides
Once your shapes are converted into guides, it’s highly recommended to lock them in place. This prevents accidental movement or modification while you’re working on your artwork.
To lock your guides, go to View > Guides > Lock Guides. Alternatively, you can right-click on the artboard and choose Lock Guides from the context menu. With the guides locked, you can confidently use them as reference points for aligning and drawing your artwork. Shapes will snap to these guides, ensuring precision and consistency in your designs.
Key Considerations and Tips
-
Vector Shapes Only: Remember that only vector shapes can be converted into guides. Raster images or placed files will not work.
-
Compound Paths: If you’re using complex shapes with holes or cutouts, ensure they are converted to compound paths (Object > Compound Path > Make) before turning them into guides.
-
Customizing Guide Appearance: You can customize the appearance of your guides (color, style) in Illustrator’s Preferences (Edit > Preferences > Guides & Grid).
-
Releasing Guides: If you need to edit the shapes that make up your guides, you can release them back into editable vector objects by selecting them and going to View > Guides > Release Guides.
Conclusion
Turning shapes into guides in Illustrator empowers you to create highly customized and precise design layouts. By mastering this technique, you’ll unlock new levels of control and efficiency in your workflow. Experiment with different shapes and grid systems to discover the endless possibilities of custom guides in Illustrator.