Guided Access is a powerful feature on iOS devices (iPhone, iPad, and iPod touch) that restricts the device to a single app and allows you to control which features are available. This is particularly useful when you want to lend your device to a child, prevent accidental gestures from interrupting your activity, or create a focused environment. This guide will explore How To Turn In Guided Access, set it up, control its features, and troubleshoot common issues.
Setting Up Guided Access
Before you can utilize Guided Access, you need to enable it in your device’s settings:
- Navigate to Settings > Accessibility.
- Scroll down and locate Guided Access, then toggle it on.
- Tap Passcode Settings, and then tap Set Guided Access Passcode.
- Enter a passcode, and then re-enter it to confirm. This passcode will be required to end the Guided Access session.
- Optionally, you can enable Face ID or Touch ID as an alternative method to end a Guided Access session.
Starting a Guided Access Session
Once Guided Access is set up, you can easily start a session within any app:
- Open the application you wish to lock the device into.
- Activate Guided Access by triple-clicking the Side button (on iPhone X and later) or the Home button (on iPhone 8 and earlier).
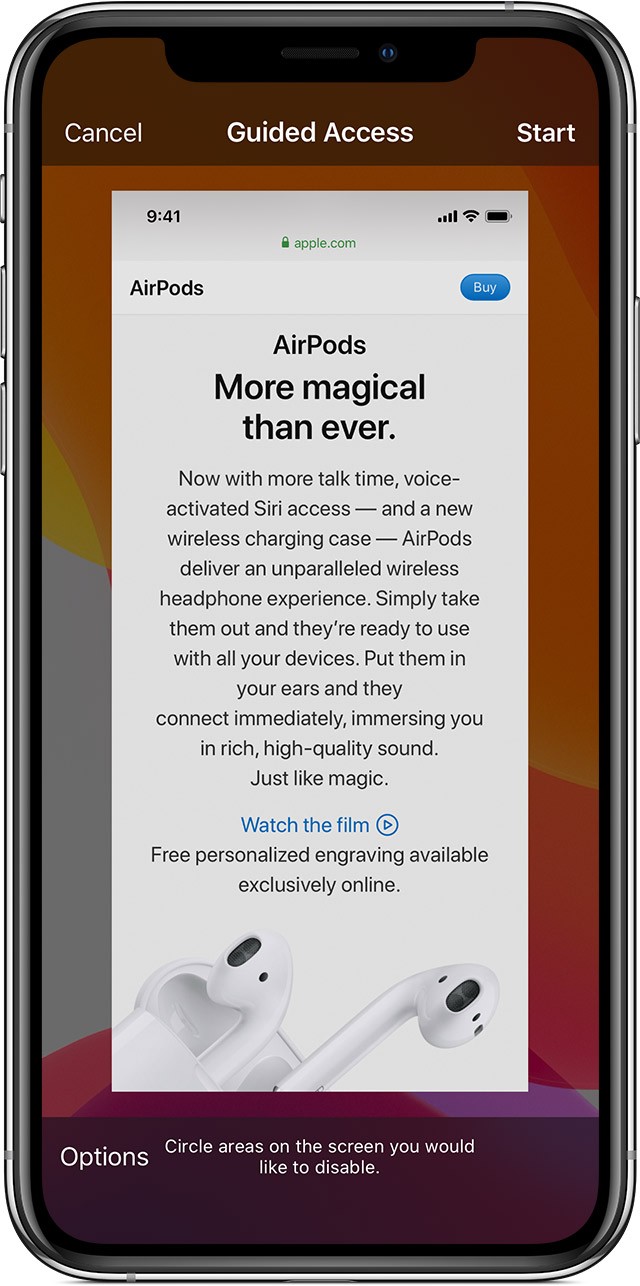
- To disable specific areas of the screen from responding to touch, use one finger to draw circles around those areas. You can adjust the size and position of these circles, or tap the “X” to remove them.
- Tap Guided Access in the menu that appears, and then tap Start to begin the session.
 Guided Access settings showing Safari highlighted
Alternatively, you can use Siri to initiate a Guided Access session. Simply open the desired app and say, “Turn on Guided Access.” Note that Siri features may vary depending on your country or region.
Controlling Available Features During Guided Access
Guided Access allows you to fine-tune which features are accessible during a session. To adjust these options:
- Triple-click the Side or Home button.
- Tap Options. If you don’t see “Options,” triple-click the Side or Home button again and enter your passcode.
- Toggle the desired options on or off, and then tap Done.
Here’s a breakdown of the available options:
-
Sleep/Wake Button: Disable this to prevent the device from being put to sleep or turned off.
-
Volume Buttons: Turn this off to disable volume adjustments.
-
Motion: Limit the device’s response to motion, preventing screen rotation or response to shaking.
-
Keyboards: Disable the keyboard from appearing.
-
Touch: Disable all touch input on the screen.
-
Dictionary Lookup: Enable or disable the “Look Up” feature for selected text.
-
Time Limit: Set a time limit for the Guided Access session.
Ending a Guided Access Session
To exit a Guided Access session:
- Triple-click the Side or Home button.
- Enter your Guided Access passcode.
- Tap End.
If you’ve enabled Touch ID or Face ID for Guided Access, you can alternatively double-click the Side or Home button and authenticate using biometrics.
By understanding how to set up, start, control, and end Guided Access sessions, you can effectively manage device usage and create focused, distraction-free environments on your iPhone, iPad, or iPod touch.
