Salvation’s Edge raid guide by conduct.edu.vn is your comprehensive solution to mastering Destiny 2: The Final Shape’s ultimate challenge. Discover strategies, mechanics, and encounter breakdowns, ensuring your Fireteam emerges victorious. This guide offers critical insights and tactical advice for triumph, offering crucial insight and tactical advice for success in this endgame activity.
Table of Contents
- Understanding Salvation’s Edge Raid
- Essential Mechanics: Charging Plates, Resonance, and Conduits
- Substratum: Navigating the Opening Encounter
- Dissipation: Defeating Taniks, the Herald of Finality
- Repository: Opening the Path Through the Monolith
- Verity: Dissecting and Moving Shapes
- The Witness: How to Beat the Final Boss
- FAQ: Mastering Salvation’s Edge
1. Understanding Salvation’s Edge Raid
Salvation’s Edge represents the pinnacle raid experience in Destiny 2’s The Final Shape expansion. This raid propels Guardians into the heart of The Witness’ Monolith within the Pale Heart of The Traveler, demanding strategic coordination, mechanical proficiency, and unwavering teamwork. The raid requires mastery of energy manipulation, familiar foe confrontations, and intricate geometric puzzles to ultimately vanquish The Witness.
The recommended Power level for Salvation’s Edge is 1945, but the Fireteam Power system allows for flexibility, ensuring accessibility for teams with at least one member at 1950 Power or higher. Moreover, commencing the raid necessitates at least one Fireteam member’s completion of both the campaign and the “Wild Card” quest.
This guide provides a detailed walkthrough of every facet of the Salvation’s Edge raid, including encounter strategies, secret chest locations, and tactics for the final boss fight against The Witness. For Guardians seeking additional challenges and rewards, refer to the Salvation’s Edge raid challenge guide for insights into bonus objectives and loot acquisition. This activity is a complex encounter, demanding both individual skill and strategic play, this article will help you navigate.
2. Essential Mechanics: Charging Plates, Resonance, and Conduits
Before diving into encounter-specific strategies, understanding the fundamental mechanics governing the first three encounters—Substratum, Dissipation, and Repository—is crucial. While Verity and The Witness boss fight introduce distinct mechanics, a solid grasp of charging plates, Resonance, and conduits forms the foundation for success.
These encounters revolve around charging plates, wires, Resonance, and conduits, all working synergistically. Mastery of each element is essential for progressing through the raid and overcoming the challenges within The Witness’ Monolith.
2.1. How to Activate Charging Plates and Wires
Each encounter features three to four pairs of plates interconnected by wires. Activating these plates involves unblocking them, typically by defeating boss enemies. Upon unblocking, one plate begins to glow, indicating its readiness to transmit energy.
Guardians must step onto the glowing plate to initiate energy transfer to its paired plate via the wire. Subsequently, another Guardian must step onto the receiving plate after the energy arrives and before it dissipates. Timing is critical, as successful activation spawns Resonance nearby.
2.2. How to Create Resonance Pickups
Resonance buffs, denoted by specific shapes, play a central role in Salvation’s Edge. Throughout the raid, Guardians utilize Resonance for various purposes, including conduit activation and time extension during encounters.
In the initial encounter, Resonance spawns exclusively in the form of triangles, known as Pyramidal Resonance. Encounter two introduces Spherical Resonance, shaped like circles, while encounter three adds Hexahedron Resonance, represented by squares. These buffs not only facilitate conduit activation but also enable Guardians to regain time and progress through each phase.
2.3. How to Activate Conduits
Charging plates often have conduits positioned nearby, which can be either active or dormant. Dormant conduits require energy supply to awaken, mirroring the process of activating the corresponding plate.
Once a conduit is active, it displays a shape—triangle, circle, or square—indicating the type of Resonance needed for activation. Activating multiple conduits spawns the Resonance bank, an essential element for advancing to the next phase of the fight. The mechanics surrounding these conduits may seem difficult, but with a little teamwork you can accomplish the goal.
The process of activating a conduit involves several steps:
- A Fireteam member steps on the plate opposite the conduit, initiating energy transfer to the conduit plate.
- A Guardian with the appropriate Resonance shape buff shoots the conduit.
- Upon energy arrival, a player steps on the plate near the conduit to lock it in place.
Successful activation expands the conduit, causing it to emit a bright gold glow. However, the player who shot the conduit loses one stack of Resonance, and all Resonance created by that plate pair disappears. Coordination is key, ensuring teammates collect excess Resonance before conduit locking.
2.4. How to Stop and Reset the Timer
Each encounter features a timer displayed at the top of the screen. Failure to complete the encounter before the timer expires results in death and a reset.
To mitigate this, Guardians must extend or reset the timer using the Resonance bank. After spawning the bank, excess Radiance collected before locking conduits is deposited into it, adding time to the clock. Strategic Resonance management is essential for progressing through encounters efficiently.
3. Substratum: Navigating the Opening Encounter
Substratum unfolds within a 9×9 grid, with each grid representing a distinct room. The encounter challenges Fireteams to navigate the maze-like structure, collect Resonance, and bank it to unlock the rest of The Witness’ Monolith.
At the center of the room, a triangle (Resonance) floats above the ground. Collecting it and depositing it into the nearby bank triggers the appearance of one of The Witness’ hands in the central room. Simultaneously, two random doors open, and Vex Supplicants flood into the area.
3.1. Clearing the Rooms and Opening Doors
Divide the Fireteam into two groups of three, assigning a lead player to each team. Coordinate movement and enemy engagement as each team navigates through the rooms.
The first room contains standard Vex enemies. Clear them swiftly and proceed to the next open room, where a Quantum Minotaur awaits alongside additional Vex. Upon the Minotaur’s defeat, it dispatches a Vex Hydra to the other team’s second room, and vice versa. Eliminating the Vex Hydras unlocks doors for teammates, facilitating traversal through the grid.
3.2. Eliminating Champions and Tormentors
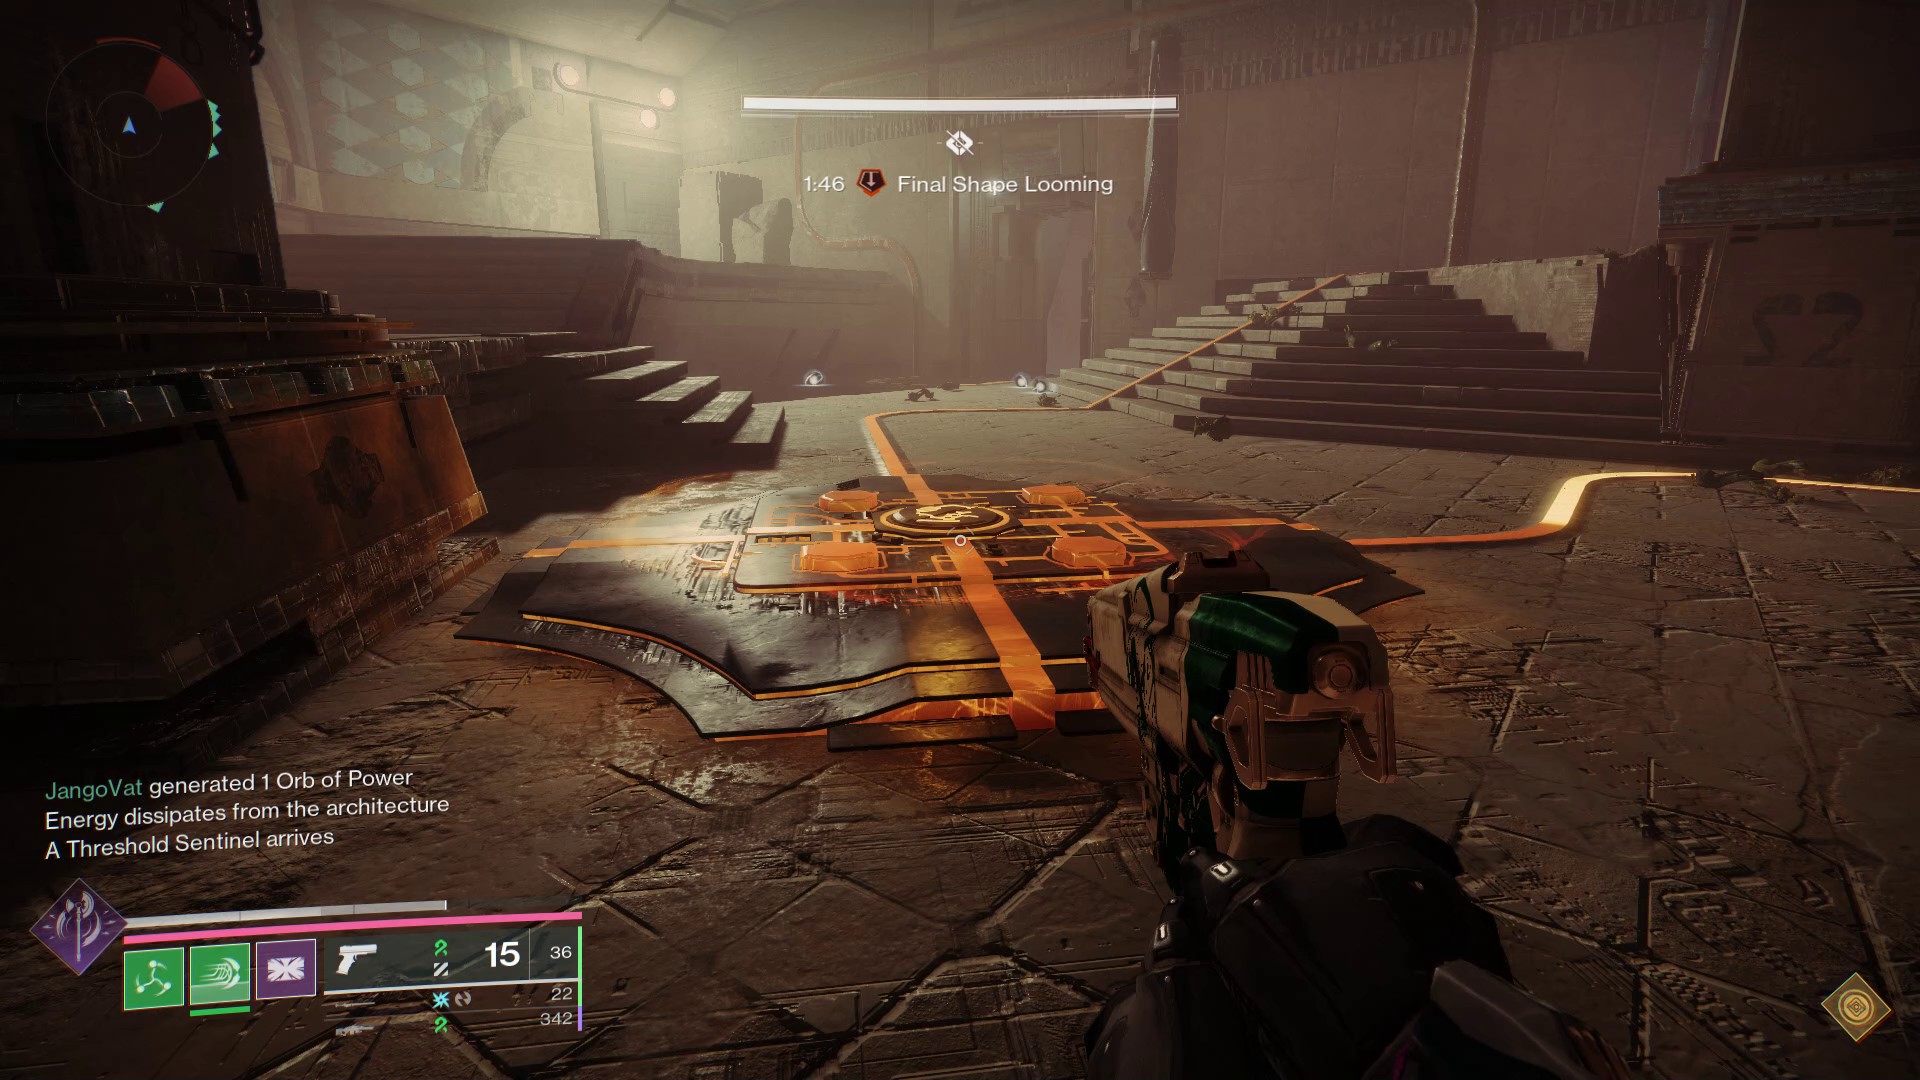
In the third room, one team encounters an Overload Minotaur Champion known as the Devotee of the Witness. Defeating the Champion spawns a Tormentor in the central room, designated as the Threshold Sentinel. The entire Fireteam converges in the central room to eliminate the Tormentor.
Upon the Tormentor’s demise, a prompt indicates “energy flows into the architecture,” signaling the activation of one of the two plate pairs and conduits required for Resonance generation.
3.3. Charging the Conduits
Repeat the initial process, dispatching teams into the newly opened doors while managing Supplicants. One team eventually encounters an open conduit or lit-up plate. The team with the charged plate and open conduit initiates energy bouncing and Resonance generation, while the other team focuses on enemy elimination.
While one team generates Resonance, the other returns to the middle to defeat the second Tormentor, charging the remaining conduit-and-plate pair. Subsequently, that team also engages in Resonance generation.
3.4. Resonance Generation and Banking
As Resonance is generated, it appears both in individual rooms and within the central chamber. Plate players maintain energy bouncing until the prompt indicating “all the Resonance has been spawned” appears or the timer nears expiration. Non-plate players collect Resonance from the central chamber and assist plate players when Subjugators appear in their rooms.
With preparations complete, teams channel energy through the wires and lock both conduits by shooting them with Resonance and stepping on the nearby plate once it’s been filled with energy.
3.5. Encounter Completion
Successful conduit locking triggers the appearance of a Subjugator in the central room. The Fireteam collaborates to eliminate it, spawning the Resonance bank. Depositing Resonance extends the timer, ideally granting up to four minutes and 15 seconds.
Repeat this entire process three times. Upon completion, a massive staircase descends from the ceiling in the main room, signaling the encounter’s end. Ascend the staircase to proceed to the raid’s first boss.
4. Dissipation: Defeating Taniks, the Herald of Finality
The first boss fight pits Guardians against the Herald of Finality, also known as Taniks. This encounter takes place in close quarters, favoring sword-based loadouts.
The Lament or Falling Guillotine are effective options, providing substantial damage output. For Fireteams utilizing an Ergo Sum sword with Wolfpack Rounds, pairing it with Legendary swords matching the weekly burn enhances damage potential.
4.1. Breaking Taniks’ Weak Spot
Similar to the first encounter, this fight requires splitting into three groups of two. Assign each team to one of the three areas: middle (spawn point), left (big tower), and right.
The fight commences by destroying the Taken Blight in the middle of the room, spawning Taniks, Herald of Finality, in the arena’s center. The primary objective involves depositing Resonance in a bank to break Taniks’ immunity shield and engage him directly.
Each team clears three waves of enemies on their respective sides. The third wave spawns a boss-level Taken enemy called a Trammel. The middle encounters a Taken Phalanx, the left faces a Taken Wizard, and the right confronts a Taken Ogre. Eliminating the Trammel charges the plates and opens the conduit, though the conduit displays a jumbled symbol initially.
4.2. Gaining Stolen Favor and Reading the Conduits
During the encounter, three Fireteam members receive the “Call to Reckoning” buff, summoning them to the center of the arena. They must jump into Taniks’ arena and commence shooting his forehead. Taniks’ weak spot begins to glow, prompting the summoning of a Taken Blight to shield himself.
Guardians must locate and destroy the Blights, disrupting Taniks’ shield. Successful execution grants the “Stolen Favor” debuff, enabling the affected player to discern the conduit’s shape requirement—triangle or circle.
4.3. Charging Conduits with Resonance
With “Stolen Favor” and conduit requirements identified, return to assigned sides and activate the plates. The plate furthest from Taniks initiates energy flow, while the plate closer to Taniks houses the conduit.
Energy bouncing spawns Pyramidal Resonance on one side and Spherical Resonance on the other. Players must strategically collect Resonance, ensuring the front plate player acquires the type required for conduit activation. A good tip for this portion is to pick up the wrong type of Resonance, then the correct type. By doing this, you will have the correct type needed.
Missing a plate bounce respawns the Trammel, locking the conduit and potentially changing its symbol. Verification is essential before proceeding.
4.4. Damaging Taniks
After banking Resonance, the arena glows, signaling the commencement of the damage phase. Utilize swords to inflict damage on Taniks, with Warlocks employing Well of Radiance or Song of Flame for survivability. A healing turret from the Speaker’s Mask Exotic also provides valuable support.
Continue attacking Taniks until he becomes immune, then retreat and repeat the process.
4.5. Final Stand
Upon reaching the final portion of his health bar, Taniks enters a final stand, summoning the other three Trammel bosses. Ignore these distractions and focus solely on damaging Taniks until his defeat.
Collect loot from the chest and proceed to the middle area, following the green columns to the next encounter.
5. Repository: Opening the Path Through the Monolith
Repository leverages established mechanics from previous encounters, challenging Fireteams to apply their knowledge and coordination in a new setting.
Like the second encounter, the arena is divided into three sides, each with its own plate ecosystem. Teams of two are assigned to each side: left, middle, and right. Responsibilities include eliminating a Tormentor, a Subjugator, and other enemies, spawning Resonance, collecting excess Resonance, and locking a conduit.
5.1. Encounter Initiation
To commence the encounter, pick up the Hexahedron Resonance in the middle of the room and bank it in the nearby receptacle. This spawns three Tormentors, one at the end of each plate. Teams collaborate to eliminate their respective Tormentor, with the killer gaining the “Stolen Favor” buff. This allows them to see the Resonance that is needed for each of the conduits.
Players without “Stolen Favor” return to the home plate, while those with the buff stand on the plate near the conduit. Bouncing energy spawns circle, triangle, or square Resonance in different quadrants of the room.
Coordinate Resonance collection, prioritizing the shape needed for conduit activation. Players without “Stolen Favor” should avoid Resonance until buffed players have secured their requirements. After this, eliminate the Subjugator near the conduit and lock it in place.
5.2. Room Progression
Locked conduits trigger the appearance of the Resonance bank in the middle of the room, accompanied by deadly turrets. Banking extends the timer, opens the door ahead, and spawns an Unstoppable Champion. Overcome these challenges and advance.
Repeat this process three times in increasingly complex rooms.
5.3. Room Strategies
5.3.1. How to Clear the First Room
The first room features straightforward plate flows, facilitating easy enemy burn down. Follow the established instructions to progress quickly.
5.3.2. How to Clear the Second Room
The second room introduces crossed wires, with the left plate’s wire crossing over the middle plate. The left plate conduit player occupies a raised platform in the middle, while the middle conduit player stands on a plate on the left side near the Tormentor spawn.
5.3.3. How to Clear the Third Room
The third room presents a hectic environment with pits and simultaneous Tormentor spawns. Wires are crossed, with the left side’s conduit connecting to the middle plate, the middle conduit to the right plate, and the right conduit to the left plate.
Prioritize conduit completion over excess Resonance collection. Bank Resonance for the third time, defeat the Unstoppable Champion, and claim your loot from the nearby chest.
5.4. Continuing Onward
Follow the path to reach Verity, the puzzle encounter.
6. Verity: Dissecting and Moving Shapes
Verity is reminiscent of The Vault encounter from the Last Wish raid, primarily focusing on puzzle solving.
Upon encounter initiation, three Fireteam members are randomly pulled into the shadow realm, each isolated in a copy of the main arena. They collaborate with teammates in the light realm to solve a complex puzzle, enabling their escape from the shadow realm.
6.1. Reversing Catatonic Decimation
Before proceeding, conduct a “drip check” to ensure Guardians can differentiate between each other and their Ghosts.
Six Guardian statues near the spawn point represent Fireteam members, each donning the same armor set. Fireteam members should alter their appearance and select distinct Ghost Shells.
During each phase, some or all Fireteam members are decimated by The Witness, freezing them in place. Ghosts of decimated players appear in the light realm, requiring rescue by non-decimated teammates.
Non-decimated Guardians grab Ghosts and return to the statues at the room’s start. Decimated players spectate through non-decimated teammates, identifying missing statues and relaying the information to allies.
When paired with their Guardian’s statue, the Ghost resurrects their decimated Guardian.
6.2. Escaping the Shadow Realm
Upon activating the “free Guardian” prompt, three random players are pulled into the shadow realm. These Guardians must relay the shapes they observe on statues around the center stage to their light realm allies.
Guardians become lords of their statue’s shape, collecting matching shapes within their room.
6.3. Shape Trading
Look at the back screen in the shadow realm, which swaps between shapes. This indicates the shapes held by roaming Hive Knights.
Eliminate Knights and acquire shapes matching your statue. Trade shapes with fellow shadow players to acquire the two shapes absent from your statue.
**6.4. 3D Object Retrieval**
Grab one of your shapes and coordinate a trade with another player. Trade these until everyone has the correct shapes needed.
With the desired shapes in possession, kill the Knights and acquire both shapes simultaneously, gaining a new buff. With the 3D shape buff, approach the barrier at the back of the room to rejoin allies in the light realm.
6.5. Dissecting 3D Shapes
While allies navigate the shadow realm, light realm players divide into enemy slayers and a dissector. The dissector is responsible for creating the same 3D objects for their shadow realm counterparts as they do in the shadow realm.
Upon shadow realm entry, light realm statues transform, each holding a 3D object. These objects are combinations of shape buffs: Cube, Sphere, Pyramid, Cylinder, Cone, Prism.
Dissect pre-existing 3D objects to remove shapes matching those held by shadow realm lords. Dunk shapes into statues to dissect or trade shapes as needed.
6.6. Interrupting the Process
Eliminate Knights and acquire shapes for dissection, dunking them into appropriate statues.
Whenever Knights are depleted, Unstoppable Ogres spawn, requiring coordinated elimination. Repeat the dissection loop in perpetuity.
After your second set of knights, look to see what shapes your right statue needs and dunk it into the other incomplete 3D object.
6.7. Dissecting Efficiency
Efficient dissection involves prioritizing the shapes that your team called out. Dunk them in order from left to right, ensuring prompt shape extraction.
As a dissector, concentrate solely on these shapes. This will guarantee that you pull at least one shape out of the left and middle statue, and it’ll prepare the right statue for the next dissection. The only exception should be in helping to stun Ogres.
6.7.1. Ogre Elimination
Whenever Knights are depleted, Unstoppable Ogres spawn, requiring coordinated elimination. Repeat the dissection loop in perpetuity.
To make this process easier, you can use a handy dissection tool to help parse the process.
6.8. Proceeding to the Next Phase
Once the Fireteam is reunited, proceed to the back of the room and prepare for an onslaught. Two Unstoppable Ogres spawn, requiring prompt elimination.
The Witness decimates five Fireteam members, freezing all but one. The surviving member resurrects allies based on their Ghost Shells.
Repeat this process two more times. After the final revive, loot and the elevator to The Witness become accessible.
7. The Witness: How to Beat the Final Boss
Upon arrival for the final fight, The Witness awaits at the room’s end. The arena is divided into two sides.
7.1. Recommended Loadout
The Witness possesses significant health, necessitating a high-damage loadout. Hunters utilizing Celestial Nighthawk, Marksman Golden Gun, and Still Hunt offer optimal burst damage.
For other classes, Microcosm paired with Well of Radiance, Song of Flame, or Twilight Arsenal provide substantial damage output. Machine guns and pulse rifles are also valuable assets.
7.2. Breaking The Witness’ Glyphs
The Witness has six protective glyphs on its jacket, requiring the Glyphbreaker buff for removal.
Divide the Fireteam into Glyphbreaker and enemy slayer teams. Enemy slayers maintain field control, eliminating Subjugators and Screebs.
Glyphbreakers focus on The Witness’ hands:
- Down hand: Pyramidal Resonance, triangle bomb.
- Up hand: Spherical Resonance, circular airstrike.
- Wall hand: Hexahedron Resonance, arena beam.
7.3. Glyph Manipulation
Each player locates their hand type and stands in the targeted area, shooting the Resonance bangle. The underlying bangle reveals the required buff.
Find the hand providing the required buff and briefly stand in its attack area. Acquire the buff and return to your hand, shooting the bangle to destroy it and gain Glyphbreaker.
However, certain considerations apply:
- Prolonged exposure to your own hand can result in unwanted stacks.
- Delayed action changes the bangle, necessitating restart.
- Attacks from enemy hands can be lethal.
- Buff stacking is limited to three.
- Excessive stacking alters the fight’s flow.
- Destroying a hand triggers a trap.
7.4. Glyph Breaker
With Glyphbreaker, jump to the root platform and destroy a button. Cleansing plates remove buffs, providing a fresh start.
Repeat the process to destroy all six glyphs, initiating the damage phase.
7.5. Surviving The Witness’ Trap
Once per phase, The Witness deploys a trap upon destroying a hand. If you see the “The Witness tests you” prompt, you will have to solve the puzzle.
Determine the hand type that triggered the test and create a matching shape using floating Resonance crystals in mid-air. The chart above in section 7.3 will help you determine which to shoot. Destroy any incorrect symbols. With this done, a prompt will appear to let you know the trap is foiled.
After the trap, The Witness unleashes a shockwave, requiring a coordinated jump to avoid death. Healing grenades are effective for mitigating damage.
7.6. Damage Phase
As the platform reaches max height, The Witness’ crit spot opens, initiating the damage phase. Shoot the opening, but keep in mind that the hands and eyes can attack. Shift left to right to avoid beams, jumping when necessary.
The Witness will tire after a few attacks. During this short downtime, maximize damage output.
Repeat the process, keeping in mind The Witness will kill you.
7.7. Final Stand
For the final stand, The Witness becomes briefly immune. Continue damage when it opens its chest. It will continue to sling attacks at you, kill it as fast as possible, or it will wipe the raid.
Defeating The Witness yields loot and access to the campaign’s final mission, “Ex