The Shattered Throne stands as a unique pinnacle in Destiny 2, introducing the concept of a dungeon to the franchise. Echoing the intricate, secret-laden missions like The Whisper, which rewarded players with the coveted Whisper of the Worm exotic sniper rifle, the Shattered Throne is a deep dive into challenging encounters and hidden treasures. Navigating this labyrinthine dungeon is key to claiming the powerful Wish-Ender bow and reaping the rewards of high-tier loot from each hard-fought encounter.
This comprehensive guide will arm you with the knowledge to traverse the Shattered Throne, conquer its challenges, and claim the valuable spoils within.
Important Note: The Shattered Throne is designed to test your skills and coordination. Attempting it solo, especially at lower Power Levels, is a daunting task. We strongly recommend assembling a fireteam of two trusted Guardians to maximize your chances of success. Furthermore, ensure your Power Level is at least 560 before venturing into this dungeon. Keep in mind that the Shattered Throne is only accessible every three weeks, aligning with the peak of the Dreaming City’s curse. Plan your run accordingly!
Part 1: Navigating the Labyrinth
Image showing the entrance to the Labyrinth in Destiny 2 Shattered Throne dungeon.
Image depicting the central building and towers in the Labyrinth area of Shattered Throne dungeon.
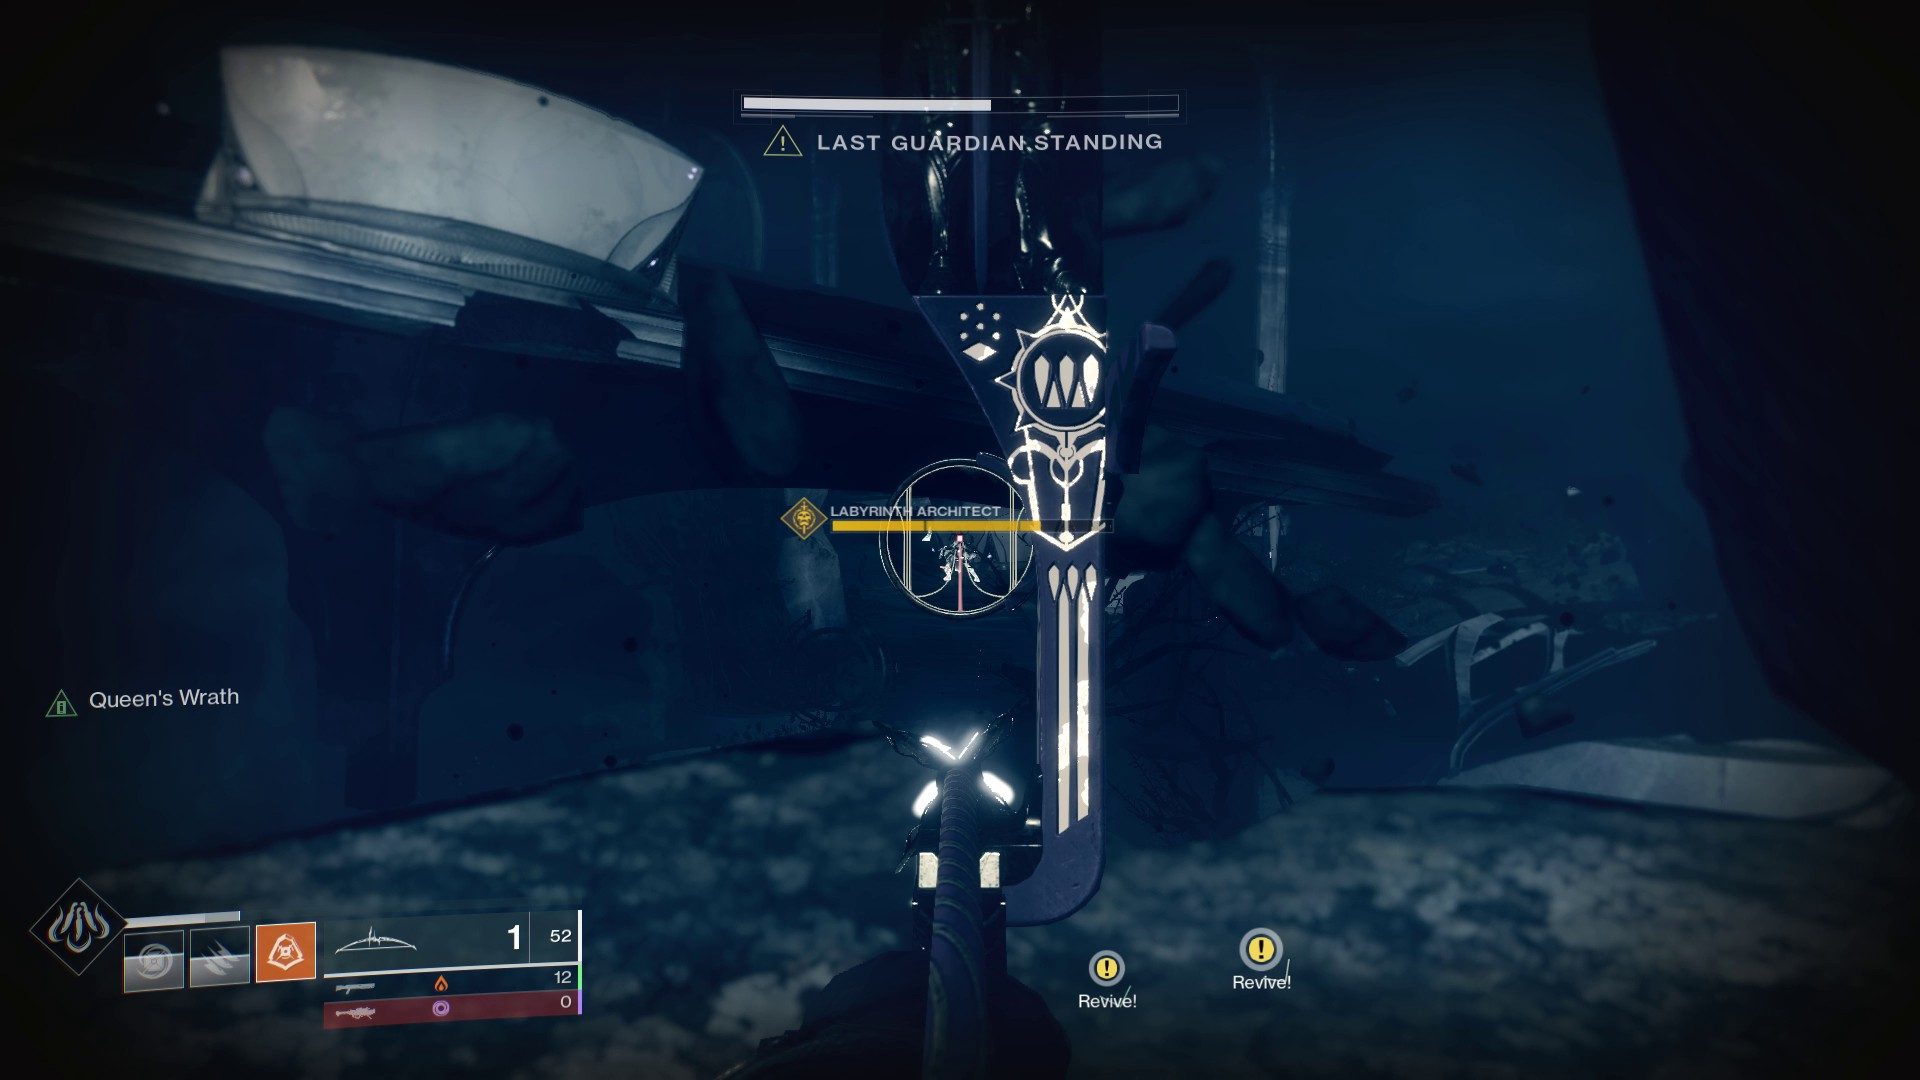
Image highlighting a Labyrinth Architect enemy in Destiny 2 Shattered Throne dungeon.
The Labyrinth section marks the initial, and arguably most straightforward, phase of the Shattered Throne, although it can be time-consuming. Upon entering, proceed through the doorway into the expansive arena that stretches before you. Before advancing too far, take a moment to survey your surroundings.
Orient yourself by noting the central large building, flanked by two distinct towers on the left and right. This landmark configuration will be crucial for symbol navigation in the upcoming puzzle.
As you venture into the central building, your first encounter with a Labyrinth Architect awaits. This formidable Taken enemy must be eliminated along with the accompanying wave of lesser foes. Once the Architect falls and the area is clear, observe the symbol that materializes nearby. This isn’t a static carving, but a luminous, white glyph, acting as a directional cue.
The appearing symbol serves as your guide to locate its corresponding, fixed symbol carved somewhere within the labyrinth. Your task is to systematically explore the area, identify the indicated symbols, and clear the waves of enemies that spawn at each location. This cycle of symbol identification and enemy elimination continues, gradually guiding you back to your starting point.
Here’s a breakdown of the symbols and their respective locations within the Labyrinth:
- Infinity Snake: Found at the rear of the central building.
- U Snake: Located in the middle section of the central building.
- Dragon Breathing Fire Left: Situated within the left tower.
- Boring Bird: Found inside the right tower.
- Fish Curl: Located in the courtyard directly in front of the right tower.
- Two Fish Spin: Positioned in the lower area, between the Infinity Snake location and the Fire Breathing Dragon Right location, beneath the main map level.
- Bird Fly Down: Located at the dungeon’s entrance, the area where the initial Labyrinth Architect was defeated.
Upon encountering the “Bird Fly Down” symbol, it signifies your return to the starting point. Eliminate the final wave of enemies in this area to receive your reward – a piece of valuable loot. Subsequently, the large vault door embedded in the floor will unlock, granting you access to the depths below. Descend into the opened vault to begin your journey deeper into the Shattered Throne.
Part 2: The Descent into Darkness
Image showing the initial descent area with enemies below in Shattered Throne.
Image of a Taken Captain boss encounter during the descent in Shattered Throne dungeon.
Image illustrating the narrow beams and Ogres in the descent section of Shattered Throne.
Image depicting the Taken filter hallway with Thrall in Shattered Throne dungeon.
Image showcasing the climbing section leading to the Vorgeth boss fight in Shattered Throne.
Image featuring an orb in the descent, related to the Wish-ender bow questline in Shattered Throne.
As the vault door yields, you’ll find yourself overlooking an open area teeming with enemies below. Before jumping down, equip long-range weaponry and methodically eliminate the threats from a safe distance.
Once the area is clear, descend and ascend the staircase. You will soon encounter a Taken Captain boss. Defeat this boss and its accompanying minions to unlock the path forward.
Proceed through the newly opened doorway into a hallway infested with Taken Knights and long-range snipers. Exercise caution and advance slowly, diligently clearing enemies from both flanks before pushing deeper. After neutralizing all threats, take the stairs on the left.
The subsequent room presents a precarious challenge. You’ll be navigating across narrow beams suspended above a deadly pit. Adding to the danger, Ogres will spawn, relentlessly attempting to knock you off balance and into the abyss. Similar to the sniper hallway, adopt a slow, deliberate approach, eliminating Ogres as they appear. Rotating Taken orbs of energy also patrol this area. While skilled players might attempt to jump through them, it’s safer and more reliable to navigate around them using the longer, safer path.
Exiting the Ogre room, you’ll encounter a Taken energy field that significantly slows your movement. Within this slowed state, and unable to double jump effectively, you must navigate a path while swarms of Taken Thrall relentlessly pursue you, and your health regeneration is suppressed. Unlike other sections where methodical clearing is key, here, prioritize speed. Utilize the walls to gain verticality and evade the Thrall. Focus on reaching the end of the slowed passage quickly. Upon reaching the exit, jump down and proceed through the doorway.
In the following open area, your path to the next boss encounter requires ascending a massive wall. Leap and climb upwards, carefully avoiding the exploding wall sections to your left. Upon reaching the summit, prepare your void-damage weapons and enter the boss arena ahead.
Part 3: Confronting Vorgeth, the Boundless Hunger
Image showcasing the Vorgeth, the Boundless Hunger boss arena in Shattered Throne.
Image depicting Wizards spawning in the Vorgeth boss encounter in Shattered Throne.
Image showing Vorgeth vulnerable after dunking Petitioner’s Burden buff in Shattered Throne.
Prepare for a challenging encounter. The Vorgeth boss fight is known for its difficulty and requires coordinated teamwork.
Upon entering the arena, four Wizards and their supporting enemies will spawn at cardinal points around the room. At the center stands Vorgeth, a massive, initially immune Ogre. The primary objective is to eliminate all four Wizards, collect the buffs they drop, and use these buffs to render Vorgeth vulnerable. A crucial mechanic of this fight is that at least one member of your fireteam must remain alive at all times, or all accumulated buffs will be reset.
Begin by focusing fire on the Wizard located to your left, and then proceed clockwise around the room as a team. Once a buff is collected, time becomes a factor. You have a limited window of approximately 45 seconds to collect the next buff or face death. Efficient communication and swift movement are paramount.
Defeating all four Wizards can be demanding. Employ weapons effective against void shields to quickly dispatch them. Once all Wizards are down, a new buff, Petitioner’s Burden, will appear. Collect this buff and “dunk” it into one of the four bonfires encircling Vorgeth.
Dunking the buff extinguishes the bonfire and temporarily removes Vorgeth’s immunity shield. However, vulnerability comes at a cost. Vorgeth becomes significantly more aggressive, unleashing barrages of Axiom Bolts that deal substantial damage. Maintain distance or utilize protective measures like a Warlock Well of Radiance or Titan Barricade to mitigate the Axiom Bolt threat. Focus fire on Vorgeth’s critical weak point – his head – until he is defeated or his immunity returns.
If Vorgeth is vanquished, congratulations! Claim your well-earned rewards. If not, you must repeat the Wizard-buff-dunk cycle until this formidable Ogre is finally defeated.
Part 4: The Ascending Climb
Image of the statue of Sjur Eido after defeating Vorgeth in Shattered Throne.
Image showing the lift section during the climb after Vorgeth in Shattered Throne.
With Vorgeth defeated, advance forward to encounter the statue of Sjur Eido. Interacting with the statue will remove the Awoken Talisman from your inventory and initiate the quest for the Wish-Ender bow (a separate, but highly rewarding pursuit).
This section is largely linear and less challenging to navigate. Continue forward until you reach a group of Wizards and a lift. Board the lift and ascend to the next level. Clear the enemies, proceed forward, and repeat this process. You’ll continue ascending via lifts and enemy encounters until you reach a dead end. Here, turn right and carefully navigate along the exploding wall section.
Traverse through areas populated by annoying Taken Hobgoblins and booping walls that can push you off ledges, until you reach the final two lifts. Take these lifts upwards to reach the arena of the final boss of the Shattered Throne.
Part 5: Battling Dul Incaru, the Eternal Return
Image of the Dul Incaru, the Eternal Return boss arena in Shattered Throne.
Image showing Dul Incaru and her Knight companions in Shattered Throne.
Image depicting Psions spawning during the Dul Incaru boss fight in Shattered Throne.
Image highlighting the crystal shield summoned by Dul Incaru in Shattered Throne.
Image of Knights near death becoming aggressive in the Dul Incaru encounter in Shattered Throne.
Image showing Dul Incaru defeated and the completion of Shattered Throne dungeon.
Dul Incaru herself is not inherently difficult to defeat. The challenge lies in managing her three powerful Knight escorts and the relentless waves of Psions she summons.
At the start of the encounter, divide your fireteam, positioning yourselves on opposite sides of the room. Your immediate priority is to completely eliminate each wave of Psions as soon as they spawn. Failing to deal with even a single Psion can lead to significant complications later in the fight. Clear them out swiftly and efficiently.
Next, focus on the gigantic Knights, while simultaneously evading Dul Incaru’s attacks. Methodically reduce the Knights’ health, focusing on one at a time. When a Knight reaches approximately one-third health remaining, unleash your Supers or heavy weapon fire to eliminate them quickly. As they approach death, Knights become significantly faster and more erratic, making them harder to manage.
Periodically, Dul Incaru will summon a large crystal that shields her Knights from all damage. Destroy the crystal to remove this protection and prepare for the next wave of Psions. Once you are ready to eliminate the Knights, coordinate your attack and defeat all three in rapid succession. Collect the buffs dropped by the Knights to gain a significant damage boost against Dul Incaru.
If executed correctly, you will possess the damage buff stacked three times. This amplified damage will allow you to defeat Dul Incaru swiftly. Typically, only a single damage phase is required to defeat her, but be prepared for a second phase if necessary. Crucially, avoid letting the buff expire, as it will result in your death. To cleanse the buff intentionally after defeating Dul Incaru, jump over the large cauldron located in the center of the room.
Once Dul Incaru’s health reaches zero, she will fall, signifying your triumphant completion of the Shattered Throne dungeon. Congratulations, Guardian! You have conquered the heart of the Dreaming City’s curse.