Choosing the right size road bike is crucial for a comfortable and efficient riding experience. A bike that doesn’t fit properly can lead to discomfort, pain, and even injuries. Whether you’re a seasoned cyclist or just starting out, understanding how to find the correct size is essential. This guide will walk you through everything you need to know to select the perfect road bike size and ensure optimal performance and enjoyment on every ride.
Finding the right road bike size goes beyond just the frame itself. It involves understanding different frame geometries – traditional, semi-compact, and compact – and how these designs impact fit. Two bikes listed as the same size can actually feel quite different due to variations in their geometry. Delving into road bike geometry is highly beneficial to grasp the key measurements that influence fit and handling, ultimately helping you choose the best road bike tailored to your specific needs and preferences.
Achieving a good bike fit is a holistic process that considers more than just the frame size. It’s about ensuring your bike is properly adjusted at all the primary contact points: the saddle, handlebars, and pedals. Proper adjustment at these points is crucial for comfort, efficiency, and injury prevention.
Beyond these contact points, standover height also plays a role. When standing over your bike with both feet flat on the ground, you should have at least a centimeter of clearance between your crotch and the top tube. This clearance ensures comfort and safety, particularly when stopping and starting.
Remember, everyone’s body proportions are unique. The information provided here is a starting point and a general guideline. Once you’ve narrowed down your size and made initial adjustments, fine-tuning your fit through minor adjustments is key. For personalized assistance, consulting a bike shop for expert bike fit advice is highly recommended.
Taking potential bikes for a test ride is also vital. This allows you to gauge comfort and handling firsthand. You want to confirm you feel comfortable on the bike and that it handles well before making a purchase.
Also, ensure that the bike offers sufficient adjustment range to fine-tune the fit after purchase. A reputable bike shop can provide valuable, impartial advice in this regard.
Road Bike Size Chart: A General Guide
The following chart provides a general guideline for determining frame size based on rider height. It’s important to remember that this is a starting point. If you’re uncertain, seeking advice from your local bike shop is always recommended.
| Rider Height | Rider Height (cm) | Effective Top Tube (cm) | Bike Size |
|---|---|---|---|
| 4ft 10in – 5ft | 148-152 | 47-48 | XXS |
| 5ft – 5ft 3in | 152-160 | 49-50 | XS |
| 5ft 3in – 5ft 6in | 160-168 | 51-53 | S |
| 5ft 6in – 5ft 9in | 168-175 | 54-55 | M |
| 5ft 9in – 6ft | 175-183 | 56-58 | L |
| 6ft – 6ft 3in | 183-191 | 58-60 | XL |
| 6ft 3in – 6ft 6in | 191-198 | 61-63 | XXL |


Manufacturer Size Guidelines: Navigating Brand Variations
Frame sizes can differ considerably between manufacturers. – Russell Burton / Our Media
The easiest way to determine your ideal bike size is often by consulting the size guidelines provided by bike manufacturers. These guidelines typically correlate height ranges with specific bike sizes. However, it’s crucial to understand that there are no universal sizing standards across the cycling industry. Each manufacturer designs bikes with their own unique geometry philosophies.
Therefore, understanding bike geometry becomes essential. How one brand sizes their bikes can be vastly different from another. Don’t assume that a size M from one brand will fit the same as a size M from another, even if they are both labeled as “medium.”
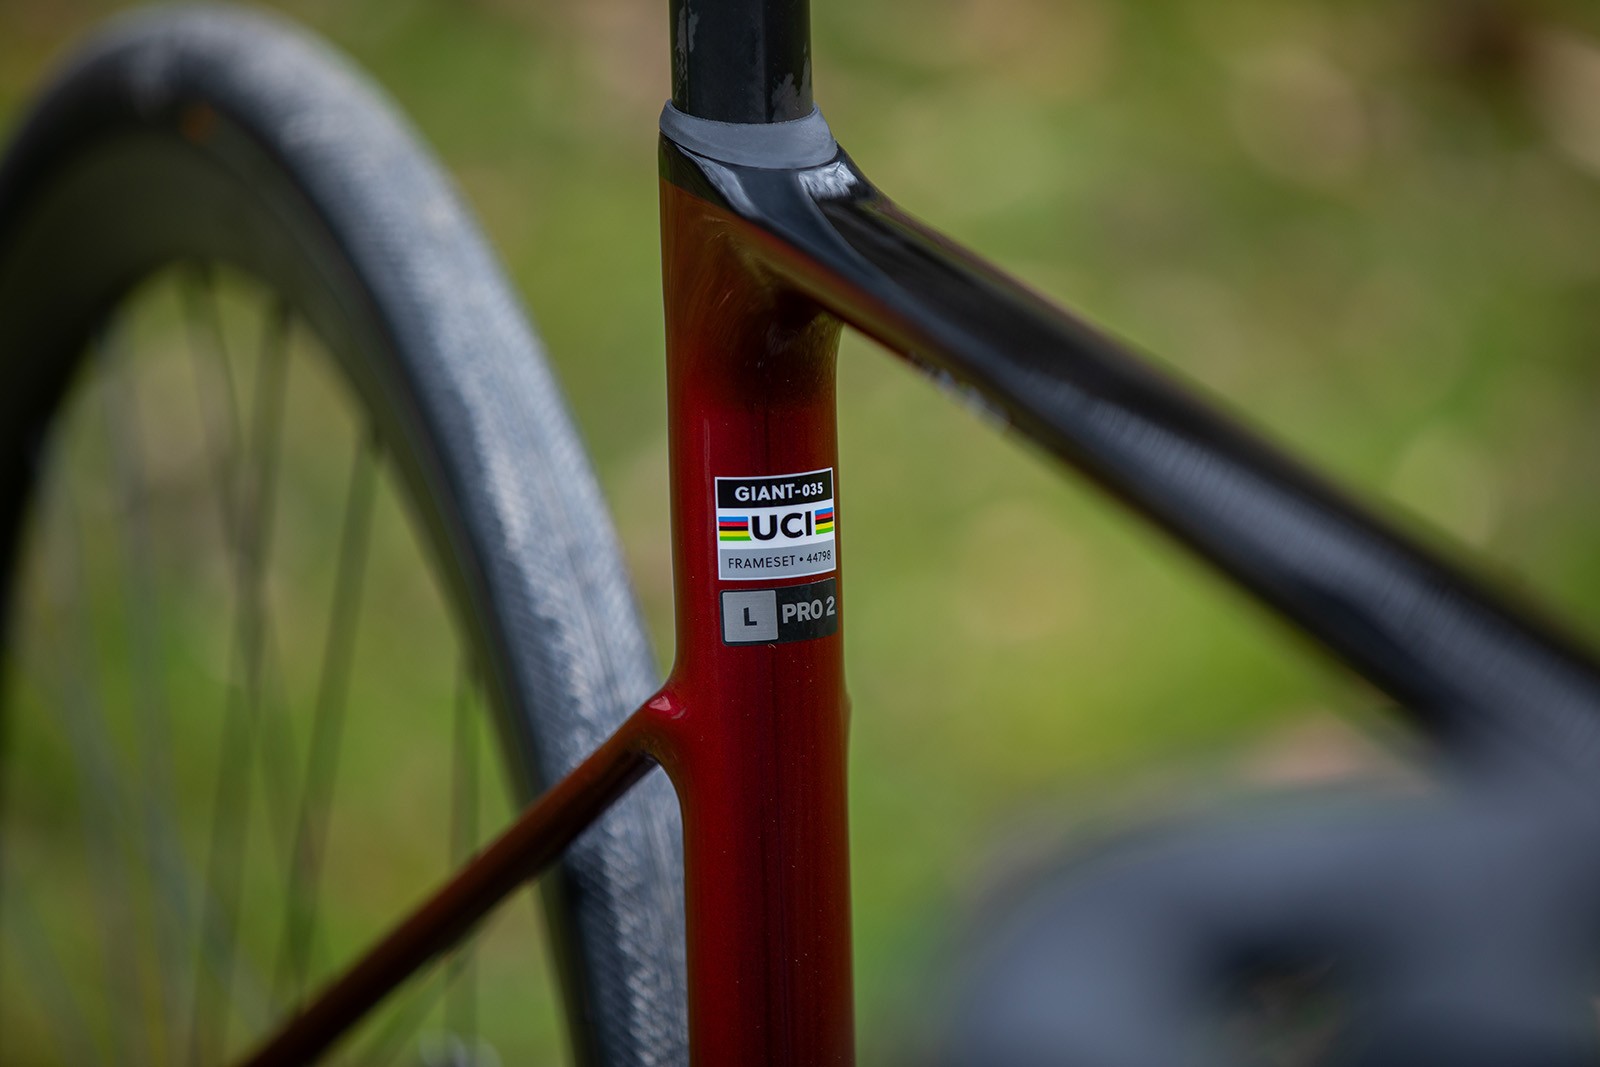
Frame size is often found on the seat tube, but sizing varies between brands. – Scott Windsor / Our Media
Many road bike manufacturers size their bikes based on the seat tube length. This measurement might be the actual seat tube length or a nominal length that represents a traditional frame with a horizontal top tube, even if the bike has a sloping top tube. Mountain bikes, and increasingly some road bikes, use a sizing system of S, M, L, etc. This variation in sizing approaches can be confusing.
Most manufacturers also provide stack and reach measurements for their bikes. Stack and reach are incredibly useful for comparing bike sizes and geometries across different brands.
Many road bike manufacturers use seat tube length for sizing. – Immediate Media
Stack and reach measurements are advantageous because they are independent of frame angles. Two frames could have different top tube lengths but identical reach measurements, with variations in frame angles accounting for the difference.
If you plan to buy a bike online, ensuring you choose the correct size becomes even more critical. Many online retailers offer size recommendations based on your height and a few other measurements.
While these online tools can be helpful if you have average body proportions and fall within the middle of a suggested height range, they may not be accurate if you are an outlier. In such cases, a professional bike fit and a test ride are strongly recommended to guarantee you purchase the right size.
Anatomy of a Road Bike Frame: Understanding the Parts
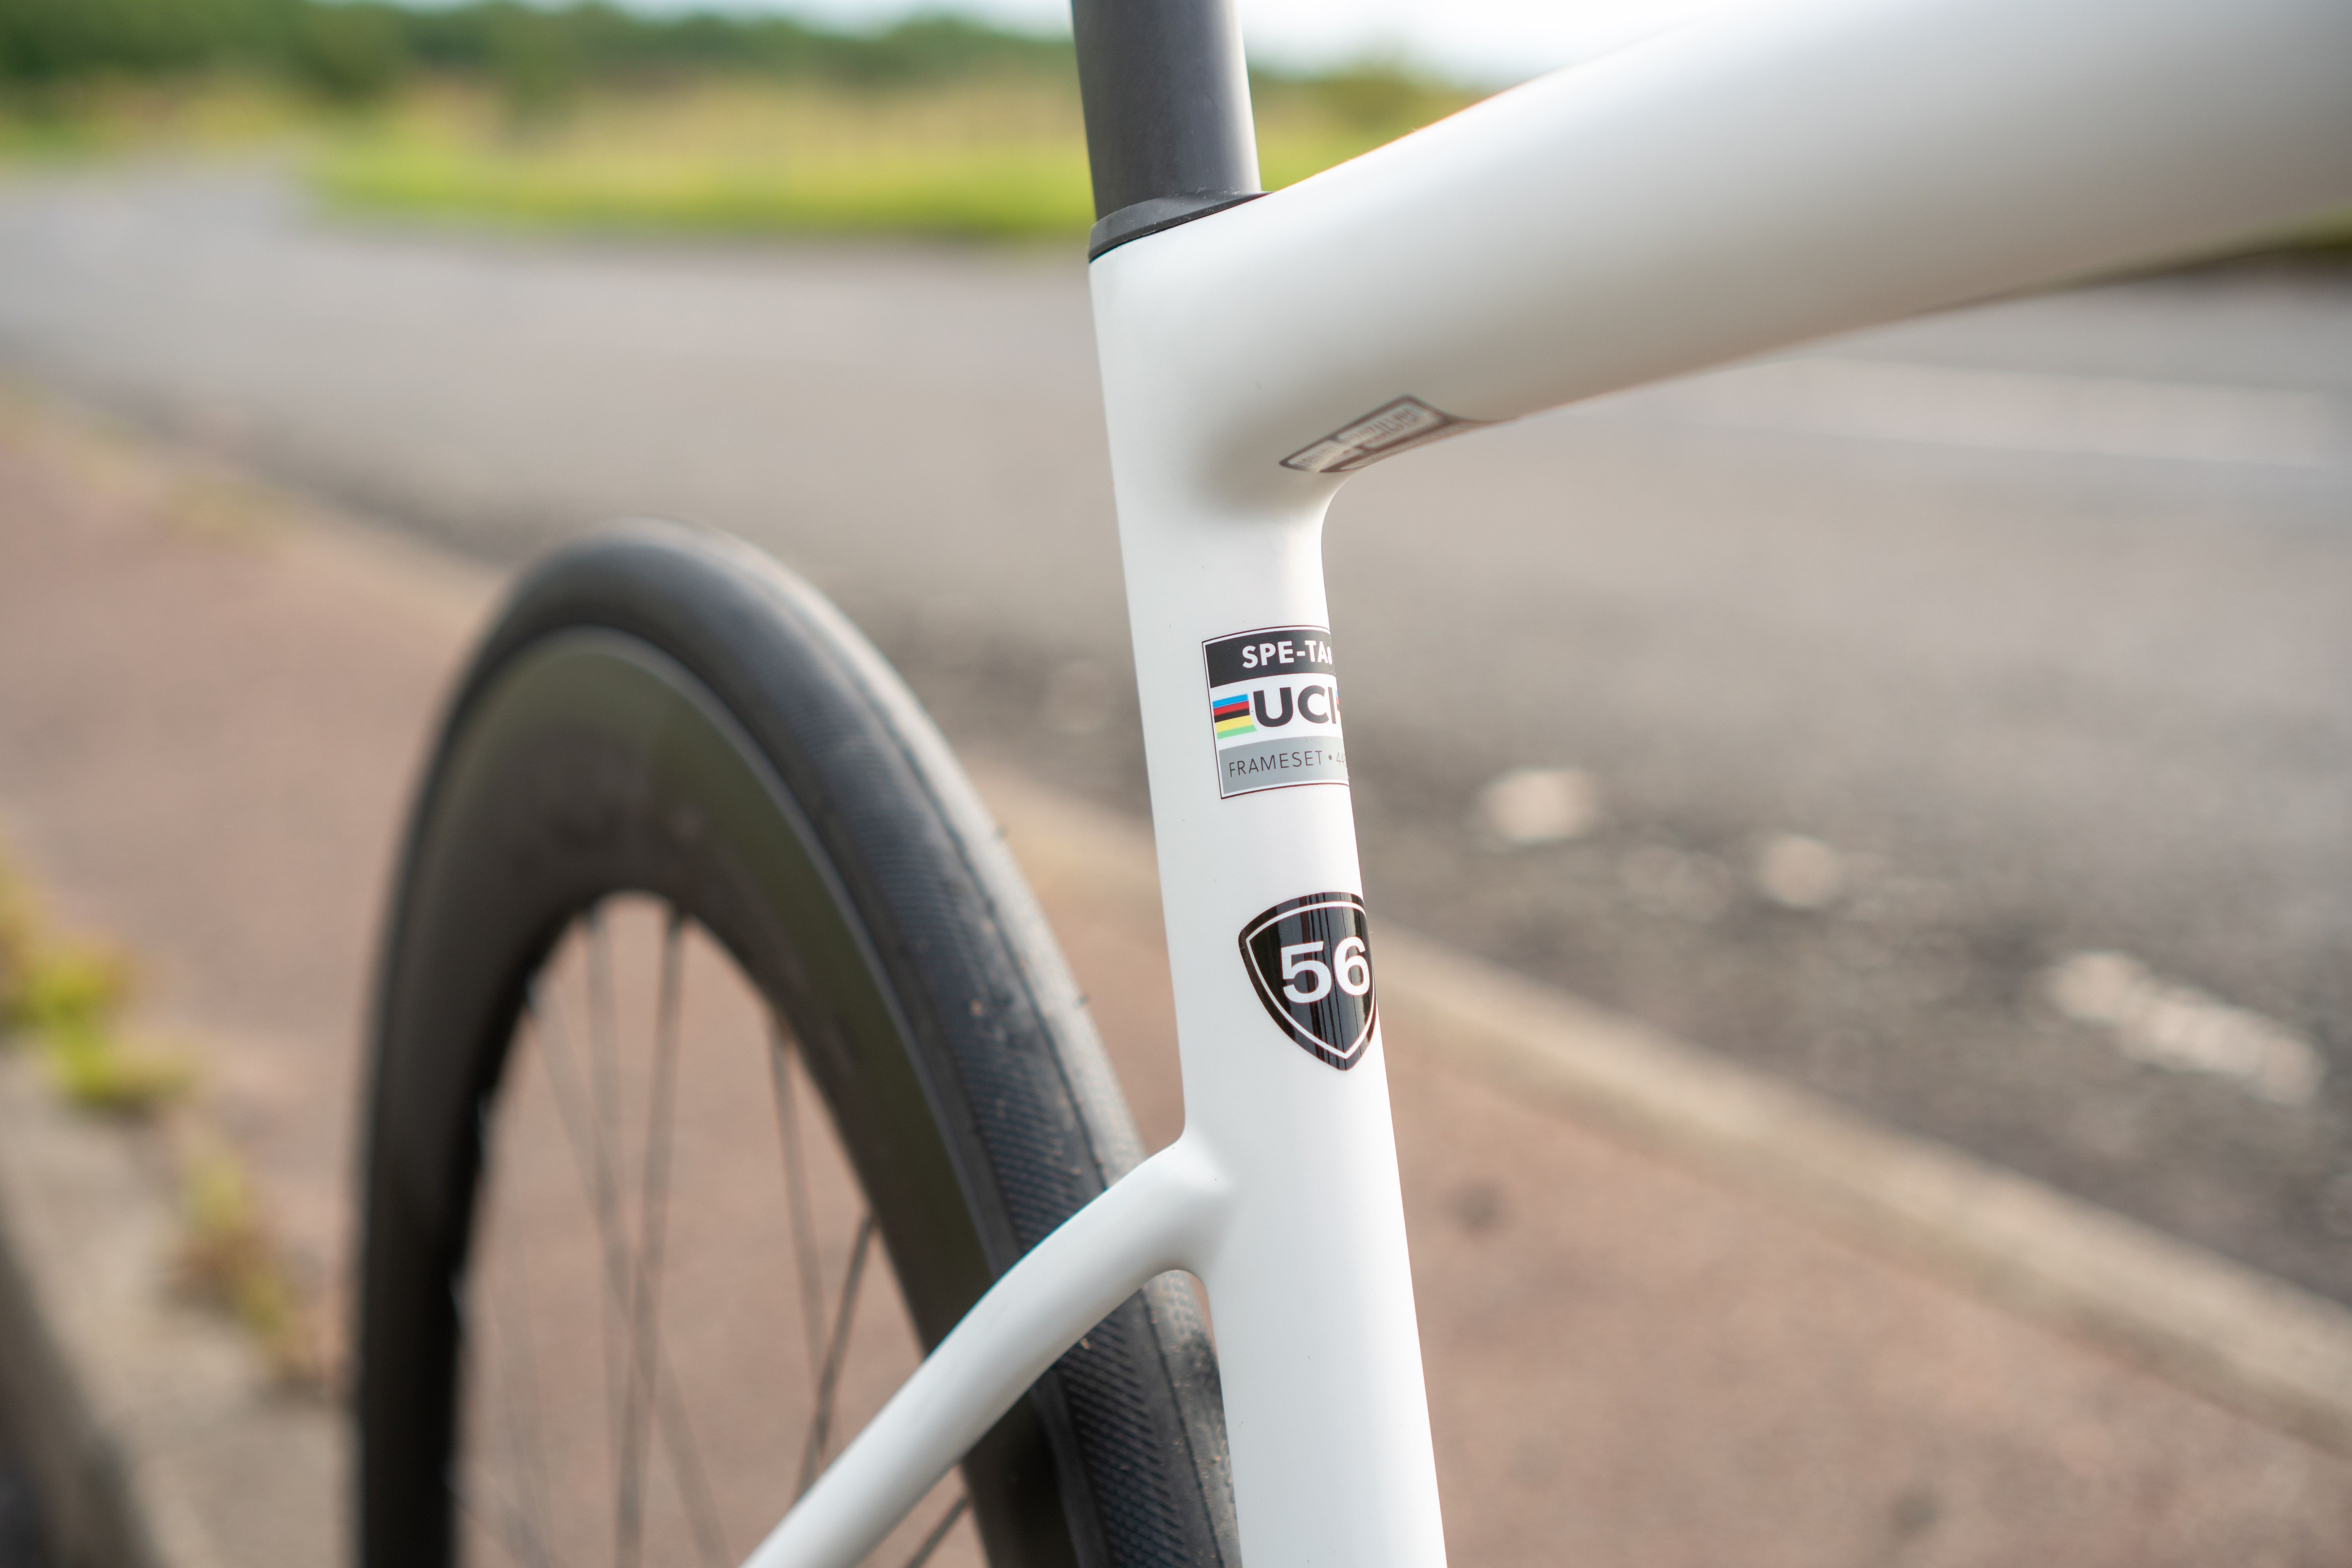
Some brands use numerical sizes, while others use letters (S, M, L, etc.). – Ashley Quinlan / Our Media
Bike manufacturers typically provide detailed geometry charts listing measurements for each part of the frame. Understanding these measurements is the first step in choosing the right size.
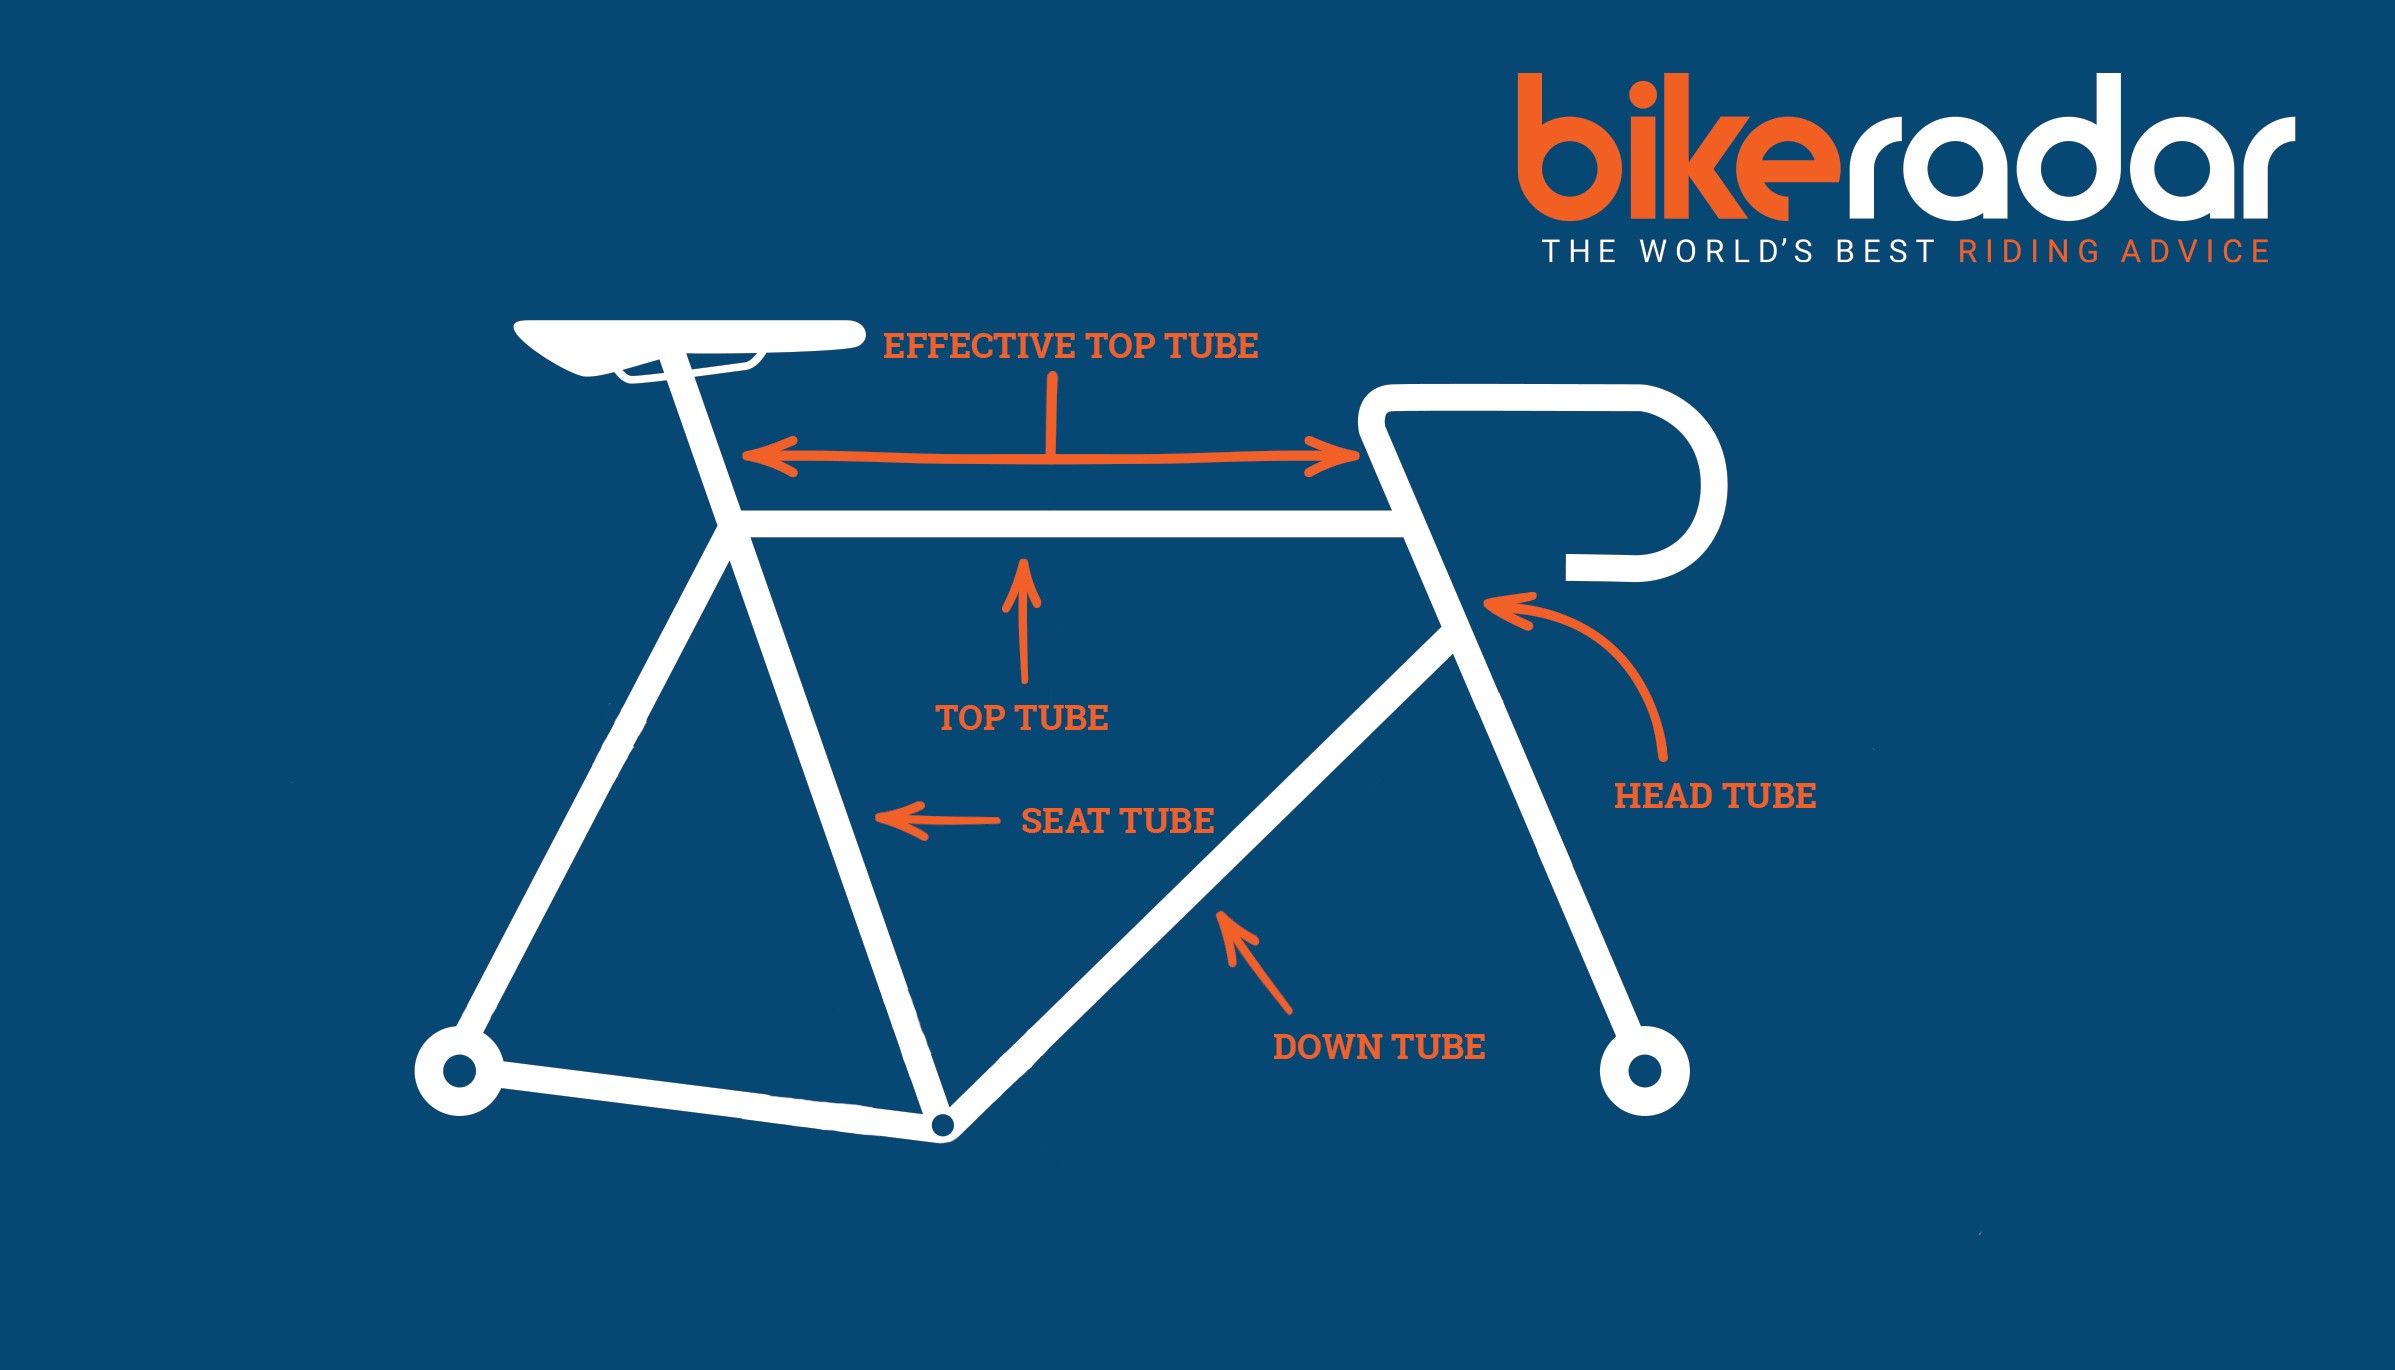
Use the diagram below to identify the different tubes that constitute a road bike frame. While seat tube length is often used for sizing, the top tube length is more crucial for determining proper fit.
It’s important to note that geometry charts may list two top tube lengths: the actual top tube length and the effective top tube length. The effective top tube is particularly relevant for bikes with sloping top tubes (common in semi-compact or compact geometries).
This diagram illustrates the various tubes that make up a road bike.
Frame Geometries: Traditional, Semi-Compact and Compact
When buying your first road bike, there are three primary frame geometries to consider: traditional, semi-compact, and compact.
Traditional Bicycle Frame
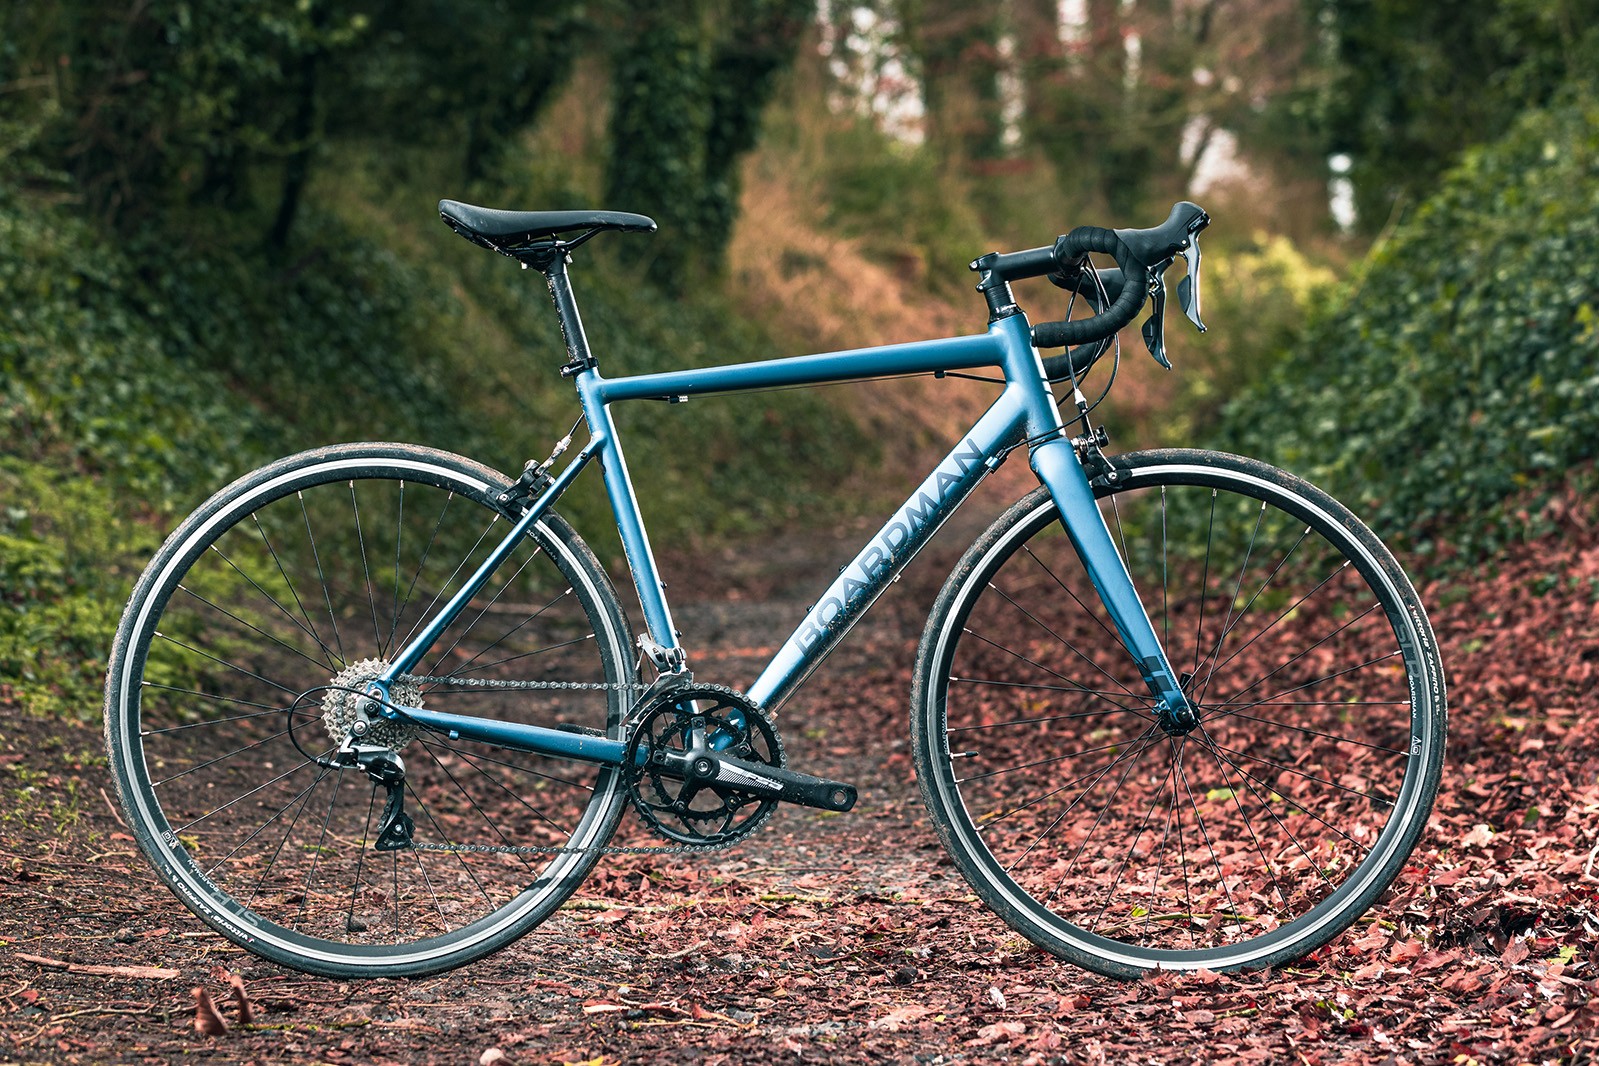
Traditional road bikes with horizontal top tubes are less common today. – Raleigh
Traditional frames are defined by a top tube that runs parallel to the ground, creating a horizontal line. These frames offer less standover clearance, making precise sizing more critical.
While traditional frames were prevalent in the past, modern bikes predominantly feature compact or semi-compact designs.
Compact Bicycle Frames
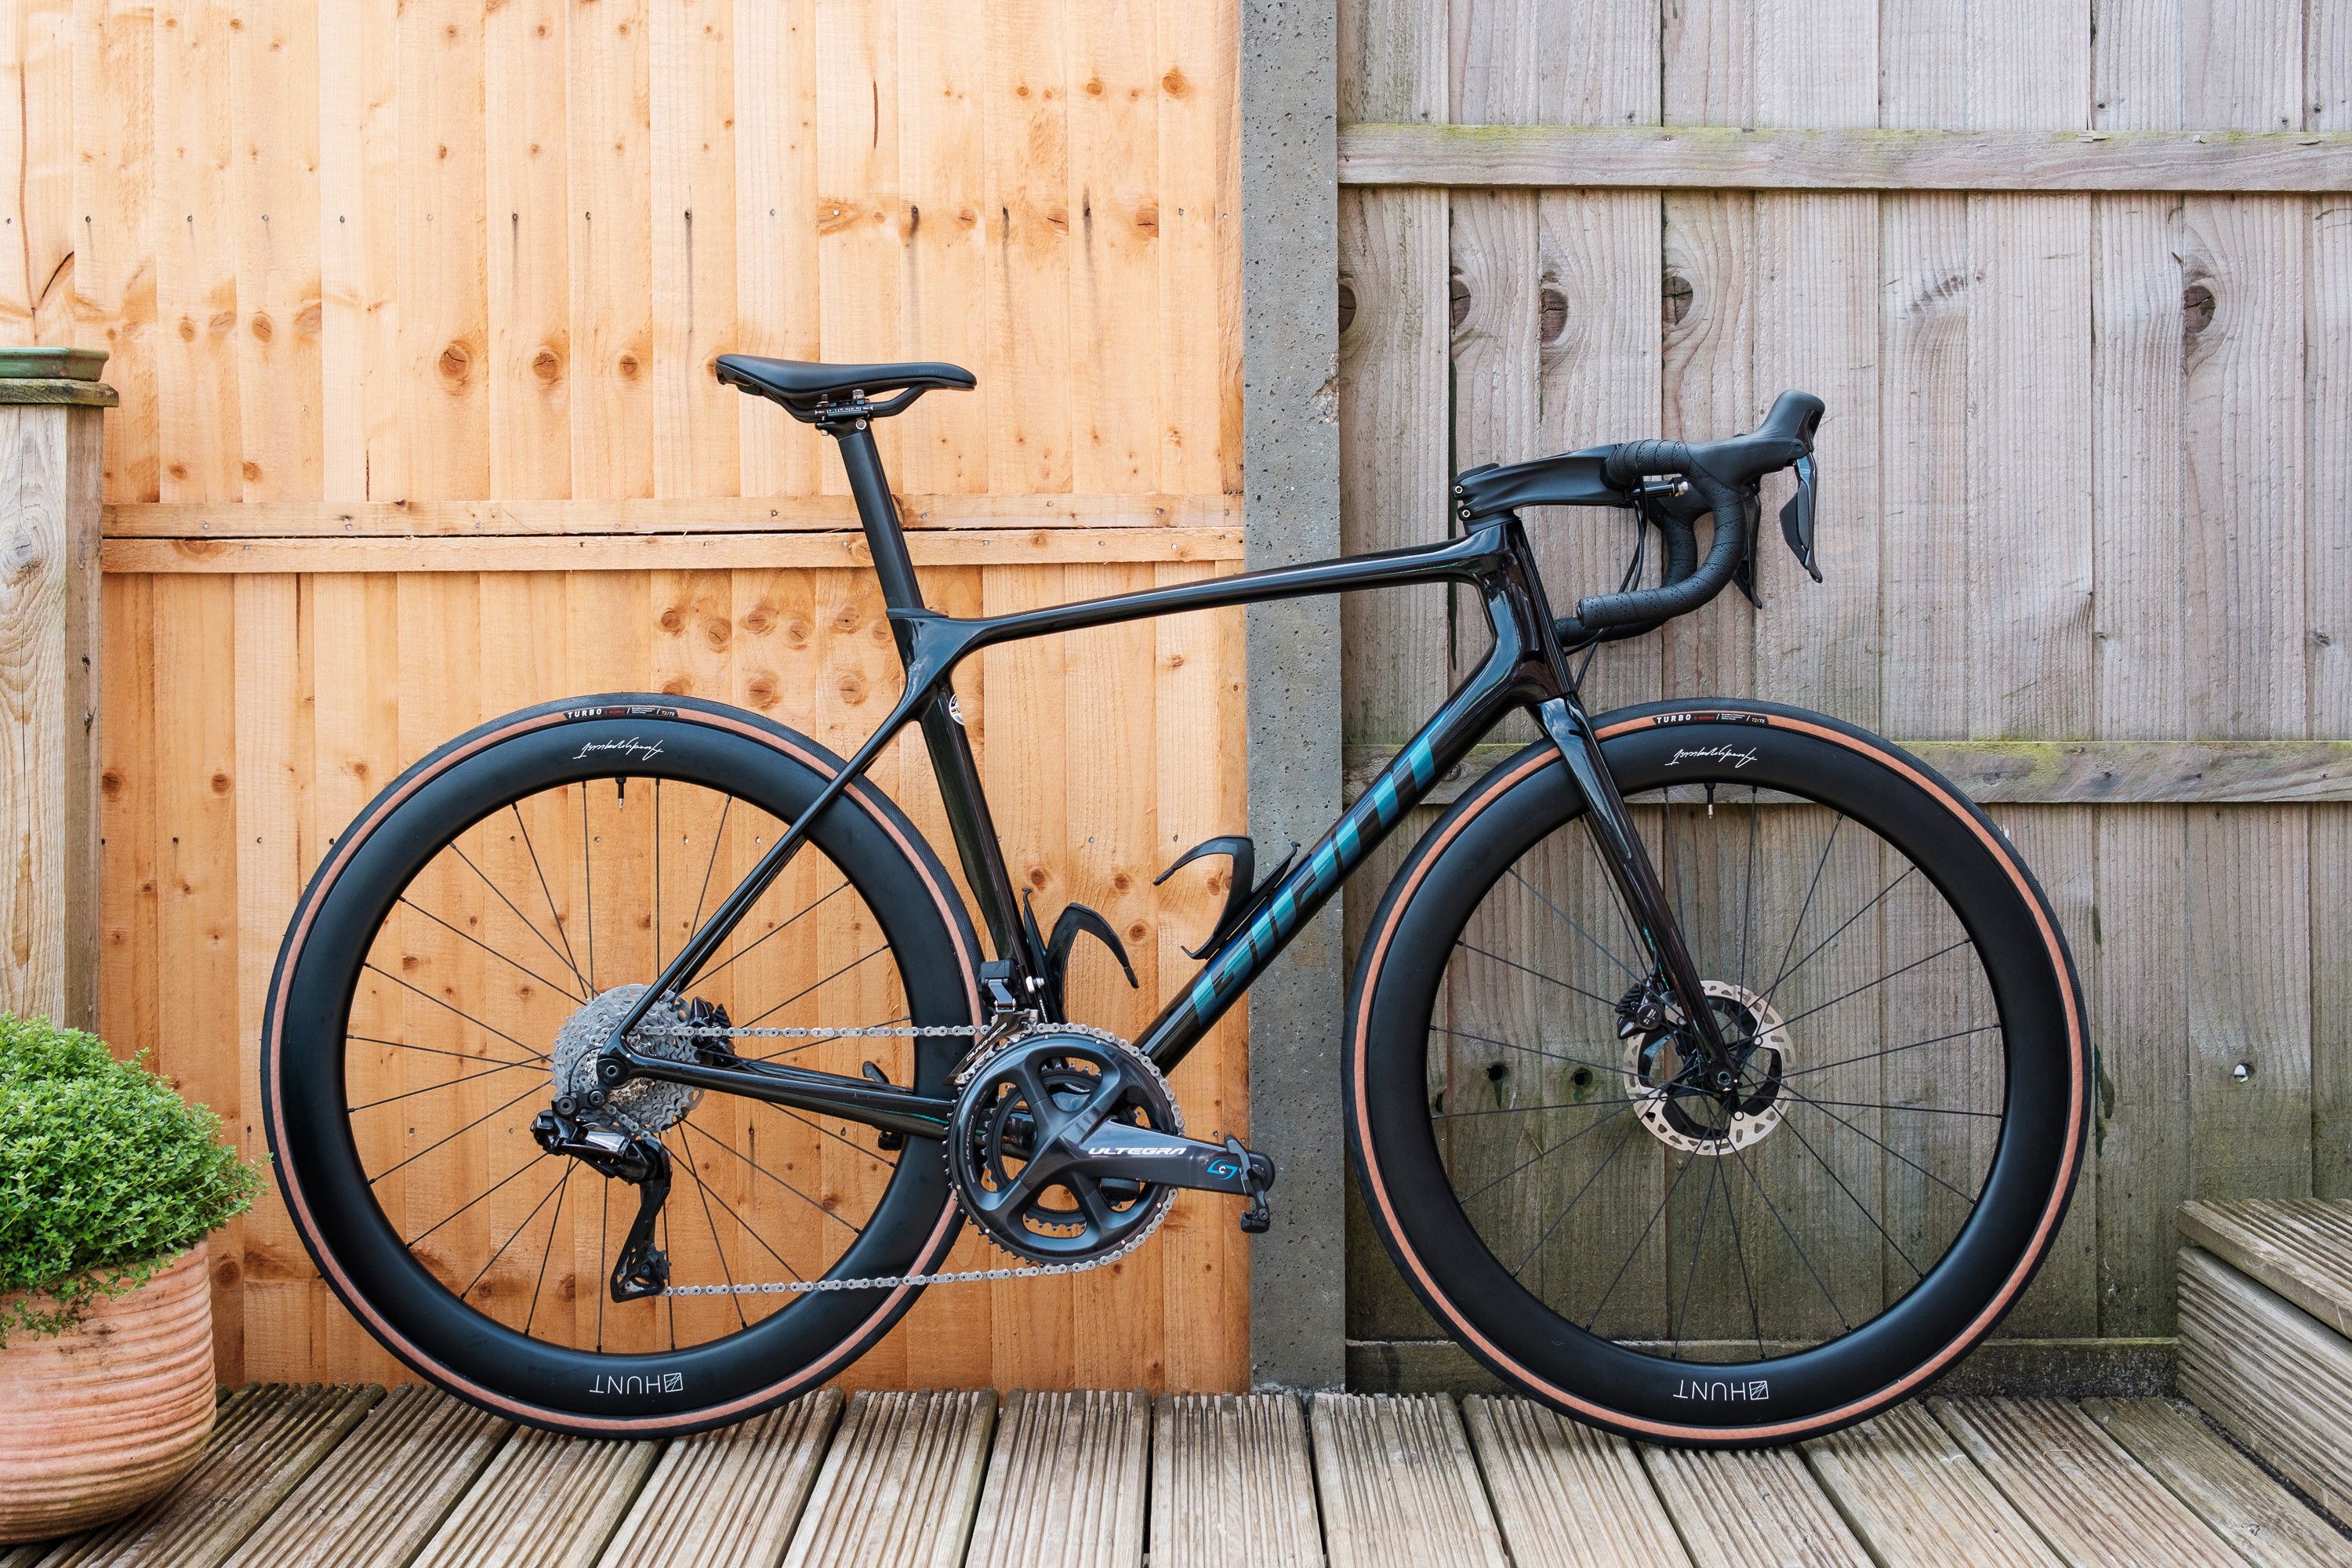
The Giant TCR pioneered compact road bike geometry with a sloping top tube. – Simon von Bromley / Our Media
Compact geometry frames are characterized by a sloping top tube, a shorter wheelbase, and a smaller rear triangle. This design results in greater standover clearance compared to traditional frames and can contribute to a stiffer, more responsive ride.
Giant revolutionized road bike design with the introduction of the TCR (Total Compact Road), and compact or semi-compact geometries are now widely adopted across modern road bikes.
Due to the sloping top tube, expect to see an additional two to three inches of exposed seatpost compared to traditional bikes with horizontal top tubes.
Semi-Compact Bicycle Frames
Semi-compact frame shapes, like on the Boardman SLR 8.6, are also popular. – Russell Burton / Our Media
Semi-compact geometry is similar to compact geometry, but the top tube slopes less dramatically. This results in slightly reduced standover clearance and a marginally longer effective top tube compared to compact frames.
The difference between semi-compact and compact frames can often be subtle.
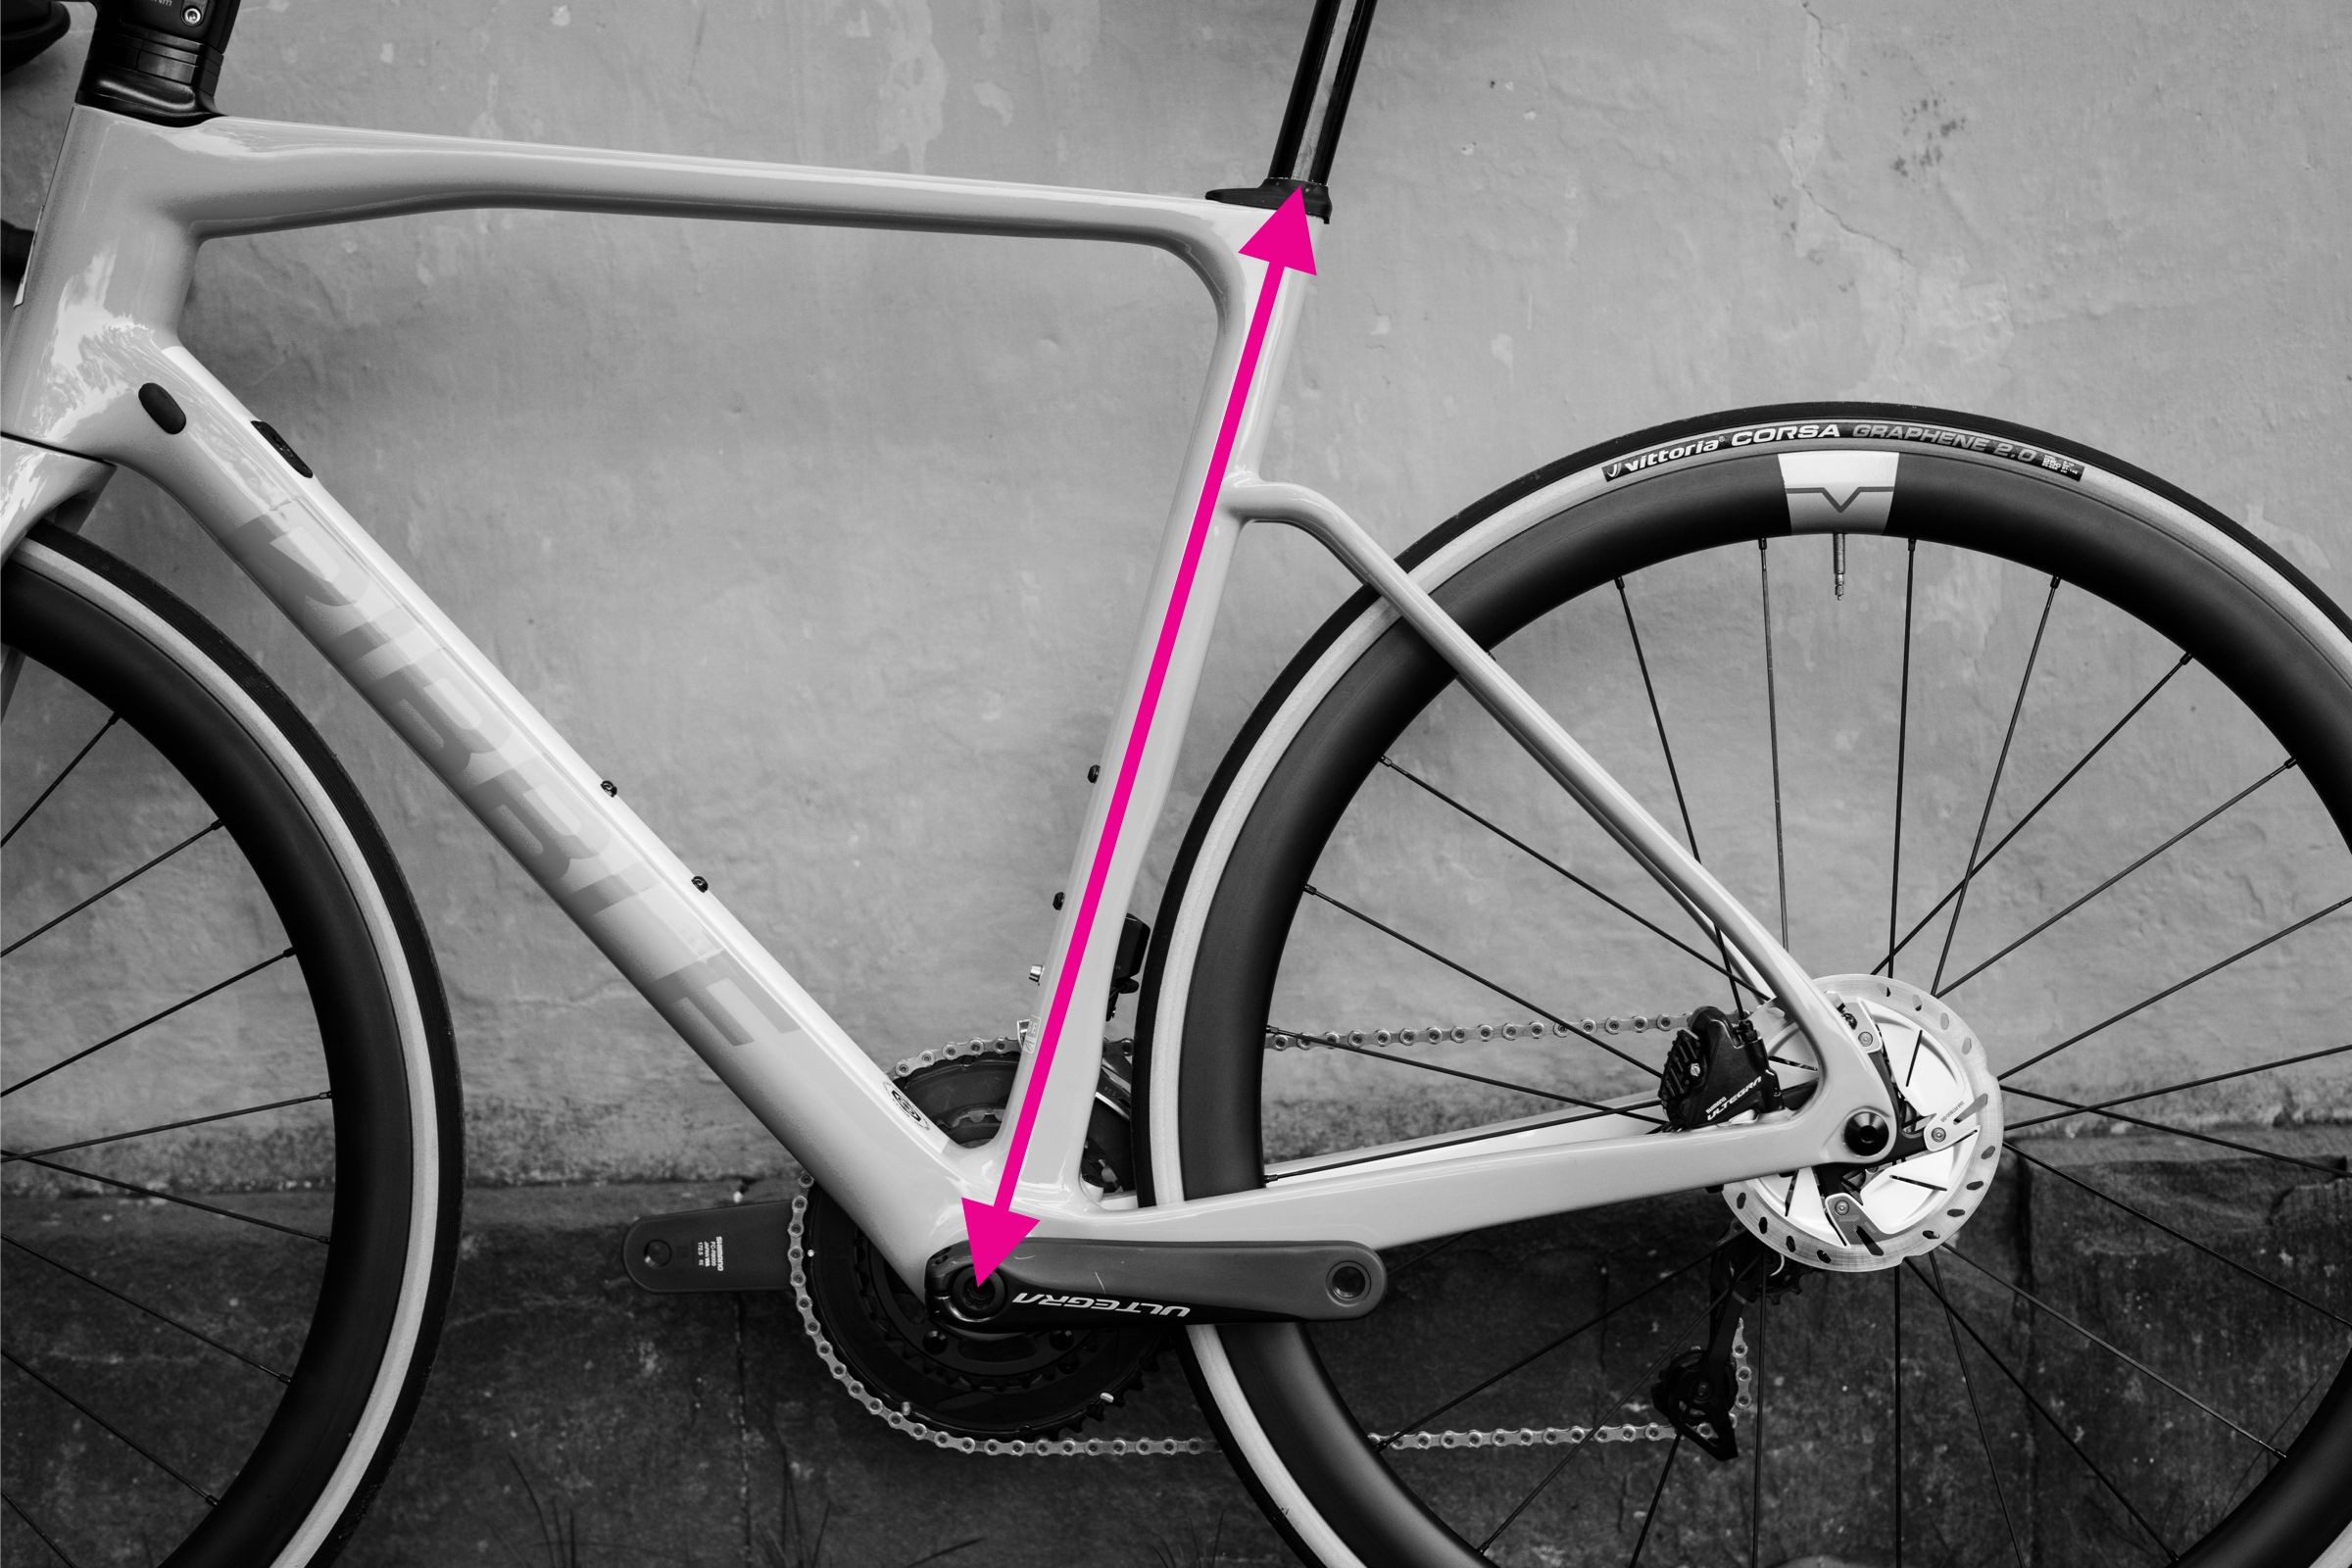
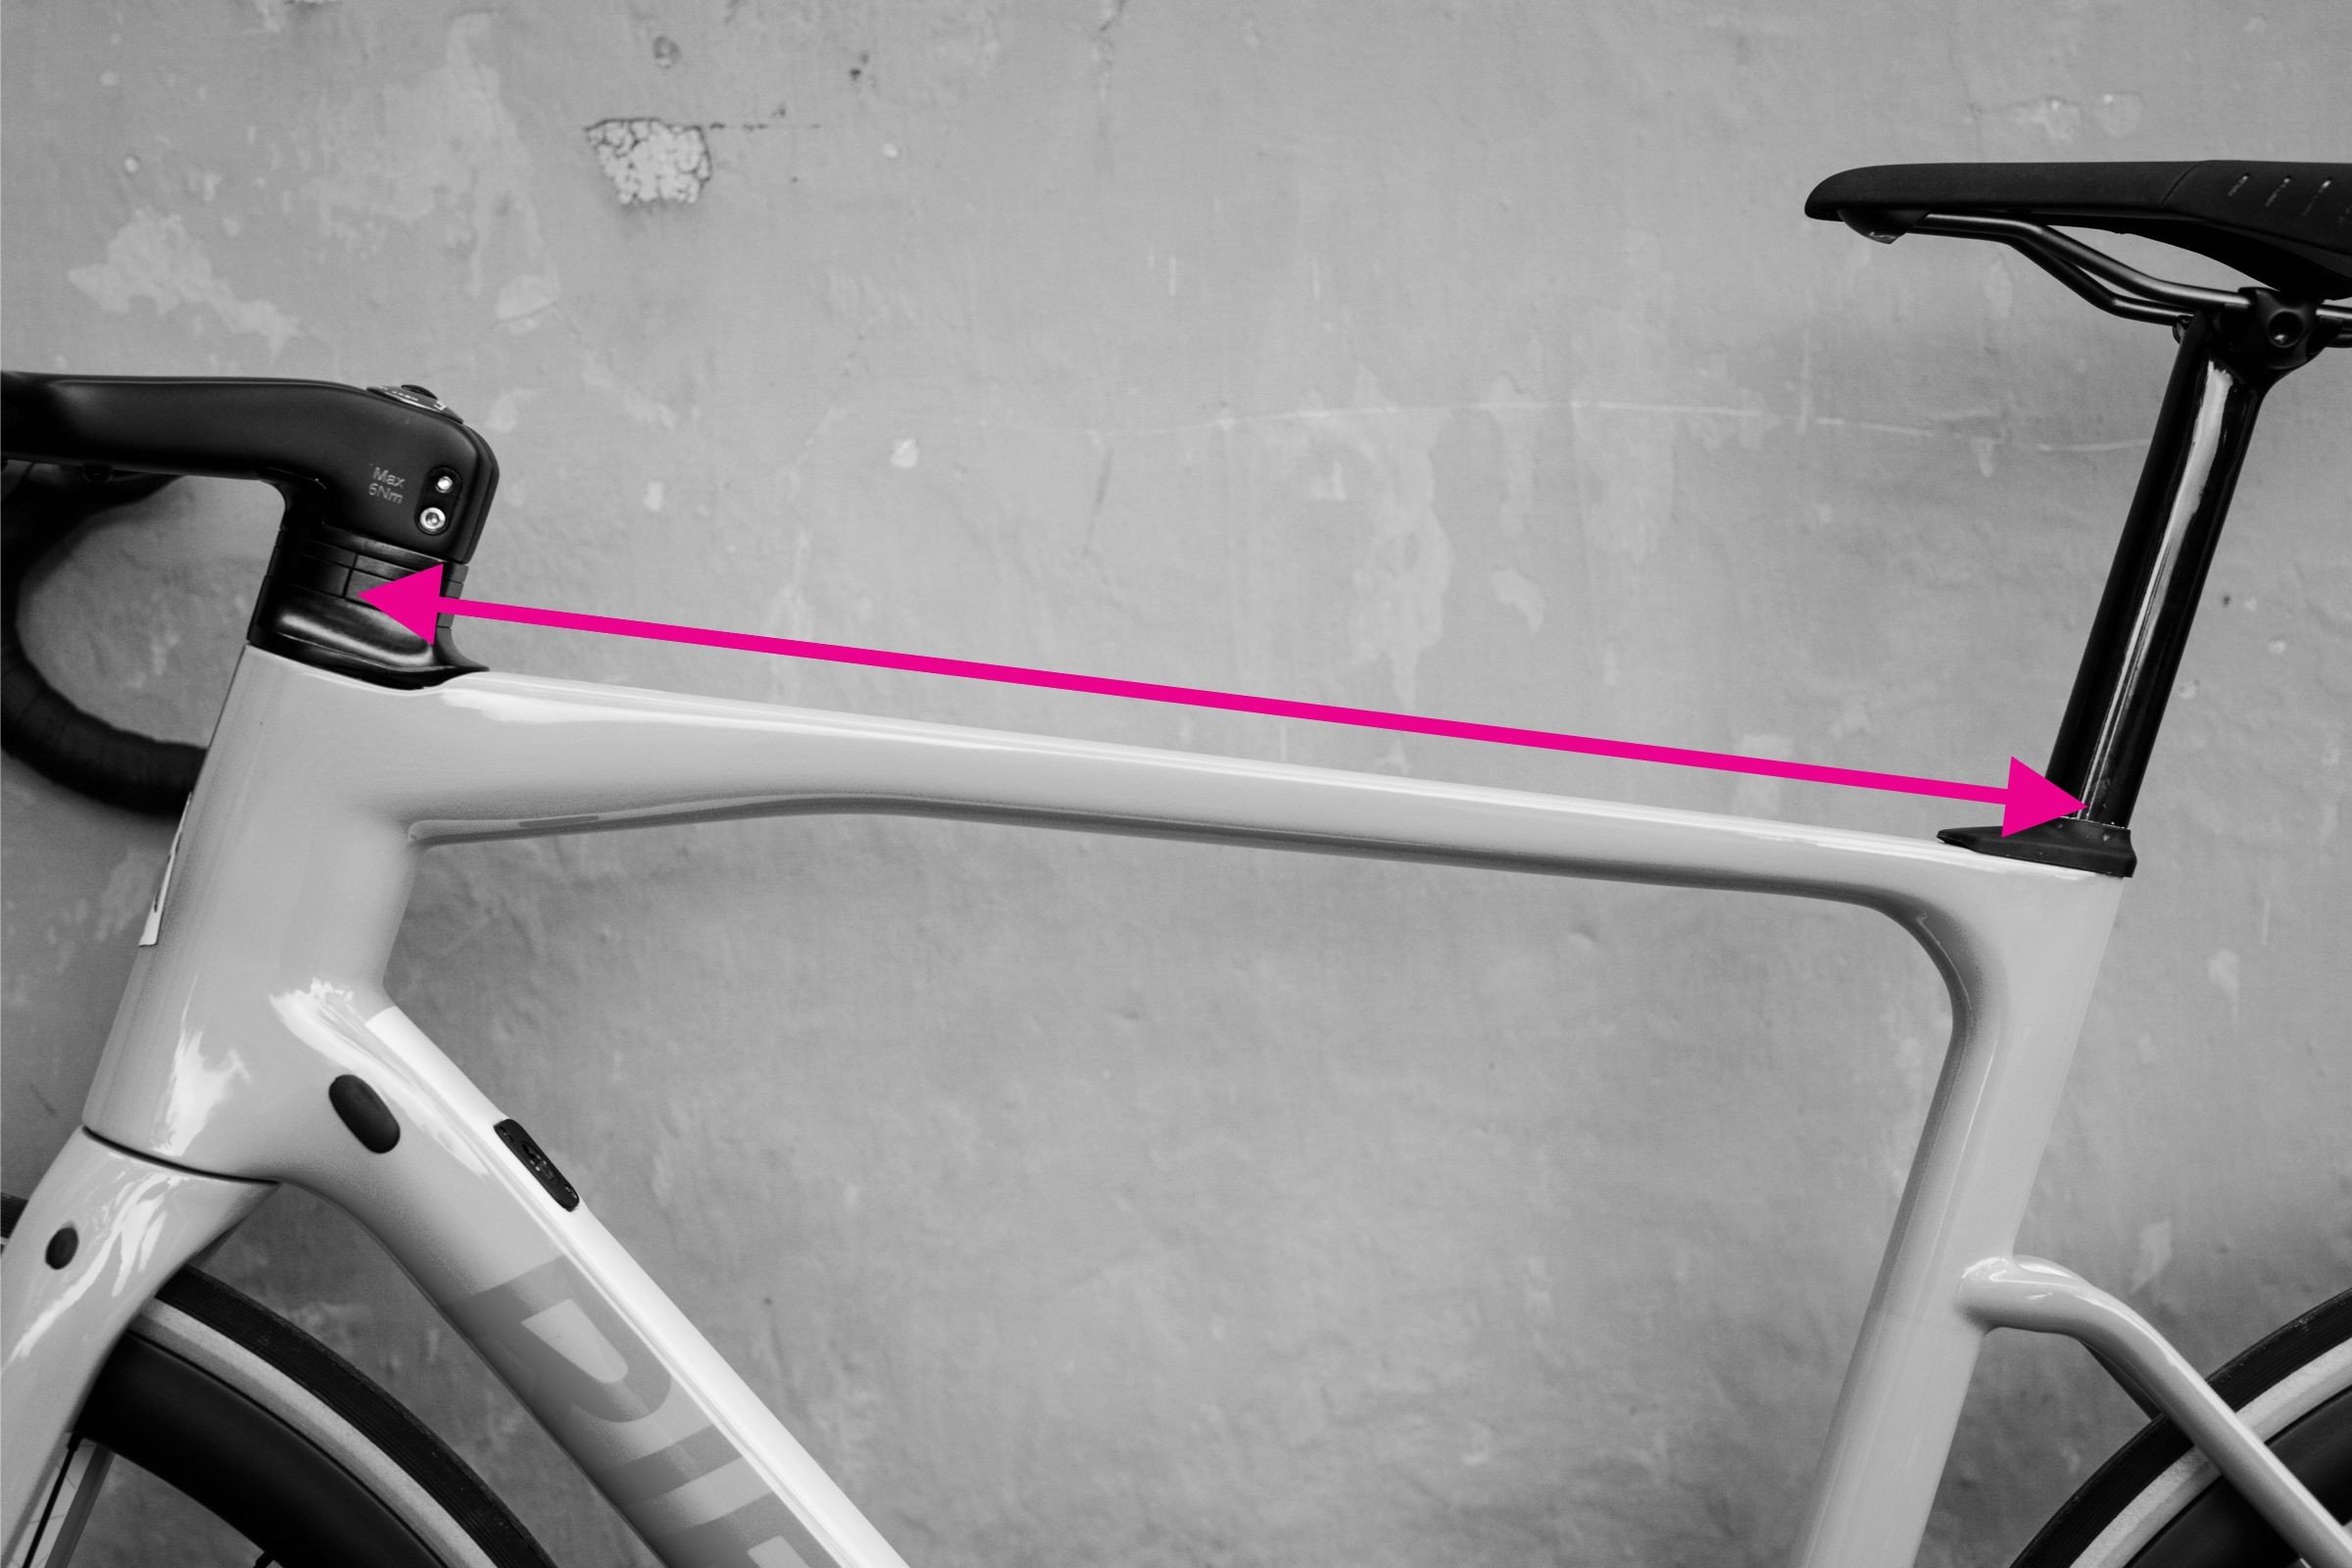
Top Tube Length: The Key Measurement
Top tube length is a crucial sizing measure, but there are different ways to measure it. – Immediate Media
The most important factor to consider when choosing a frame size is the effective top tube length. This is the horizontal distance from the head tube to the seatpost. On bikes with sloping top tubes, it’s the effective top tube length, while on traditional geometry bikes, it’s simply the actual top tube length.
If the top tube is too long, you’ll find yourself overreaching for the handlebars, leading to a more aggressive riding position that can be uncomfortable, especially on longer rides.
If you prioritize a more comfortable riding posture, opting for a shorter effective top tube length might be preferable.
Tweaking Bike Fit: Fine-Tuning for Perfection
Once you have the right frame size, fine-tune fit with handlebar height, stem length, and lever position adjustments. – Scott Windsor / Our Media
Once you’ve selected the correct frame size, you can begin fine-tuning your bike fit.
The next crucial adjustments involve setting the handlebar and saddle height. There are guides available to help you adjust handlebar height and set the correct saddle height.
Adjusting or changing the stem length can also significantly impact your reach – the distance to the handlebars – and influence the bike’s handling and performance.
Further adjustments can include modifying the fore/aft position and tilt of your saddle, the angle of your handlebars, and the reach to your brake levers. If the handlebar shape isn’t ideal, consider upgrading to handlebars that better suit your needs.
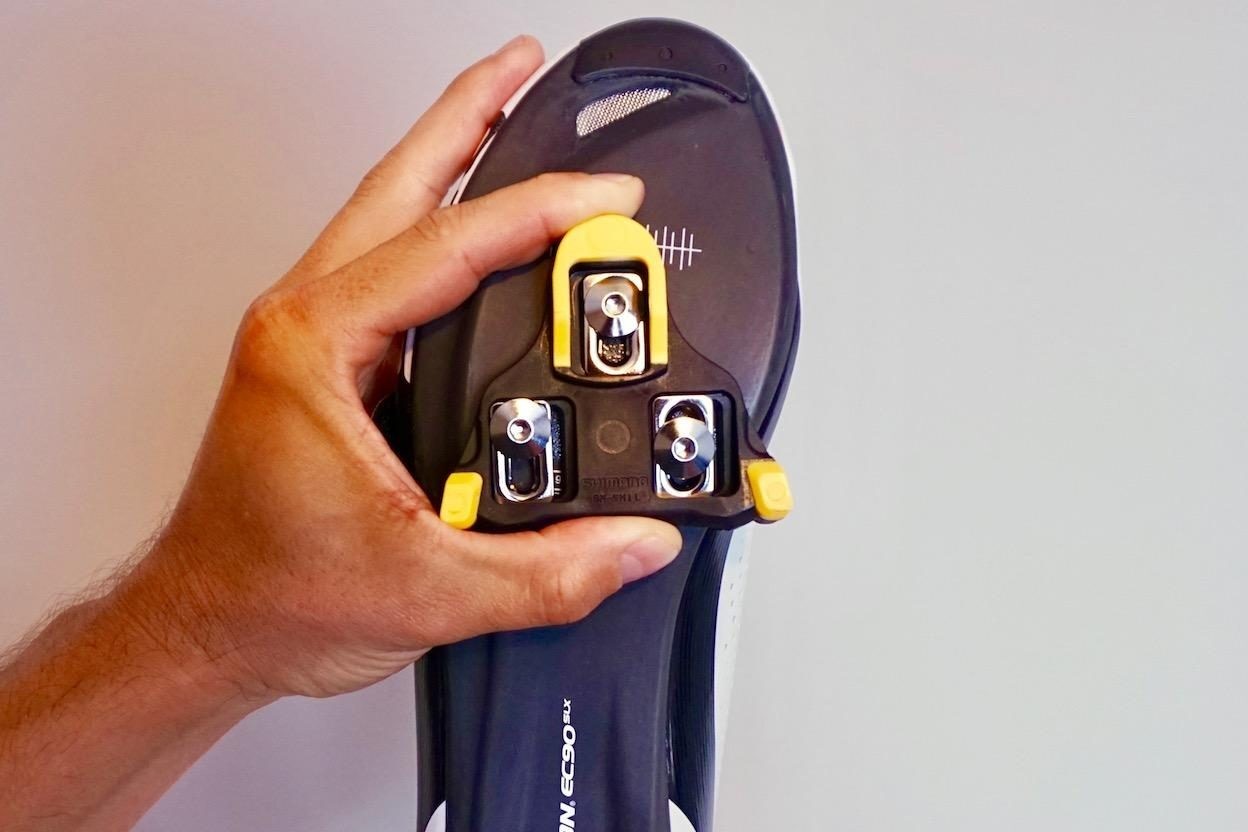
Cleat position significantly affects overall bike fit. – Thomas McDaniel / Immediate Media
Don’t overlook your pedals and cleats. If you use clipless pedals, the position of your cleats is crucial for overall comfort and efficiency on the bike.
Many of these adjustments can be made at a reputable bike shop. However, for truly dialing in your position, a professional bike fit is invaluable. Bike fit experts will often have you ride on a stationary trainer to analyze your position and ensure a perfect fit.
In conclusion, selecting the right size road bike is a foundational step towards comfortable, efficient, and enjoyable cycling. By understanding frame geometries, key measurements, and utilizing size charts as a starting point, you can confidently navigate the sizing process. Remember to factor in manufacturer-specific guidelines and always prioritize test rides and professional advice to ensure your road bike fits you perfectly.