Achieving salon-quality gel nails at home is easier than you might think! This comprehensive guide breaks down each step, ensuring a flawless, long-lasting manicure in the comfort of your own home. Whether you’re a beginner or looking to refine your technique, follow these simple instructions for beautiful gel nails every time.
Step 1: Gel Polish Removal (If Necessary)
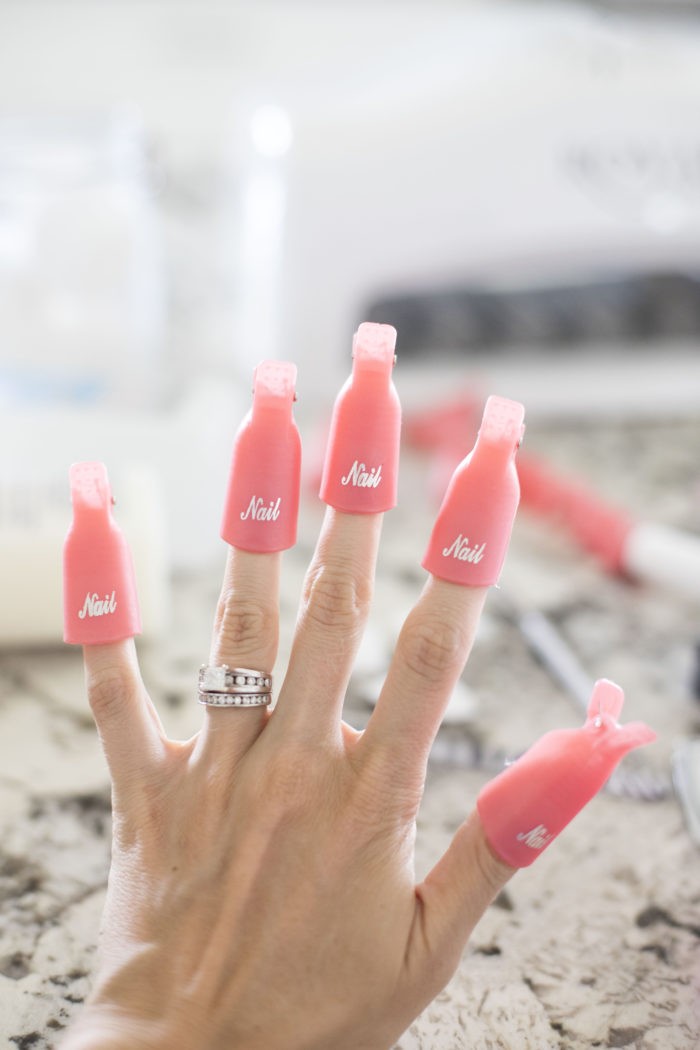
If you already have gel polish on, start by gently buffing the shiny top layer of each nail with a nail buffer. This helps the acetone penetrate effectively. Next, cut cotton pads into quarters and saturate each piece with acetone. Place a soaked cotton pad on each nail and secure it with a nail polish soak-off clip. Let it sit for about 15 minutes. This is a perfect time to relax and watch your favorite show!
Step 2: Removing the Gel Polish
After 15 minutes, remove the clips and cotton pads. The gel polish should have lifted and become easier to remove. Gently use a steel cuticle remover and scraper to scrape off the softened gel polish. If you encounter resistance, don’t force it. Reapply an acetone-soaked cotton pad for a few more minutes to further loosen the polish. Avoid damaging your natural nails by being patient and gentle.
Step 3: Cuticle Care is Key
Apply cuticle remover liquid to your cuticles and gently massage it in. Wait for a few moments as instructed on the product. Then, using the steel cuticle remover and scraper, gently push back your cuticles and scrape away any dead skin from the nail plate. For any excess cuticle hanging, carefully use a cuticle clipper to trim them. Be cautious not to cut too much, as this can lead to irritation or infection. Healthy cuticles are essential for a clean and professional-looking gel manicure.
Step 4: Shaping and Buffing Your Nails
Now it’s time to shape your nails. Clip your nails to your desired length using nail clippers. Use a nail file to shape the free edge of your nails into your preferred shape – square, round, oval, or almond. Once shaped, gently buff the surface of your nails with a nail buffer. This removes shine and creates a slightly rough surface, which helps the gel polish adhere better and last longer. Avoid over-buffing, as this can thin your natural nails.
Step 5: Nail Cleansing and Dehydration
Rinse your hands thoroughly with water to remove any dust and debris from filing and buffing. Ensure there is no soap residue on your nails, as this can interfere with polish adhesion. Dry your hands and nails completely. Apply a PH bond to each nail. This crucial step dehydrates the nail plate, removing any oils and moisture, which is vital for preventing lifting and chipping of your gel manicure.
Step 6: Base Coat Application
Apply an extremely thin layer of base coat gel polish to each nail. Make sure to cap the free edge of the nail to prevent shrinkage. Cure your nails under a UV or LED lamp for 120 seconds (or the time recommended by your base coat instructions). Remember, thin layers are key! Applying thick base coats can lead to bubbling, peeling, and an uneven manicure.
Step 7: Applying Gel Color Polish
Apply a very thin layer of your chosen gel color polish. Again, cap the free edge. If you get any polish on your skin or cuticles, use a cleanup brush or a toothpick dipped in acetone to carefully remove it before curing. Cure under the lamp for 120 seconds. Apply a second thin layer of color, cap the edge, and cure for another 120 seconds. For lighter or more sheer colors, you may need a third thin coat for full opacity, curing for 120 seconds after each layer.
Step 8: Top Coat for Shine and Protection
Apply a top coat gel polish to seal in the color and add shine. Ensure you apply a thin, even layer and cap the free edge. Cure under the lamp for 120 seconds. The top coat protects your manicure and provides that glossy, salon-quality finish.
Step 9: Final Cleanse
Soak a cotton pad with rubbing alcohol (isopropyl alcohol) and wipe each nail thoroughly. This removes the sticky inhibition layer that remains after curing the top coat, revealing the final, smooth, and shiny gel manicure. Now you have beautiful, long-lasting gel nails done at home, ready to go without any drying time!