Trading with villagers is a cornerstone of the Minecraft experience, offering a fantastic way to acquire valuable resources, enchanted items, and unique blocks. This comprehensive guide will delve into everything you need to know about villager trading, from finding villages and understanding professions to maximizing your trades and building efficient trading halls. Whether you’re a novice player just starting out or a seasoned Minecrafter looking to optimize your resource acquisition, this Villager Trading Guide will equip you with the knowledge to become a master trader.
Locating Villages: Your First Step to Trading
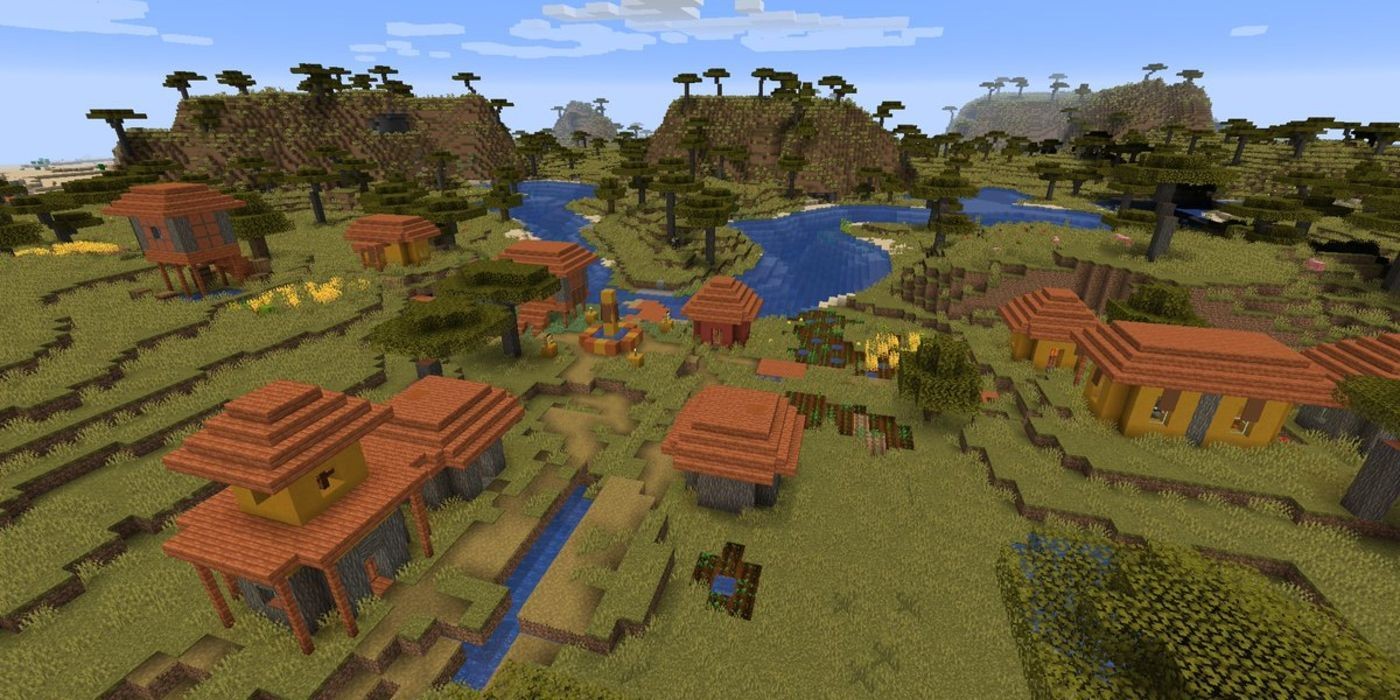
Before you can begin trading, you’ll need to find a village. Villages are naturally generated structures in Minecraft, populated by villagers of various professions. Fortunately, villages are relatively common and spawn in a variety of biomes, each with a distinct architectural style that reflects its environment. You can typically find villages in these biomes:
- Plains: Classic villages with wooden and cobblestone structures.
- Savanna: Villages built with acacia wood and terracotta, often perched on stilts.
- Taiga: Cozy villages constructed from spruce wood and cobblestone, sometimes featuring igloos.
- Meadows: Villages nestled in lush meadows, blending seamlessly with the floral surroundings.
- Desert: Villages crafted from sandstone, designed to withstand the arid desert climate.
- Snowy Plains (Bedrock Exclusive): Ice spikes and snowy landscapes host villages in the Bedrock Edition.
- Snowy Taiga (Bedrock Exclusive): Spruce and snow combine in these frosty Bedrock Edition villages.
Exploring different biomes is key to village discovery. Villages are designed to be common enough to find without excessive searching, but spaced out enough to encourage exploration. If you’re traversing diverse biomes, diligently search each one to increase your chances of finding a village and starting your villager trading journey.
Emeralds: The Currency of Villager Trading
Emeralds are the lifeblood of villager trading, serving as the primary currency for all transactions. Acquiring emeralds is essential to engage in profitable trades. While emeralds are not as abundant as other ores, there are several effective methods to gather them:
| Source | Notes |
|---|---|
| Trading with Villagers | Ironically, trading itself is a great way to obtain emeralds. Selling common items like sticks, crops, or stone to villagers can quickly build your initial emerald reserves. |
| Village Chests | Keep an eye out for chests within village houses. While not guaranteed, emeralds have a chance to appear as loot in these chests. |
| Mining Emerald Ore | Emerald ore spawns in mountain biomes, particularly at high altitudes (around Y level 256 and below). Mountainous regions are the prime locations for emerald mining. |
| Buried Treasure & Shipwrecks | Chests in buried treasure locations and shipwrecks have a small chance to contain emeralds, but this is not a reliable farming method. |
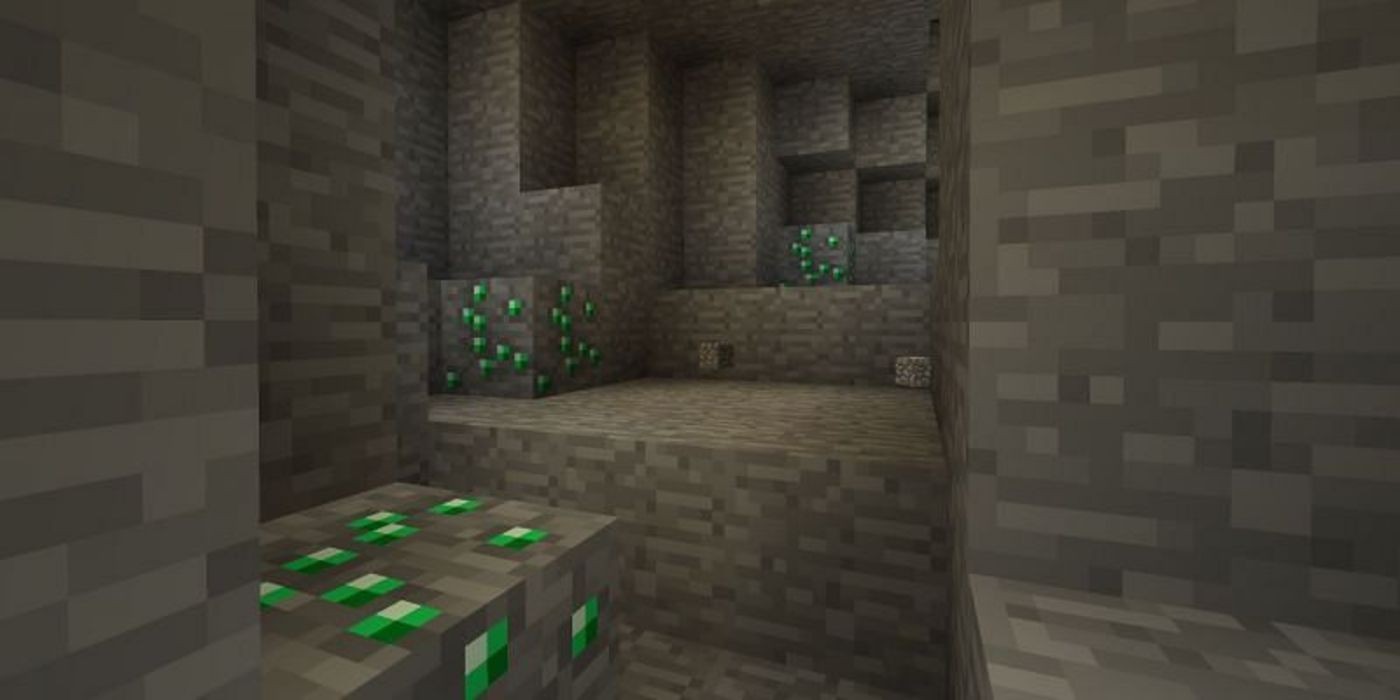
For dedicated emerald farming, mining is often the most efficient approach. Emerald ore is most commonly found in mountain biomes, especially in peak biomes with towering stone formations. Exploring these high-altitude areas will significantly increase your chances of finding emerald veins, sometimes even exposed on the surface, making mining easier and more rewarding. Remember to bring an iron pickaxe or better for efficient emerald mining.
Understanding Villager Trading Mechanics and Leveling
Initiating a trade with a villager is straightforward. Simply right-click on a villager wearing a distinct profession-based outfit. Each profession has a unique uniform, making it easy to distinguish between them. Alternatively, if you hold an item in your hand that a villager is interested in trading, they will often turn to face you and hold out an item in their hand as well, signaling their willingness to trade.
Villagers progress through five trading tiers as you trade with them, unlocking more valuable trades at each level. They start at the Novice level and advance through Apprentice, Journeyman, Expert, and finally Master. A villager’s current level is displayed at the top of the trading interface, and visually represented by the small orb on their belt. Higher levels unlock more lucrative and specialized trades, making it beneficial to level up your preferred trading partners.
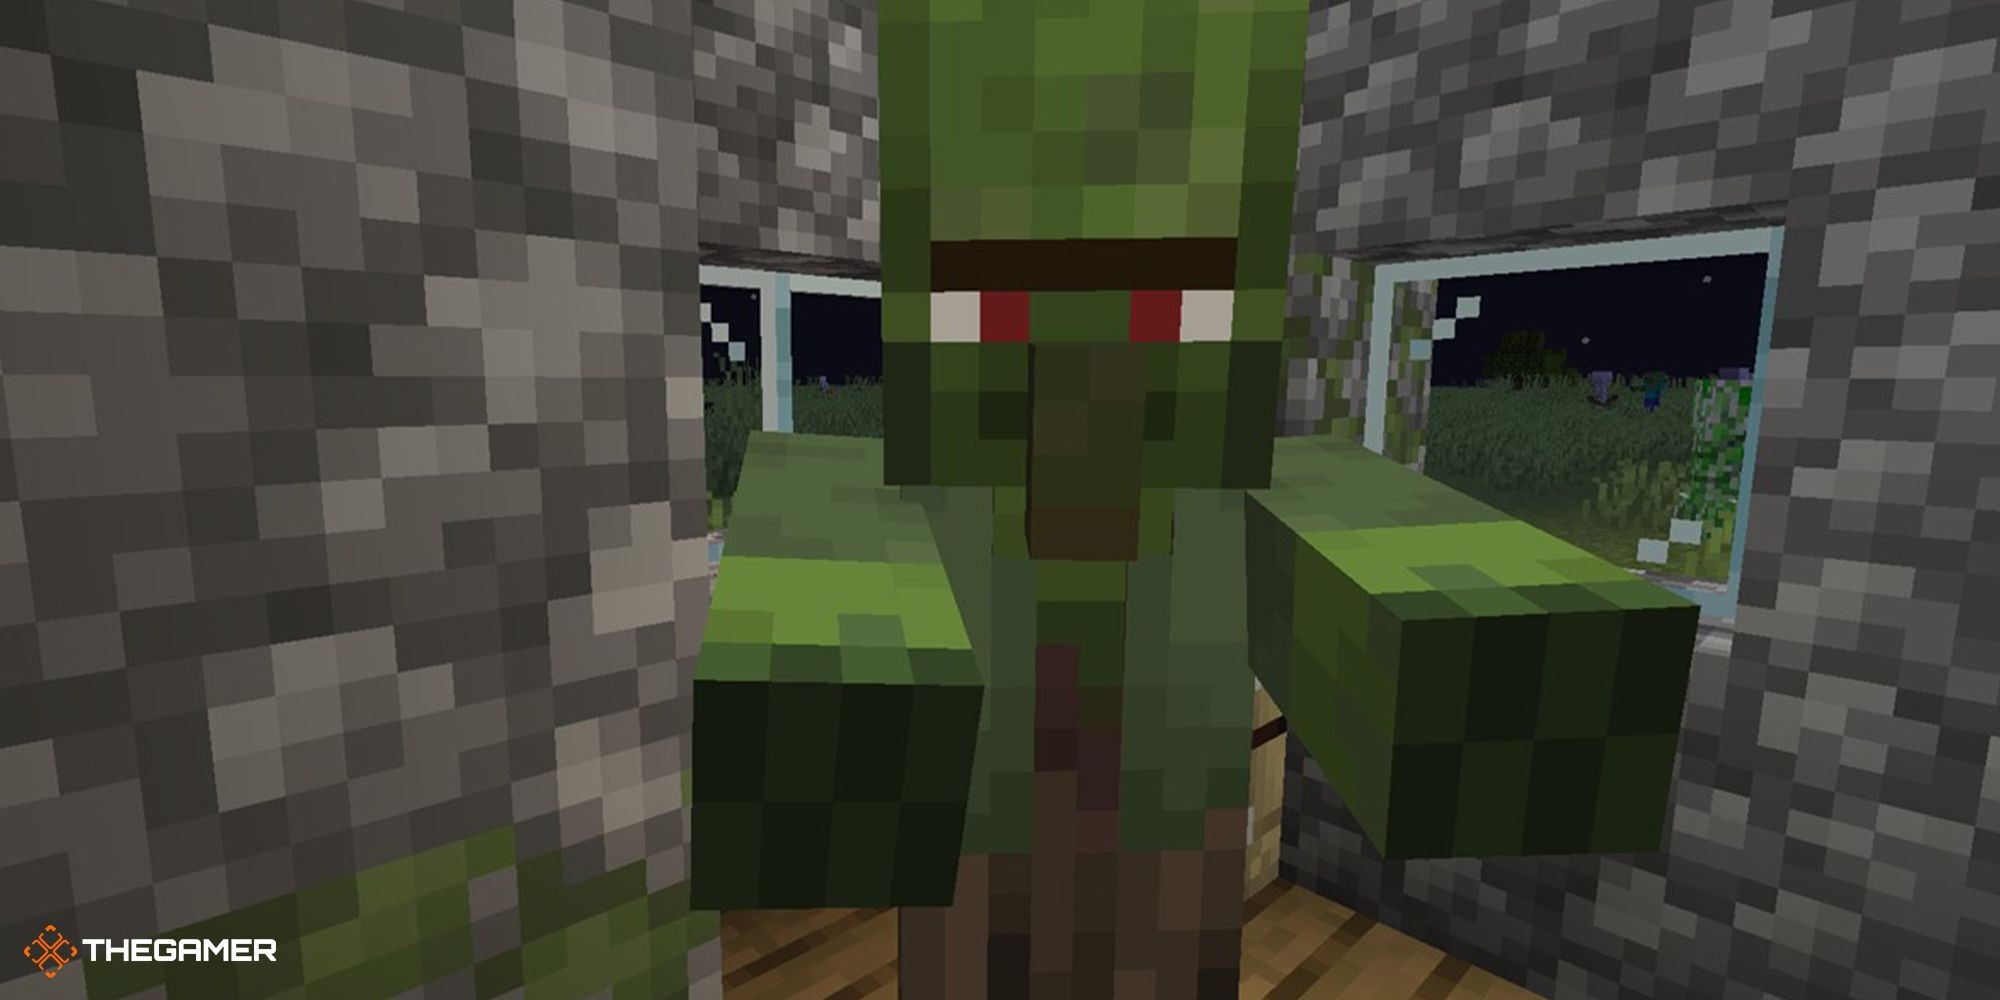
It’s crucial to note that unemployed villagers and Nitwits (villagers in green robes) cannot be traded with directly. However, you can assign a profession to an unemployed villager by placing a job site block near them. Nitwits, unfortunately, will remain unemployed and cannot learn a profession.
If you encounter undesirable trades from a villager, you have the option to reset their trades by breaking their workstation block and placing it again. This action resets both their trade offers and their level progress. This technique is particularly useful for Librarians, as their initial enchanted book trade is randomized and can potentially offer rare and highly sought-after enchantments like Mending or Infinity. By repeatedly resetting a Librarian’s trades, you can increase your chances of obtaining these valuable books.
Building a network of villagers with favorable emerald-generating trades is a smart strategy. These trades, often involving common items for emeralds, provide a consistent source of currency to fuel your more advanced trades with other villagers.
Villager Stock and Restocking: Supply and Demand in Minecraft
Villager trading in Minecraft incorporates a supply and demand system, adding a layer of realism to the gameplay. Each trade offer has a limited stock, preventing you from endlessly exploiting a single trade. More valuable trades generally have smaller stock quantities. Once a villager’s stock for a particular trade is depleted, that trade becomes temporarily unavailable.
To overcome stock limitations and facilitate larger-scale trading, consider establishing multiple villagers with the same profession. This allows you to trade larger volumes of items without waiting for restocks, as you can cycle through different villagers offering the same trades.
Villagers restock their trades twice per day after working at their designated workstation. A depleted trade will remain unavailable until the villager has restocked, typically during their work hours. Observing villagers interacting with their workstations can give you clues about restocking times.
Pricing Dynamics: Factors Influencing Trade Costs
Villager trade prices are not static and can fluctuate based on several factors. Understanding these dynamics can help you secure better deals:
| Factor | Description |
|---|---|
| Popularity | Trading frequently with villagers increases your popularity, leading to lower prices. Conversely, actions that harm villagers, like attacking them, decrease popularity and result in inflated prices. |
| Sold Out Items | When a trade’s stock is exhausted and then replenished, the price for that trade will temporarily increase. This price increase gradually diminishes over time as you continue trading. |
| Hero of the Village | Achieving “Hero of the Village” status by successfully defending a village from a raid grants you a temporary discount on all villager trades. This effect significantly reduces prices across the board. |
| Curing Zombie Villagers | Curing a zombie villager permanently reduces their trade prices, offering substantial discounts. Repeatedly curing the same villager can drive prices down to as low as a single emerald or item. |
Zombie Villagers: Turning Undead into Discount Dealers
Zombie villagers are zombified versions of regular villagers. While hostile in their zombie state, they hold a unique advantage: curing them offers permanent trade discounts. Transforming zombie villagers back into regular villagers is a worthwhile endeavor for any serious trader. Here’s the curing process:
- Capture a Zombie Villager: Isolate a zombie villager to prevent escape or sunlight damage.
- Inflict Weakness: Apply the Weakness effect using a Splash Potion of Weakness, a Tipped Arrow of Weakness, or a Lingering Potion of Weakness.
- Feed a Golden Apple: Give the weakened zombie villager a Golden Apple. Simply use the golden apple item on the zombie villager.
- Curing Process: The zombie villager will begin to tremble and shake, indicating the curing process has begun.
Once cured, the villager will offer you permanent trade discounts. This discount is cumulative, meaning you can repeat the process of infecting and curing the same villager multiple times to further reduce their prices. With repeated cures, you can potentially lower trade costs to the minimum possible, making valuable items incredibly affordable.
For a more detailed guide on curing zombie villagers, dedicated resources are available that can provide step-by-step instructions and helpful tips.
Comprehensive Villager Trades List by Profession
To effectively utilize villager trading, it’s essential to know the trades offered by each profession at different levels. Below is a detailed breakdown of trades for each villager profession, outlining the items they buy and sell at each level. The prices listed are the default prices, before any discounts from curing or other factors.
Farmer Trades
| Level | Buys | Sells |
|---|---|---|
| Novice | 20 Wheat OR 26 Potatoes OR 22 Carrots OR 15 Beetroots for 1 Emerald | 6 Bread for 1 Emerald |
| Apprentice | 6 Pumpkins for 1 Emerald | 4 Pumpkin Pie OR 4 Apples for 1 Emerald |
| Journeyman | 4 Melons for 1 Emerald | 18 Cookies for 3 Emeralds |
| Expert | 1 Suspicious Stew OR 1 Cake for 1 Emerald | |
| Master | 3 Golden Carrots for 3 Emeralds OR 3 Glistering Melons for 4 Emeralds |
Butcher Trades
| Level | Buys | Sells |
|---|---|---|
| Novice | 14 Raw Chicken OR 4 Raw Rabbit OR 7 Raw Porkchop for 1 Emerald | 1 Rabbit Stew for 1 Emerald |
| Apprentice | 15 Coal for 1 Emerald | 8 Cooked Chicken OR 5 Cooked Porkchop for 1 Emerald |
| Journeyman | 10 Raw Beef OR 7 Raw Mutton for 1 Emerald | |
| Expert | 10 Dried Kelp Blocks for 1 Emerald | |
| Master | 10 Sweet Berries for 1 Emerald |
Fisherman Trades
| Level | Buys | Sells |
|---|---|---|
| Novice | 20 String OR 10 Coal for 1 Emerald | 1 Bucket of Cod for 1 Emerald OR 6 Cooked Cod for 1 Emerald + 6 Raw Cod |
| Apprentice | 15 Raw Cod for 1 Emerald | 1 Campfire for 1 Emerald OR 6 Cooked Salmon for 1 Emerald + 6 Raw Salmon |
| Journeyman | 13 Raw Salmon for 1 Emerald | 1 Enchanted Fishing Rod for 7-22 Emeralds |
| Expert | 6 Tropical Fish for 1 Emerald | |
| Master | 4 Pufferfish for 1 Emerald | 1 Boat for 1 Emerald |
Shepherd Trades
| Level | Buys