Quick Navigation:
- Understanding Incarnon Weapons
- Acquiring Incarnon Weapons: Blueprints and Crafting
- Mastering Incarnon Evolutions: Challenges and Unlocks
- Comprehensive Guide to All Incarnon Evolutions
- Essential Tips for Incarnon Weapon Mastery
Warframe‘s continuous evolution brings forth exciting new mechanics, and the Angels of the Zariman update introduced a game-changer: Incarnon weapons. These unique armaments, touched by the Void, possess the incredible ability to transform into devastating forms mid-combat. When wielded effectively, Incarnon weapons empower your Warframe to dominate enemy hordes with unmatched ferocity.
Each Incarnon weapon features a deep Evolution system, allowing for extensive customization of their stats and combat behaviors. Tailor your weapon’s reload speed, amplify damage on non-critical hits, and unlock a range of powerful enhancements. This comprehensive guide will delve into the essence of Incarnon weapons, detail the acquisition process, explain the intricacies of the Evolution system, and provide a complete overview of every Evolution available for these potent armaments.
Updated for latest content, this guide now includes information on the newest additions to the Incarnon arsenal from the Echoes of the Zariman update: the Innodem and Felarx. These formidable weapons offer even more strategic depth and build diversity to your Warframe loadouts.
Understanding Incarnon Weapons
Incarnon weapons are a special class of weaponry in Warframe, imbued with Void energy that grants them transformative capabilities. These weapons are exclusively obtained from The Holdfasts Syndicate located within the Zariman Ten Zero. Currently, the arsenal includes five distinct Incarnon weapons:
- Laetum: This semi-automatic pistol, upon transformation, unleashes a fully automatic grenade launcher form.
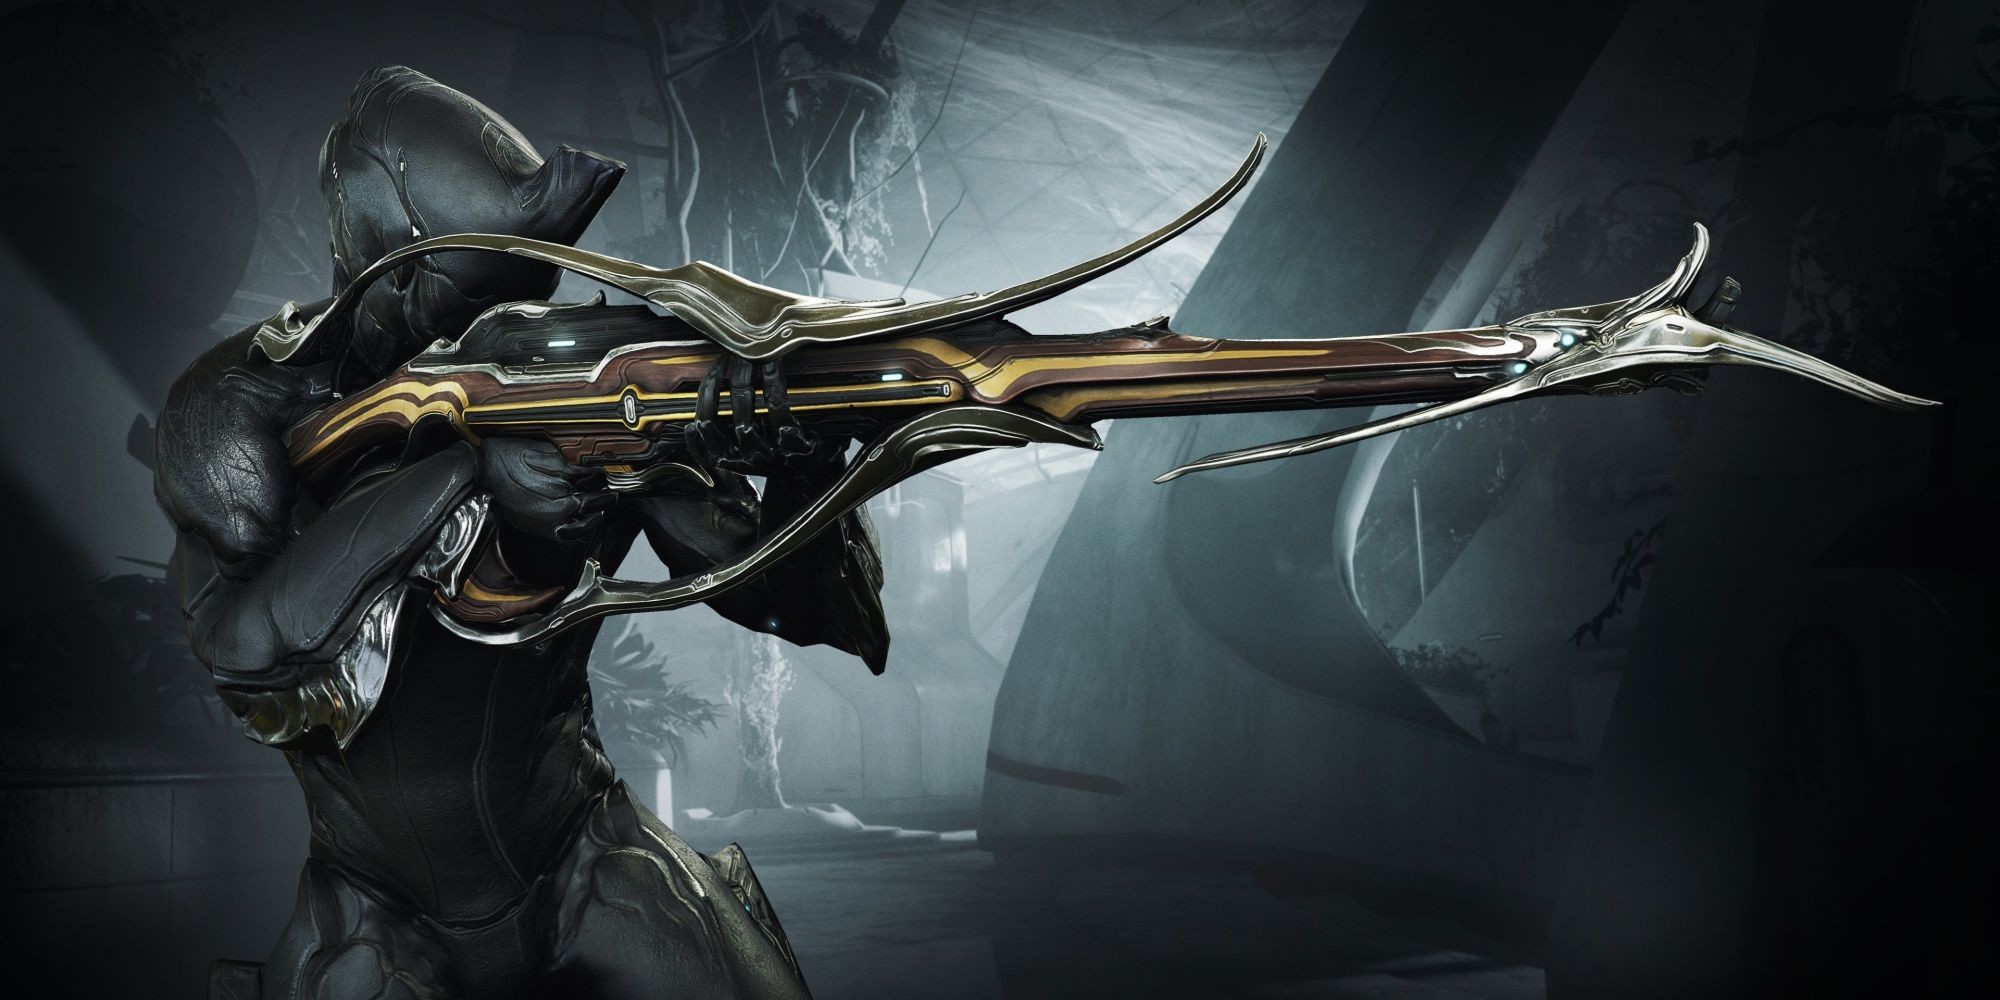
- Phenmor: Starting as a semi-automatic rifle, it evolves into a high-powered minigun.
- Praedos: These tonfas transform, gaining enhanced range and attack speed in their Incarnon state.
- Innodem: A dagger that turns into a wider-reaching, faster-attacking melee weapon with energy waves.
- Felarx: This shotgun morphs into a set of devastating semi-automatic dual pistols.
The core mechanic of Incarnon weapons is their Incarnon Form, accessible after completing the initial Evolution challenge. Activating this form during missions is unique to each weapon. The Laetum and Phenmor require accumulating headshots, while the Praedos and Innodem transform after performing a Heavy Attack at a x5 combo multiplier. For the ranged weapons (Laetum, Phenmor, Felarx), engaging the Incarnon form involves using the alternate fire input.
Acquiring Incarnon Weapons: Blueprints and Crafting
To acquire Incarnon weapons, you must interact with Cavalero, the vendor representing The Holdfasts Syndicate in the Chrysalith on the Zariman Ten Zero. Access to these blueprints is tied to your standing rank with The Holdfasts. Alternatively, blueprints can be traded between players. Each Incarnon weapon blueprint demands specific resources and a standing rank (for some) to purchase and craft.
A crucial resource for crafting Incarnon weapons is Voidplumes. Refer to a dedicated Voidplume farming guide for efficient methods to collect each type of Voidplume.
Laetum Crafting Requirements
| Holdfasts Rank | Rank 0 – Neutral |
|---|---|
| Crafting Costs | – 30,000 Credits – 1 Voidplume Pinion – 5 Voidplume Quill – 20 Voidgel Orb – 4,000 Ferrite |
| Crafting Time | 24 Hours |


Innodem Crafting Requirements
| Holdfasts Rank | Rank 0 – Neutral |
|---|---|
| Crafting Costs | – 30,000 Credits – 5 Voidplume Pinion – 15 Voidplume Quill – 15 Entrati Lanthorn – 20 Thrax Plasm |
| Crafting Time | 24 Hours |
Phenmor Crafting Requirements
| Holdfasts Rank | Rank 2 – Watcher |
|---|---|
| Crafting Costs | – 30,000 Credits – 15 Voidplume Pinion – 20 Voidplume Quill – 6,000 Alloy Plate – 15 Entrati Lanthorn |
| Crafting Time | 24 Hours |
Felarx Crafting Requirements
| Holdfasts Rank | Rank 2 – Watcher |
|---|---|
| Crafting Costs | – 30,000 Credits – 10 Voidplume Pinion – 15 Voidplume Quill – 30 Voidgel Orb – 8,000 Alloy Plate |
| Crafting Time | 24 Hours |
Praedos Crafting Requirements
| Holdfasts Rank | Rank 4 – Seraph |
|---|---|
| Crafting Costs | – 30,000 Credits – 15 Voidplume Pinion – 30 Voidplume Quill – 8,000 Ferrite – 100 Thrax Plasm |
| Crafting Time | 24 Hours |
Mastering Incarnon Evolutions: Challenges and Unlocks
Incarnon weapons stand apart from standard Warframe armaments due to their Evolution system. These Evolutions function as interchangeable passive bonuses, offering benefits ranging from recoil reduction to significant damage multipliers against non-critical hits. You can freely swap between unlocked Evolutions by speaking with Cavalero in the Chrysalith. Unlike systems like Zaws, Incarnon Evolution swaps are unlimited and cost-free.
Evolutions are structured across five tiers, each requiring completion of a specific challenge unique to the weapon. Completing a challenge in a tier unlocks a choice between three Evolutions (except for Tier 1, which unlocks the Incarnon form itself). Remember, these choices are not permanent and can be altered at any time.
Below are the unlock challenges for each Incarnon weapon, accompanied by helpful tips to expedite your progress.
Laetum Evolution Challenges
| Laetum Challenges |
|---|
| Evolution |
| Tier 1 |
| Tier 2 |
| Tier 3 |
| Tier 4 |
| Tier 5 |
Tips for Laetum Challenges:
- Tier 1: A low-level Exterminate mission in a Crossfire node is ideal for quickly racking up kills.
- Tier 2: Eximus Stronghold Sorties or Elite Sanctuary Onslaught are excellent sources of Eximus enemies.
- Tier 3: Optimize your Laetum for magazine capacity and multishot. Utilize elevated positions for a clearer line of sight to the Void Angel’s head.
- Tier 4: It’s more efficient to tackle this challenge once you have multiple Incarnon weapons at Tier 4.
- Tier 5: A solo Capture mission is the fastest mission type to complete.
Innodem Evolution Challenges
| Innodem Challenges |
|---|
| Evolution |
| Tier 1 |
| Tier 2 |
| Tier 3 |
| Tier 4 |
| Tier 5 |
Tips for Innodem Challenges:
- Tier 1: Low-level Crossfire Exterminate missions are again suitable for quick kills.
- Tier 2: A quick method is to activate Incarnon Form and then intentionally die. Reviving resets the buff, allowing for rapid reactivation at x5 combo.
- Tier 3: Zariman missions guarantee Thrax enemy spawns. Heavy attack spam when encountering a ghost-possessed enemy.
- Tier 4: Efficient to complete when other Incarnon weapons reach Tier 4 challenges.
- Tier 5: Solo Capture missions are the quickest.
Phenmor Evolution Challenges
| Phenmor Challenges |
|---|
| Evolution |
| Tier 1 |
| Tier 2 |
| Tier 3 |
| Tier 4 |
| Tier 5 |
Tips for Phenmor Challenges:
- Tier 1: Low-level Crossfire Exterminate missions are efficient for fast kills.
- Tier 2: Eximus Stronghold Sorties and Elite Sanctuary Onslaught are ideal for Eximus farming.
- Tier 3: Build for magazine size and multishot. Utilize elevated positions for better headshot visibility on Void Angels.
- Tier 4: Best tackled when multiple Incarnon weapons are at Tier 4.
- Tier 5: Solo Capture missions are the quickest to complete.
Felarx Evolution Challenges
| Felarx Challenges |
|---|
| Evolution |
| Tier 1 |
| Tier 2 |
| Tier 3 |
| Tier 4 |
| Tier 5 |
Tips for Felarx Challenges:
- Tier 1: Low-level Crossfire Exterminate for rapid enemy kills.
- Tier 2: Eximus Stronghold Sorties and Elite Sanctuary Onslaught for Eximus encounters.
- Tier 3: Focus on magazine capacity and multishot. Elevated positions aid in Void Angel headshots.
- Tier 4: More efficient to do alongside other Tier 4 Incarnon weapon challenges.
- Tier 5: Solo Capture mission for quick completion.
Praedos Evolution Challenges
| Praedos Challenges |
|---|
| Evolution |
| Tier 1 |
| Tier 2 |
| Tier 3 |
| Tier 4 |
| Tier 5 |
Tips for Praedos Challenges:
- Tier 1: Low-level Crossfire Exterminate mission for quick kills.
- Tier 2: Activate Incarnon Form, die, and revive to reset and reactivate at x5 combo.
- Tier 3: Zariman missions for Thrax enemies. Heavy attack spam on ghost-possessed enemies.
- Tier 4: Efficient to complete with other Tier 4 Incarnon weapon challenges.
- Tier 5: Solo Capture missions are the fastest.
Related Guide: Warframe: Gyre Complete Guide – Drops, Abilities, And Builds
Comprehensive Guide to All Incarnon Evolutions
Each Incarnon weapon boasts five Evolution tiers, with tiers 2 through 5 offering a choice of three distinct upgrades. Detailed below are the Evolution options and unlock tiers for each weapon.
Laetum Evolutions
| Tier 1 |
|---|
| Incarnon Form |
| Tier 2 |
| Marksman’s Hand |
| Rapid Wrath |
| Raptor’s Chase |
| Tier 3 |
| Lethal Rearmament |
| Awakened Readiness |
| Feather of Justice |
| Tier 4 |
| Caput Mortuum |
| Incarnon Efficiency |
| Elemental Excess |
| Tier 5 |
| Devouring Attrition |
| Reaper’s Plenty |
| Overwhelming Attrition |
Incarnon Form: Transforms the Laetum into a fully automatic grenade launcher, capable of firing up to 220 explosive rounds before reverting. The ammo capacity in Incarnon form is fixed and unaffected by Ammo Efficiency mods, though Synth Charge can bypass magazine depletion if ammo runs out.
Evolution upgrades generally provide additive bonuses to base stats. Devouring Attrition and Overwhelming Attrition significantly boost base damage, scaling additively with mods like Hornet Strike.
Innodem Evolutions
| Tier 1 |
|---|
| Incarnon Form |
| Tier 2 |
| Orokin Reach |
| Bladed Harmony |
| Striking Swiftness |
| Tier 3 |
| Hawk Momentum |
| Skyborn Lunge |
| Blade Twister |
| Tier 4 |
| Incarnon Imago |
| Swooping Lunge |
| Protracted Leap |
| Tier 5 |
| Blood Anointed |
| Stunning Brutality |
| Armed Inspiration |
Incarnon Form: Grants the Innodem +40% attack speed, +3m range, and aerial attacks release Exodia Contagion-like energy waves. Finishers in Incarnon form apply Incarnon Resilience, granting 10% damage resistance (stacks up to 4x) for 90 seconds.
Evolution passives are generally additive with corresponding mods. A Finisher-focused build synergizes well with the Innodem’s Evolution options. Alternatively, it can be configured as a stat stick.
Phenmor Evolutions
| Tier 1 |
|---|
| Incarnon Form |
| Tier 2 |
| Void’s Guidance |
| Rapid Wrath |
| Swift Deliverance |
| Tier 3 |
| Retribution’s Vessel |
| Ready Retaliation |
| Executioner’s Fortune |
| Tier 4 |
| Survivor’s Edge |
| Incarnon Efficiency |
| Elemental Excess |
| Tier 5 |
| Devouring Attrition |
| Spiteful Defilement |
| Lingering Judgment |
Incarnon Form: Transforms the Phenmor into a minigun for 408 rounds, each with 3m punch-through. Its raw damage and punch-through compensate for the lack of AoE. Crit and status Evolution buffs are additive with base stats.
Felarx Evolutions
| Tier 1 |
|---|
| Incarnon Form |
| Tier 2 |
| Attuned Accuracy |
| Kinetic Baffle |
| Frictionless Flight |
| Tier 3 |
| Dual-Mode Chamber |
| Evolved Autoloader |
| Mounting Momentum |
| Tier 4 |
| Brutal Edge |
| Incarnon Catalyst |
| Wracking Wrath |
| Tier 5 |
| Devastating Attrition |
| Ruptured Plenitude |
| Agile Executor |
Incarnon Form: Converts the Felarx shotgun into semi-auto dual pistols with Radiation and Impact damage, firing at 1.5 RPS with high critical stats. Up to 60 shots before full charge depletion. Crit-focused builds are highly recommended.
Dual-Mode Chamber alternates between Projectile Speed and Punch Through with each shell loaded. Damage buffs from Devastating Attrition are additive with Point Blank-like mods. Crit/status mods are additive with base stats. Each pellet contributes to Incarnon charge, enabling rapid charge buildup with full pellet hits.
Praedos Evolutions
| Tier 1 |
|---|
| Incarnon Form |
| Tier 2 |
| Seismic Slam |
| Whirling Flurry |
| Drifting Grace |
| Tier 3 |
| Shockwave Synergy |
| Reaching Lunge |
| Adept Reflexes |
| Tier 4 |
| Swift Transmute |
| Evolved Ascension |
| Vaulting Leap |
| Tier 5 |
| Transfigured Momentum |
| Kinetic Harmony |
| Universal Readiness |
Incarnon Form: Enhances Praedos with +2m range and +40% attack speed for 90 seconds. Bonuses are additive with other sources. Praedos’ Incarnon form is arguably the least impactful compared to others.
Evolution bonuses are additive with base stats. Utility-focused Evolutions enhancing parkour are generally recommended over damage, as parkour builds are less common.
Essential Tips for Incarnon Weapon Mastery
- Laetum: Combine with weapons like the Scourge to reliably set up headshots, accelerating Incarnon charge.
- Innodem: For Blood Anointed, use Reflex Coil to achieve 90% Heavy Attack efficiency. Dagger Stances inherently open enemies to Finishers on Heavy Attacks, negating the need for specific Warframes.
- Phenmor: Leverage the Incarnon form’s punch-through with crowd control abilities such as Ensnare or Larva for maximum effectiveness.
- Felarx: Prioritize magazine capacity builds to maximize the benefits of Mounting Momentum for sustained fire rate increases.
- Praedos: Consider specializing Praedos for parkour enhancements via Evolutions to significantly boost Warframe mobility during combat.
Next Guide: Warframe: Angels Of The Zariman Quest Walkthrough