Conquering SteamWorld Dig 2’s Single Credit Mode is a true test of skill. These achievements, “You Can Do It, In Theory” and “We Never Actually Tested This,” are among the most challenging in the game, pushing players to their limits. Single Credit Mode means one life – death sends you back to the main menu. Completing all missions in this mode is tough, but finishing the entire campaign is a feat for seasoned players.
This guide will provide a mission-by-mission walkthrough with tips to help you navigate the dangers of Single Credit Mode in SteamWorld Dig 2. Practice is key. We highly recommend familiarizing yourself with missions and tricky sections outside of Single Credit Mode before attempting these achievements. Let’s dig in!
Mission 1: Getting Started
Mission 1 serves as a gentle introduction. You’ll mainly encounter Kamikaze bots, and the mission is relatively short, typically taking around 5 minutes. There aren’t any particularly challenging sections, making this a straightforward start to your Single Credit run. Focus on smooth movement and efficient dispatching of enemies to build confidence for the tougher challenges ahead.
Mission 2: Conveyor Belt Hazard
Mission 2 introduces environmental hazards, specifically the conveyor belt section near the end. The crucial tip here is to immediately jump right after dropping down to avoid being dragged back into the sawblades by the belt. As the fight progresses, be wary of the Smashers descending from above, as they can cause instant death. While these hazards add a layer of difficulty, the overall mission is still manageable and can likely be completed on your first Single Credit attempt.
Mission 3: Lava Chase and Tight Quarters
Mission 3 is shorter but presents a few challenging areas that require careful navigation and enemy management.
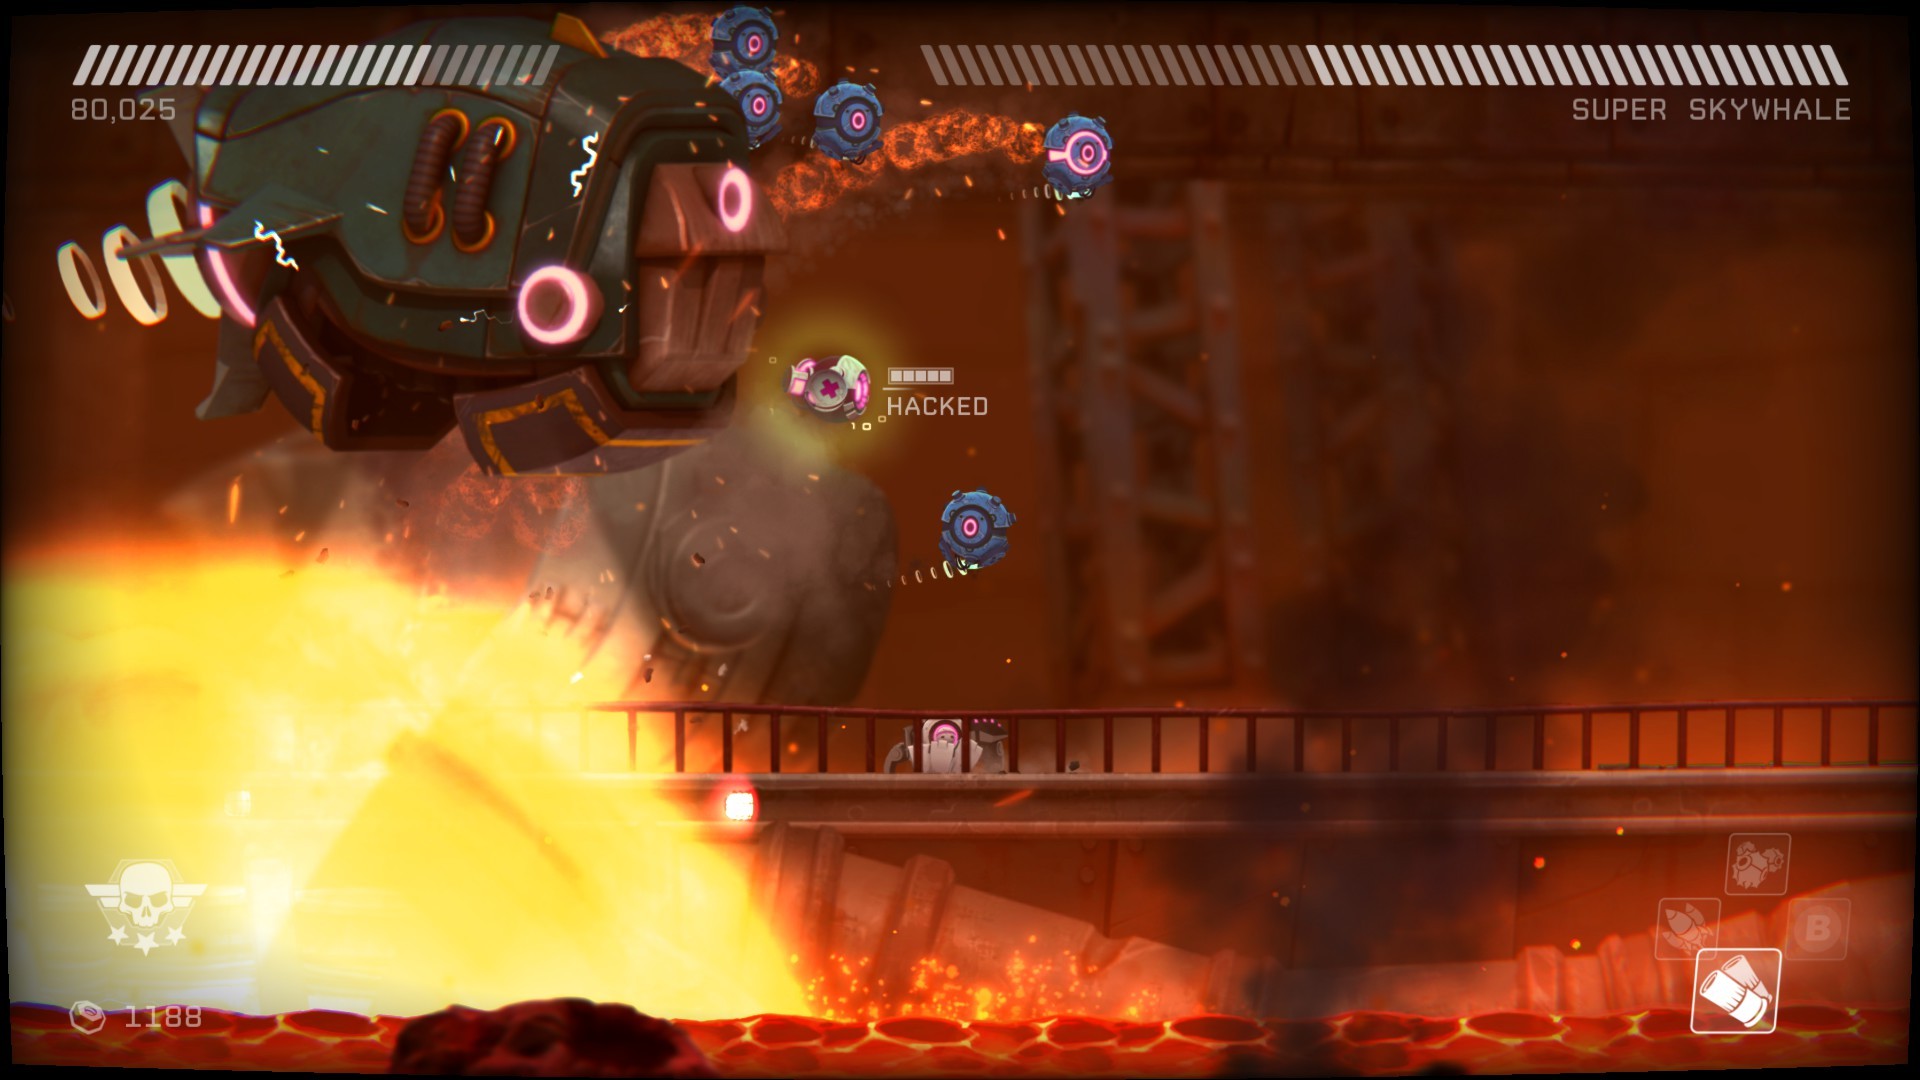
Skywhale Boss Battle
The initial boss battle against the Skywhale can be tricky. The more damage you inflict on the Skywhale, the faster and closer together the fire wheels become. Prioritize dealing with the Kamikaze bots dropped by the Skywhale before focusing your fire on the boss itself. If survival is your main concern in Single Credit Mode, prioritize hacking the MedDrone over the gun turret to ensure health regeneration.
Lava Chase Sequence
The lava chase at the end of Mission 3 is a potential run-ender. In the specific section shown in the image, run left immediately. As soon as you see the far gate open, quickly reverse direction and drop down. Upon reaching the bottom area, resist the urge to jump and hold right. Any hesitation will result in being crushed by the large lava falls. Simply drop down and run right to safely navigate this hazard.
Fuel Station Battle
The final fuel station battle is challenging due to the confined space. Watch out for fire bursts, minimize focus on Crazy Taxi enemies (yellow bots), and eliminate Kamikaze bots before they reach you. Don’t worry about attacking the Skywhale during this segment; it will depart automatically after the battle concludes.
Mission 4: Missile Launchers and Squid Panic
Mission 4 significantly ramps up the difficulty, particularly at the beginning. The section after the final gravity bubble fight with the squids is relatively easier.
The initial part, filled with missile launchers and Kamikaze bots, demands a slow and methodical approach. Hack as many turrets as possible to gain a tactical advantage. The squid fight following this section can be challenging if panic sets in. Remember that missiles can be easily shot down by spraying bullets randomly – don’t overthink it. Focusing fire on the squids when they launch missiles will also deflect many projectiles. After defeating the squids, remember to wait for the train to fall completely before jumping left to avoid a premature fall.
Mission 5: Train Jumping Mastery
Mission 5 is likely the longest mission encountered so far, but not overwhelmingly difficult once you master a key mechanic: train jumping. The biggest threat in this mission is being hit by trains. Practice your jump timing to land safely on the trains without taking damage or overshooting your landing. Once train jumping is mastered, the mission becomes considerably easier. The Skywhale fight near the end is more about endurance. Keep moving from left to right and maintain continuous fire to whittle down its health.
Mission 6: Minefield Navigation
Mission 6 is a welcome breather, with no exceptionally difficult sections. The general strategy is to shoot anything that appears potentially dangerous. The rotating mine section halfway through the vertical shaft might pose a slight challenge, but even then, it’s not overly demanding. Overall, Mission 6 is a short and relatively easy mission to navigate in Single Credit Mode.
Mission 7: Train Tracks and Bullet Train Escape
Mission 7 is concise, comprising two main sections: the train track fight at the start and the Bullet Train escape in the latter half.
Train Track Battle Strategy
For the train track fight, descend to the lowest platform possible. Enemies will take time to reach you, and many will be eliminated by the trains themselves. When lasers appear, only destroy those directly above your position if you are on the bottom platform. The shielded laser phase might be slightly easier from the top platform, but staying on the bottom remains viable. The primary danger in this fight is accidentally jumping into a train. Once the trains stop spawning, the remainder of the fight becomes significantly easier.
Bullet Train Escape
The Bullet Train escape itself is moderately challenging. The golden rule here is: DO NOT JUMP. Jumping will likely cause you to fly off the back of the train and result in failure. Be mindful of fire debris towards the end of the escape sequence to avoid excessive damage.
Mission 8: Conveyor Belts, Lasers, and Smashbot Onslaught
Mission 8 is arguably the most challenging mission encountered up to this point. Danger lurks at almost every turn, demanding constant vigilance.
Conveyor Belt Gauntlet
The conveyor belt section at the beginning is particularly brutal. For the first belt, hack the gun turret and shoot the boxes while continuously moving left – do not stop moving. Upon dropping down at the end of the first belt, immediately holding right to maintain momentum will likely result in taking laser damage at the start of the second belt. If you sustained significant damage on the first belt, wait for the initial laser set to deactivate before proceeding underneath. The subsequent laser sets should be avoidable. When dropping down after the second belt, activate hacking and hold left simultaneously. This allows you to hack the gun turret mid-fall, saving valuable seconds. Continue shooting left, and be prepared for damaged Kamikaze bots shortly after the first obstacle. Medkits typically drop from boxes in this section, mitigating damage taken from turrets further ahead.
The following two combat encounters share similarities. For the first, position yourself in the center, shooting down enemies approaching from all sides and circling around the Smashbots. For the second encounter, proceed normally, and when the floor begins to open up, hop to the left platform and eliminate enemies from there, as the exit is located on the left side. When Smashbots approach, you likely won’t need to jump back to the right platform. Simply stay on the left and double jump over them while firing.
The subsequent laser section is notorious for its difficulty if unprepared and is a frequent cause of death in this mission. There isn’t a foolproof strategy; you must carefully time your movements to coincide with the platforms blocking the lasers.
Boss Fight Finale
Surprisingly, the boss fight at the end of Mission 8 is the easiest part of the mission. Aside from standard Smashbots obstructing your path, be cautious of boulders rolling in from the right, as they can knock you into enemies. The boss itself is straightforward. Simply allow it to charge downwards and unleash your attacks.
Congratulations on completing Mission 8, one of the most challenging chapters in SteamWorld Dig 2! This guide should equip you with the knowledge to tackle the Single Credit Mode achievements. Remember practice and patience are your greatest assets. Good luck, miner!